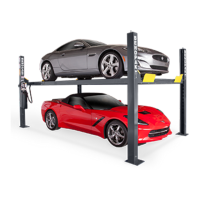
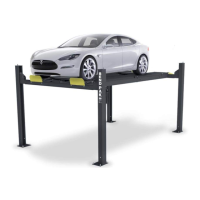
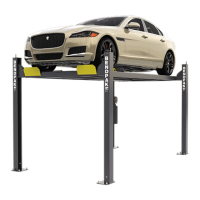
HD-973P Series Multi-Level Parking Lift 28 P/N 5900076 — Rev. B3 — January 2024
Securing the Ladders
After the Crosstubes have been raised, secure the Ladders at the bottom of the Post. The following
procedure assumes that the Ladders are in place and secured at the top. If this is not the case, return
to Installing the Ladders.
The procedure for securing the Ladders is mostly the same for both Platforms, except the Upper
Platform has one additional component to secure; the Upper Platform uses Stop Blocks near the
bottom of the Ladders. They prevent the Safety Shutoff Bar and the Microswitch (on the underside of
Upper Platform) from contacting the Lower Platform when fully lowered.
To secure the Ladders:
Locate a Bolt, Washer, Spacer, second Washer, and Nut.
If you are working on the Upper Platform, locate the four Stop Blocks.
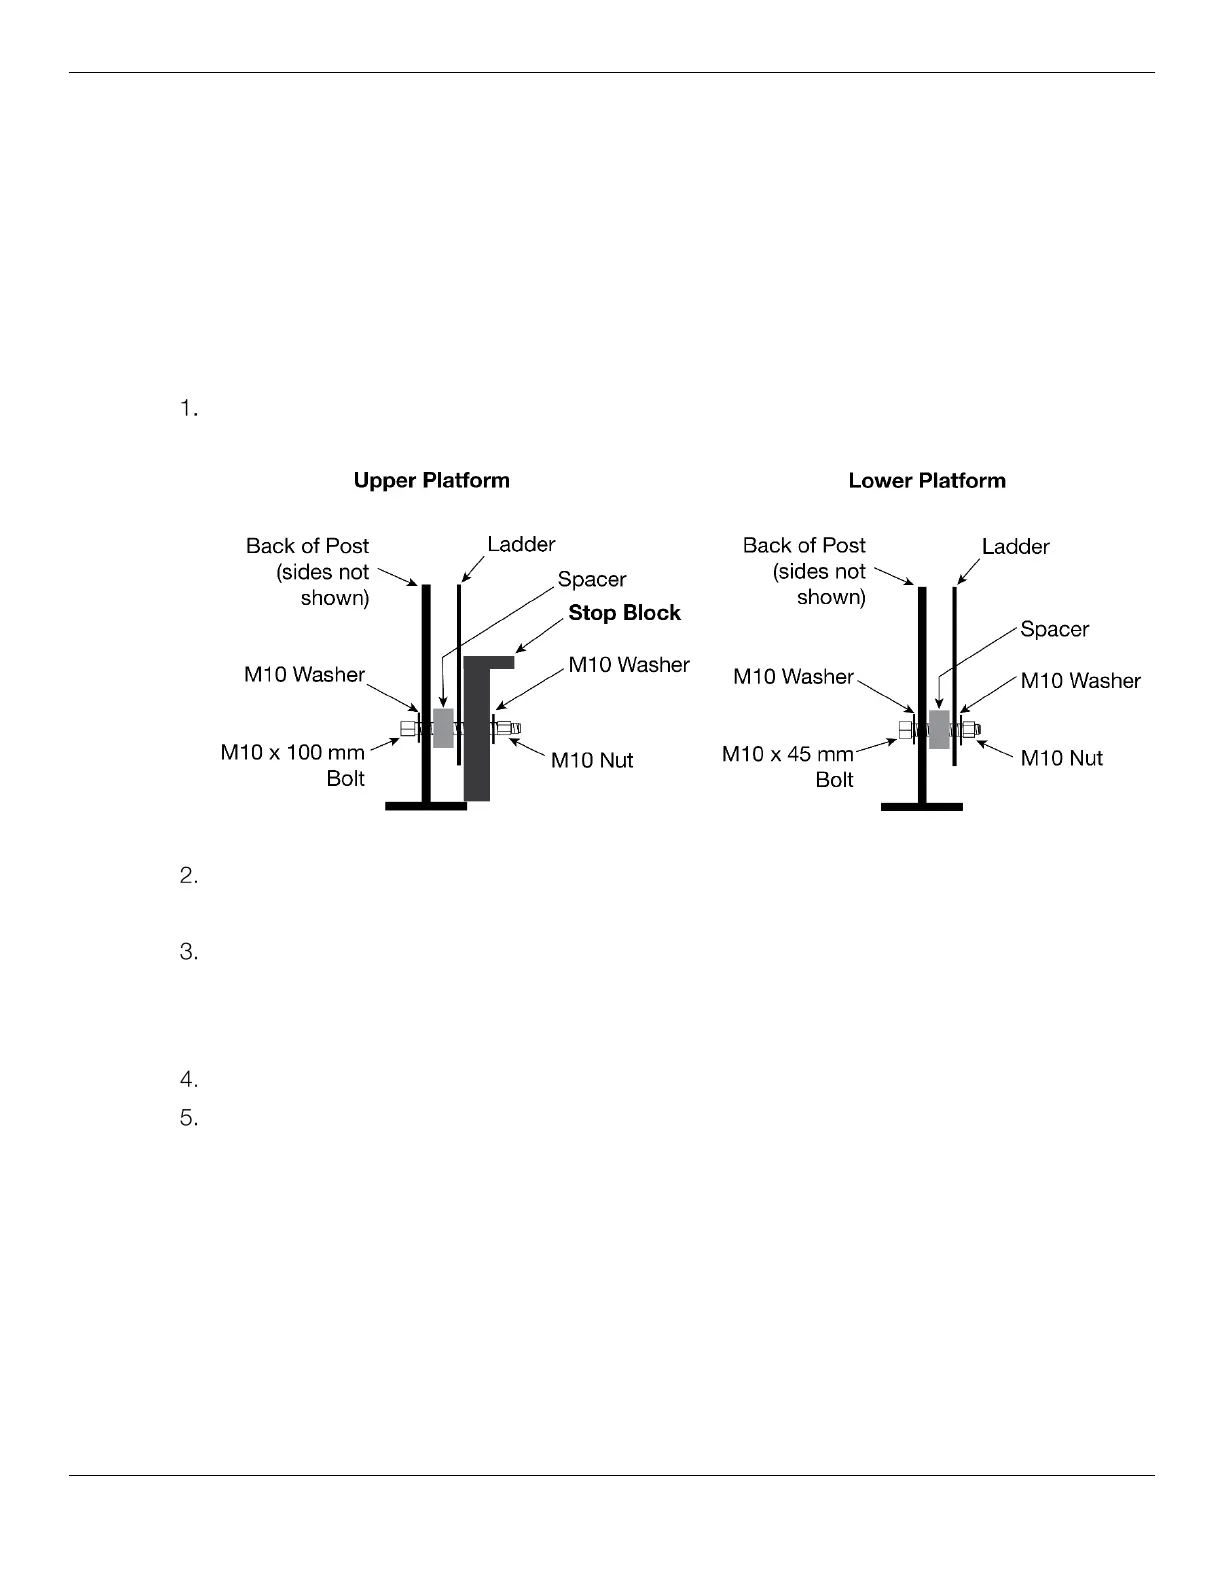
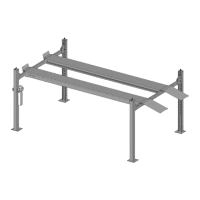
Side view of the Post. Not all components are shown.
Put a Washer next to the Bolt head, then insert the Bolt through the hole in the Post.
Make sure the Ladders for the Upper Platform go in the Outer Slots of the Post.
Put the Spacer into position between the Ladder and the back of the Post, push the Bolt through
the Spacer, and then through the back of the Post.
For the Upper Platform, push the Bolt through the Spacer, Ladder, Stop Block, and then through
the inside of the Post.
Take the second Washer and the Nut and install them on the end of the Bolt; secure the Nut.
Perform the same procedure to secure the remaining Ladders on the Lift.
Note: Do not securely tighten the Top Nut at the top of the Top Cap at this point. The Top Nut
and the Stop Nut will be used later to make sure the Lift is level. They can be securely
tightened after you do the final leveling of the Lift; See Final Leveling for additional
information.
⚠ WARNING Make sure that all eight Ladders are correctly installed and secured. If the Ladder
misses a Slot, your Safety Locks will not function correctly, which is a danger to
anyone under the Platform that is holding a Vehicle or around it.