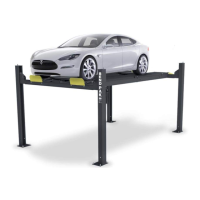
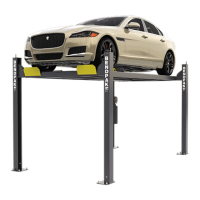
HD-973P Series Multi-Level Parking Lift 76 P/N 5900076 — Rev. B3 — January 2024
Important: If one of the four Safety Locks has not engaged? The non-engaged corner of the Lift
will continue to lower, while the others stay where they are. This results in a Platform
that is not level. Always check to make sure all four Safety Locks are engaged on their
locking positions at the same height.
⚠ WARNING Always leave the Platform either engaged on the same Safety Locks or fully
lowered.
With the Platform engaged on its Safety Locks, check around the Lift to make sure that everything
looks safe. If you see anything wrong, correct it before anyone gets near or proceeds under the
platforms.
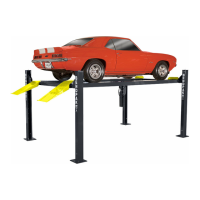
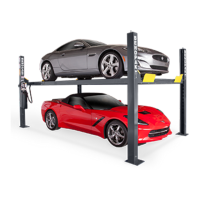
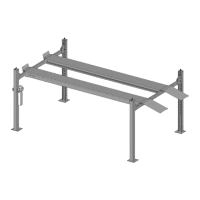
To raise a Vehicle on the Lower Platform:
Double check that no one except the Lift operator is within 10 feet of the Lift.
Before driving a Vehicle onto the Lower Platform, make sure the Upper Platform is engaged on its
locking positions.
⚠ CAUTION Verify there is enough clearance between the Upper and Lower Platforms for the
Vehicle to drive onto the Lower Platform without damaging the Vehicle’s roof by
contacting the underside of the Upper Platform.
Rotate the handle on the Platform Selector Valve all the way to the left to control the Lower
Platform.
Drive the Vehicle onto the Runways.
⚠ WARNING The Runways and Drive-up Ramps can be slippery when wet; use care driving your
Vehicles onto the Runways.
Make sure all the Vehicle Tires are on the Platform; do not allow a Vehicle to drive or rest its Tires
on the Aluminum Decks that sit between the Runways.
Put the Vehicle into park and engage the parking brake. If your Vehicle has a manual transmission,
place the transmission in first gear and set the parking brake.
Chock the Tires.
⚠ WARNING Do not raise or lower the Platform until you have confirmed that the Vehicle’s Tires
have been chocked.
Walk around the Lift to make sure no obstructions will interfere with the Vehicle being lifted.
Position yourself within reach of the Lift controls and clear of all moving parts and pinch points.
Press and hold the Up button.
Important! Make sure to leave at least 6 inches of overhead clearance between the top of the
Vehicle and the Safety Shutoff Bar (on the underside of the Upper Platform). When you
are ready to lower your Vehicle, you will first need to raise
the Lower Platform to
disengage the Safety Locks. If there is not enough room, the Vehicle will contact the
Safety Shutoff Bar and disable any upward movement and making it difficult to
disengage the Safety Locks.
When the Lower Platform is just past the desired locking position, release the Up button, then
press, and hold the Lowering Handle.
Once downward movement stops, release the Lowering Handle. Verify that the Lower Platform is
on all four Locking positions before driving a Vehicle under it.