Basic Operation and Maintenance
Bio-Plex Pro and Bio-Plex Pro II Wash Stations 13
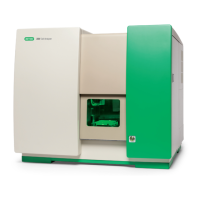
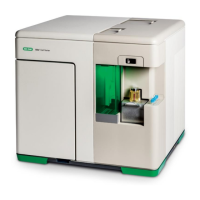
Installing the Instrument
Unpack the instrument and install the instrument according to the instructions below.
Additional helpful information is located on the following pages:
• Unpacking checklist on page 40
• Bio-Plex Pro installation diagram on page 14
• Bio-Plex Pro II installation diagram on page 15
Caution
Do NOT turn the instrument on until you have completed the
steps below.
Caution
Before the instrument is installed and switched on, it should be left to
stand for at least three hours, so there is no possibility of condensation
causing a short circuit.
1. Ensure that the on/off switch in the rear panel of the instrument is in the off
position.
2. Connect the solution tubes (L1 and L2) to the inlet connectors on the rear
panel of the instrument. See the diagrams on the following pages.
3. Connect the solution tubes to the corresponding liquid bottles.
4. Connect the waste tube to the waste bottle (do not kink the tubes).
5. IF your instrument is a Bio-Plex Pro II, install the tubing bracket as shown on
page 16.
6. Fill Liquid 1 bottle with Bio-Plex wash buffer.
7. Fill Liquid 2 bottle with distilled or higher grade water.
8. Remove the standard ELISA carrier and install the appropriate plate carrier
based on the assays you will be running (Selecting and Installing a Plate
Carrier on page 17).