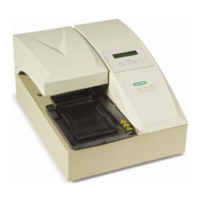
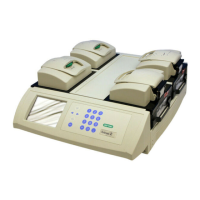
Basic Operation and Maintenance
Bio-Plex Pro and Bio-Plex Pro II Wash Stations 17
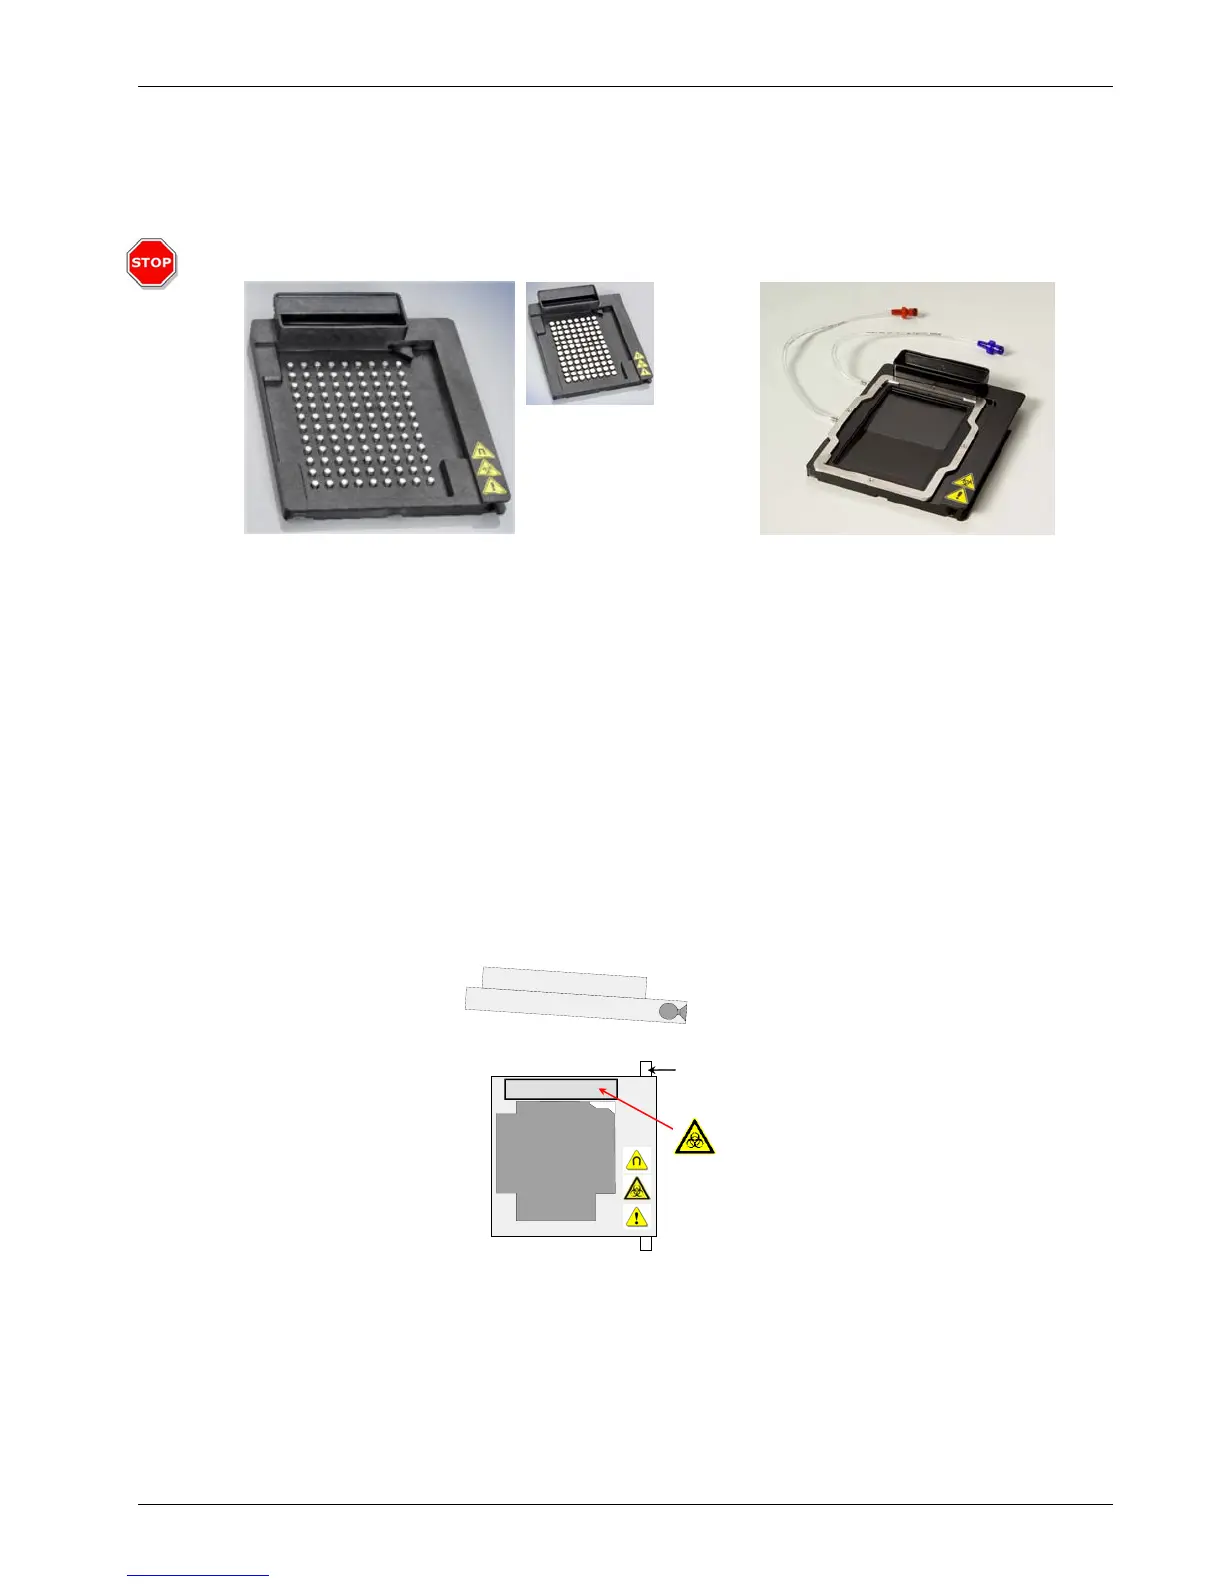
Selecting and Installing a Plate Carrier
Use magnetic plate carrier with: Use vacuum plate carrier with:
• Bio-Plex Pro assays • Bio-Plex assays (non magnetic)
• Bio-Plex Precision Pro™ assays • Any assay on Bio-Plex COOH beads
• Any assay with MagPlex™
microspheres
• Any assay on MicroPlex
microspheres
Remove the standard ELISA plate.
1. Make sure the instrument is turned off.
2. Lift the manifold arm.
3. Slightly tilt the plate carrier towards the right.
4. Carefully slide the plate carrier toward the front of the instrument until it clears the guide bar.
Prime Tray
Guide Bar
Installing the plate carrier is the reverse of the procedure above:
1. Carefully guide the plate carrier onto the guide bar in a slightly tilted position, as shown
above.
2. Push the plate carrier completely into the instrument, so that the front of the carrier is even
with or past the Bio-Rad logo.
3. Lower the plate carrier.
4. Lower the manifold arm.
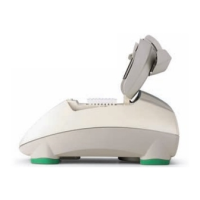
(Version B)
Vacuum Plate Carrier
Attention!
Use only the type
of magnetic carrier
which arrived with
your instrument.
If your wash
station arrived with
version B use of
version A on your
wash station will
result in poor
assays results.
Version B is back-
compatible with
previously installed
wash stations.
(Version A)
Magnetic Plate Carrier