Contents
0. Safety information ······················································································ 6
0.1 General precautions, warnings and cautions ···························································· 9
0.2 Shock hazards ············································································································· 13
0.3 Battery warnings········································································································· 14
0.4 General precautions on environment ······································································· 15
1. System basics ······························································································ 16
1.1 Intended use ··············································································································· 16
1.2 Operating principle ····································································································· 18
1.3 System configurations ································································································ 19
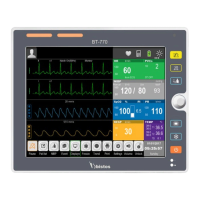
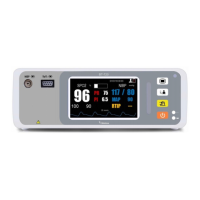
1.4 Product outlook ·········································································································· 21
1.5 Description of monitor ······························································································· 23
1.6 Understanding the display ························································································· 27
1.7 Smart Hotkeys ············································································································ 28
1.8 Essential performance ································································································ 28
2. Preparing for operation ··············································································· 29
2.1 Installation ·················································································································· 29
2.2 Connecting to power ·································································································· 31
3. Basic operations ·························································································· 32
3.1 Turn on ························································································································ 32
3.2 Turn off ······················································································································· 33
3.3 Basic operations ········································································································· 33
3.4 Operation mode ········································································································· 36
3.5 Measurement setup ··································································································· 36
3.6 Freezing waves ··········································································································· 37
3.7 Other common setup ································································································· 37
4. Patient information management ······························································· 41
4.1 Patient setup menu ···································································································· 41
4.2 Admitting a patient ···································································································· 42
4.3 Patient information ····································································································· 43
4.4 Discharging a patient ·································································································· 44
4.5 Clear alarms ················································································································ 44
4.6 Clear trend ·················································································································· 44
4.7 Clear NIBP trend ········································································································· 45
5. Display format ····························································································· 46
5.1 Selecting user interface ······························································································ 46
5.2 Display description ····································································································· 47
6. Alarm ············································································································ 50
6.1 Alarm types ················································································································· 50
6.2 Alarm condition priorities ·························································································· 50
6.3 Alarm mode ················································································································ 51