9
from resistances in the wires.
Due to the high current rating of the power supply, proper wire sizes are necessary for safe
connectivity and to prevent wires from overheating. Refer to the table below as a reference for
proper wire sizes according to the amount of current used for operation:
Table 2.2 - Wire Gauge Rating
2.3 Preliminary Check
Complete the following steps to verify that the power supply is ready for use.
1. Verify AC Input Voltage
Verify and check to make sure proper AC voltages are available to power the instrument.
The AC voltage range must meet the acceptable specification as explained in “2.1 Input
Power and Fuse Requirements”.
2. Connect Power and Self-Test
Connect AC power cord to the AC receptacle in the rear panel and press the power
switch to the |(ON) position to turn ON the instrument. It will run through a self-test
procedure with the screen shown in below:
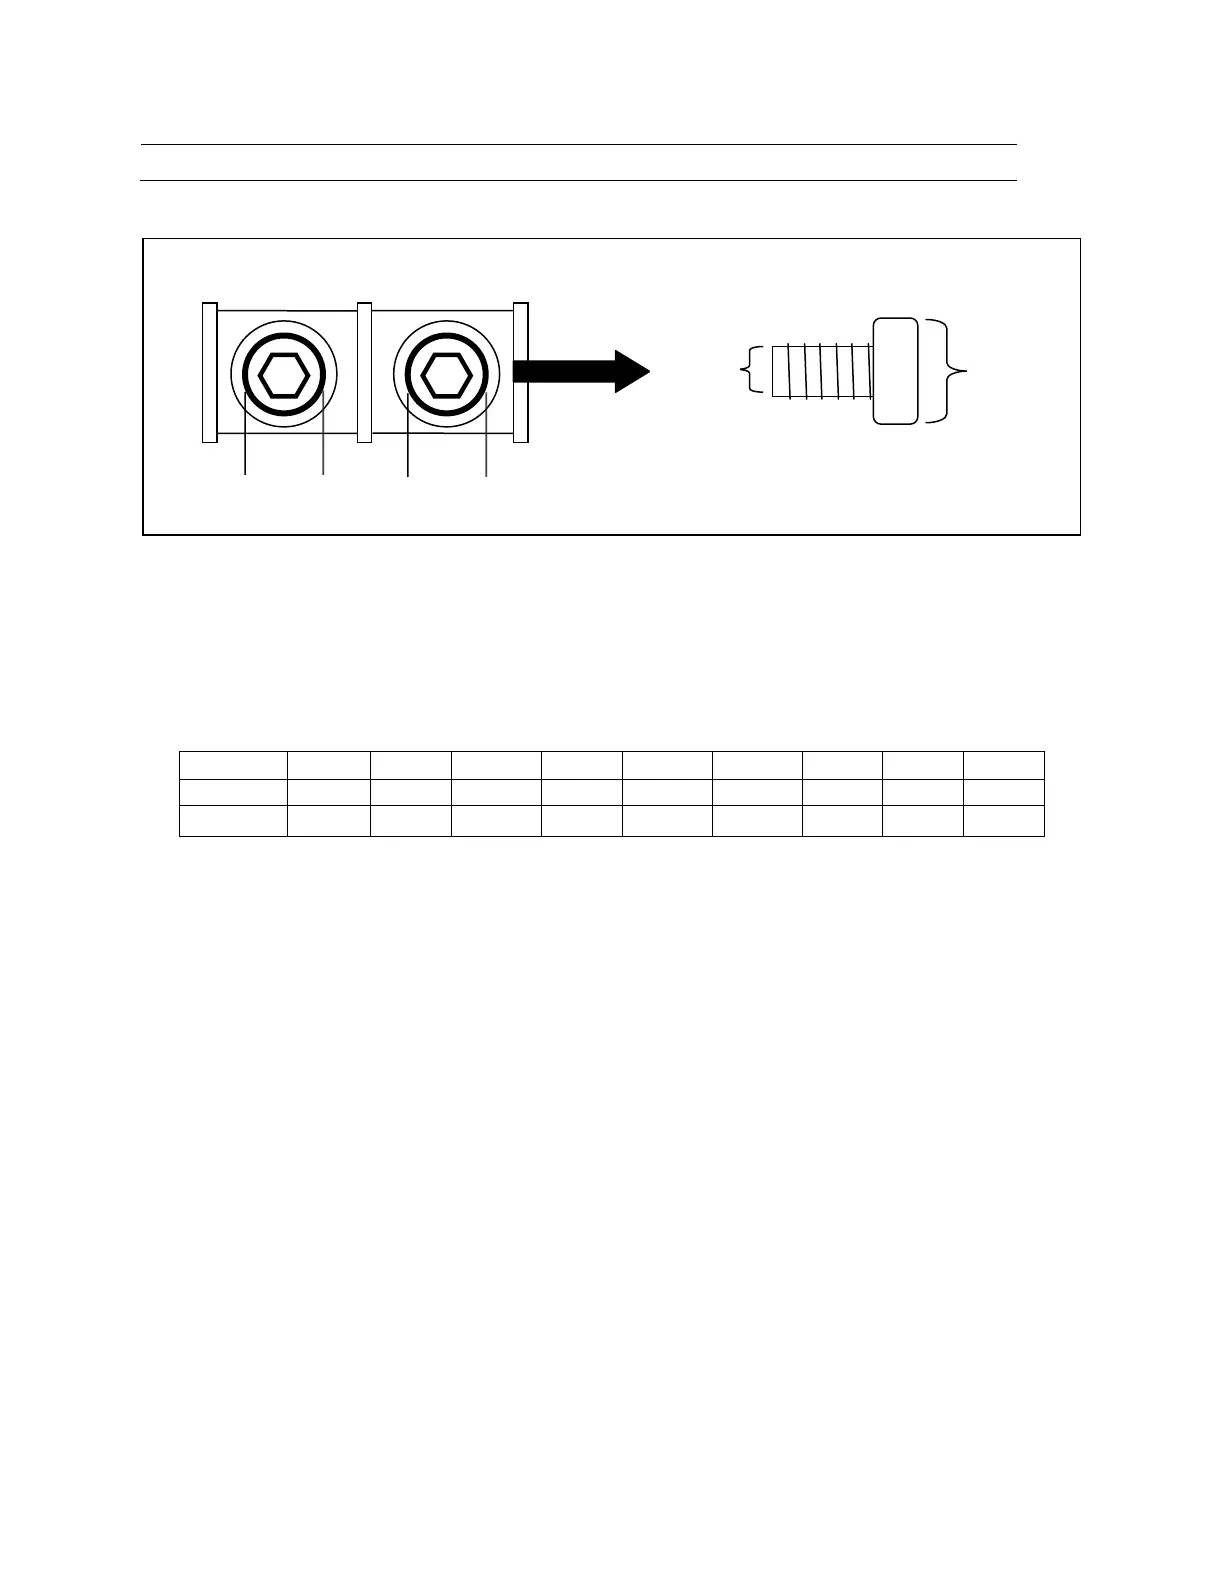
Figure 2.1 - Rear Output Terminal