22
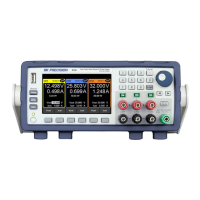
Timer Function
The timer function allows the user to set up how long the output will be enabled when it is
initially turned ON. When enabled, the Timer indicator will be shown on the display.
To activate the timer function, follow the steps below.
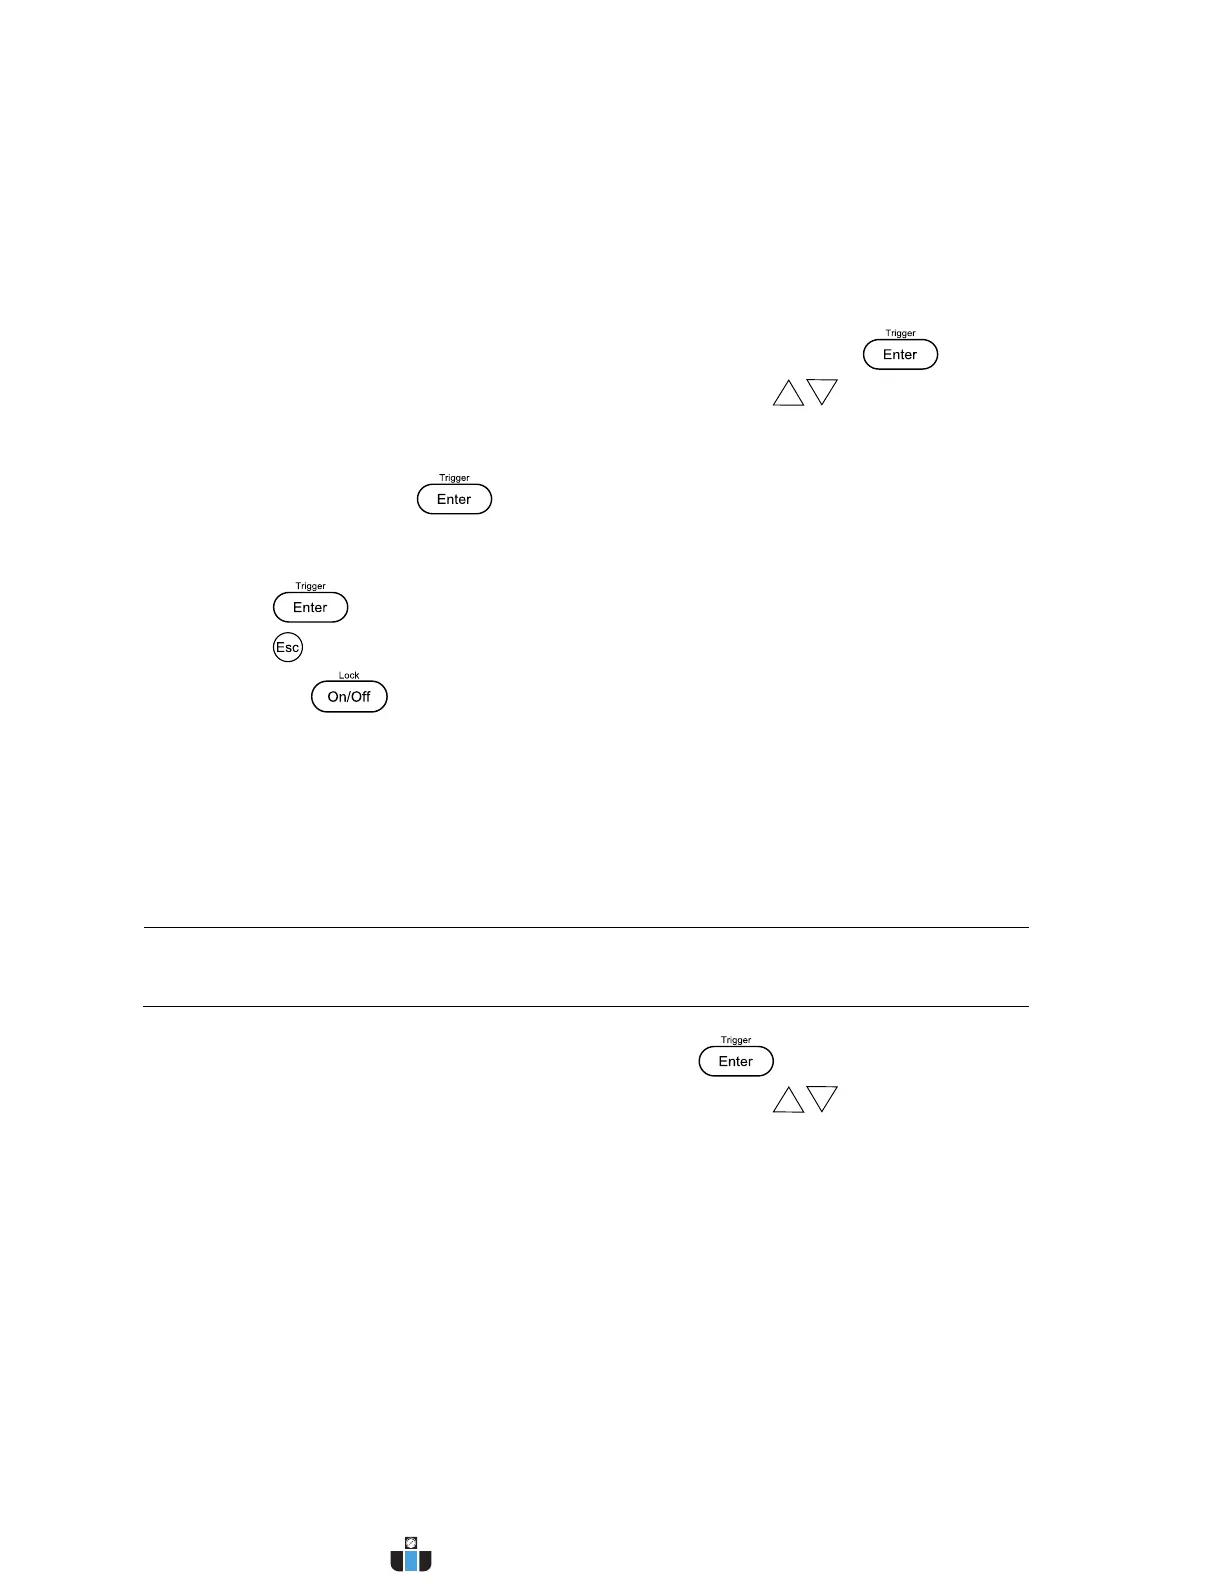
1. From the SYST SET menu, browse and select TIMER SET and press .
2. Select between the two options using the rotary knob or keys:
OFF– Disable timer function
ON – Enable timer function
3. Select ON and press to save the change.
4. Use the numeric keypad, cursor keys, or rotary knob to configure the output time
between 0.1 – 99999.9 seconds.
5. Press to complete the timer setting.
6. Press twice to exit the menu.
7. Press the key to enable the output and start the timer. The output will
automatically turn OFF after the timer countdown is complete.
Restore Factory Default Settings
All instrument settings can be reset back to their factory default values by doing the following:
Note: Restoring the instrument to factory default will change all current
instrument settings and parameters back to their default values.
1. From the SYST SET menu, select RESET and press .
2. Select between the two options using the rotary knob or keys:
NO – To cancel reset
YES – To confirm reset
3. The instrument will return to the normal display and all settings are now restored back
to factory default. The table below lists some of the factory default settings.
Table 2 - Factory Default Settings
 Loading...