23
3. When the desired menu section is blinking, press
to access its menu settings.
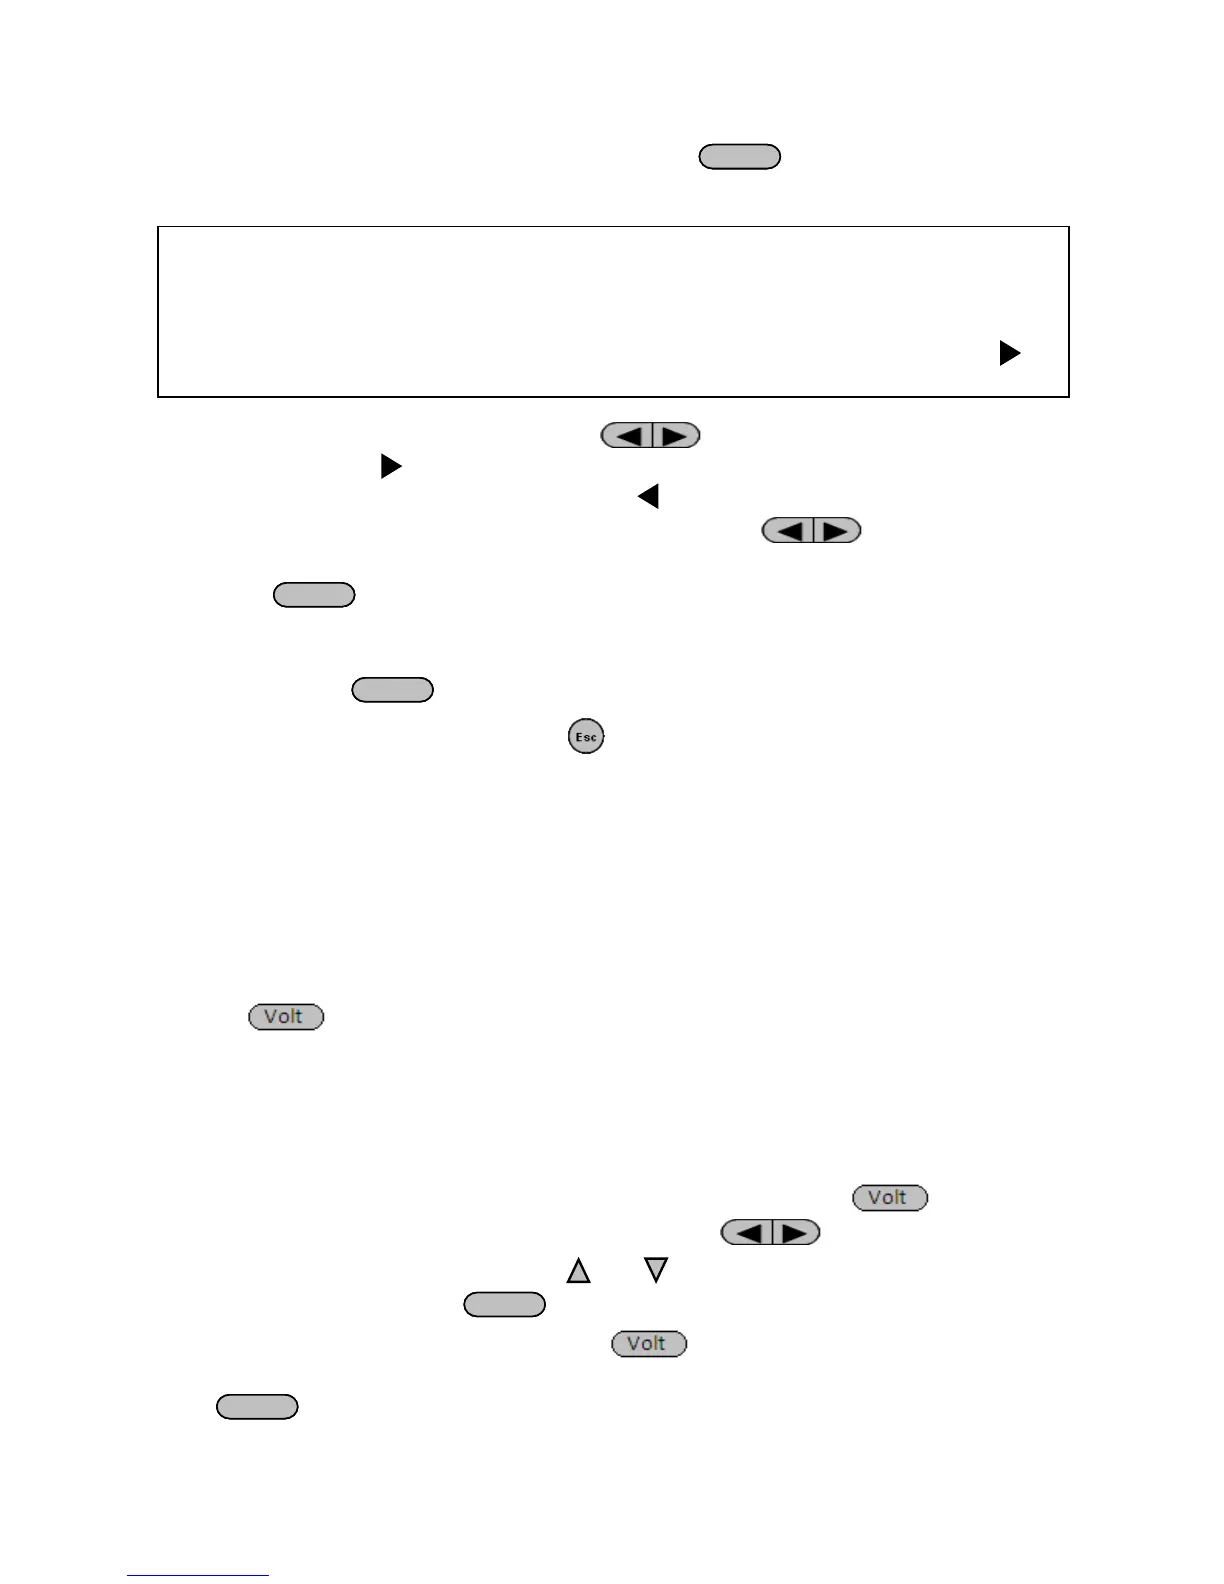
4. Below is the display when SYSTEM is selected.
5. The selected item will be blinking. Use keys to move through the menu
items. When there is a on the right side of the display, that means there are more
menu items available to select from. Similarly, a will appear on the left side of the
display when there are menu items to the left. Use the keys accordingly to
select the desired menu item.
6. Press
to access the selected menu item.
7. There may be parameters or options to select within each menu item. Follow the same
instructions as described in the previous steps to select them. To save changes to a
setting, press
.
8. To exit the menu at any time, press twice.
3.2 Configure Voltage and Frequency Output
The voltage, output range, frequency, and phase can be set from the front panel.
Setting Voltage
The user has the ability to set the voltage within the range of 0.0 V to 300.0 V in all three units.
When the button is pressed, the button will illuminate. This puts the instrument into
voltage set mode. There are three ways to set the output voltage through the front panel.
Follow the steps below to set the output voltage:
1. From the normal front panel display, users can use the rotary knob, navigation arrow
keys or the numeric keypad to enter the setting voltage.
2. If entering using the rotary knob or navigation arrow keys, press first so that
the cursor selects the voltage display. Then use the keys to change the cursor
position and the rotary knob or the and keys to increase or decrease the voltage
setting value. Then press
to set the voltage.
3. If entering using numeric keypad, press first so that the cursor selects the
voltage display. Then, enter the voltage value using the numeric keypad and press
to set the voltage.