88888
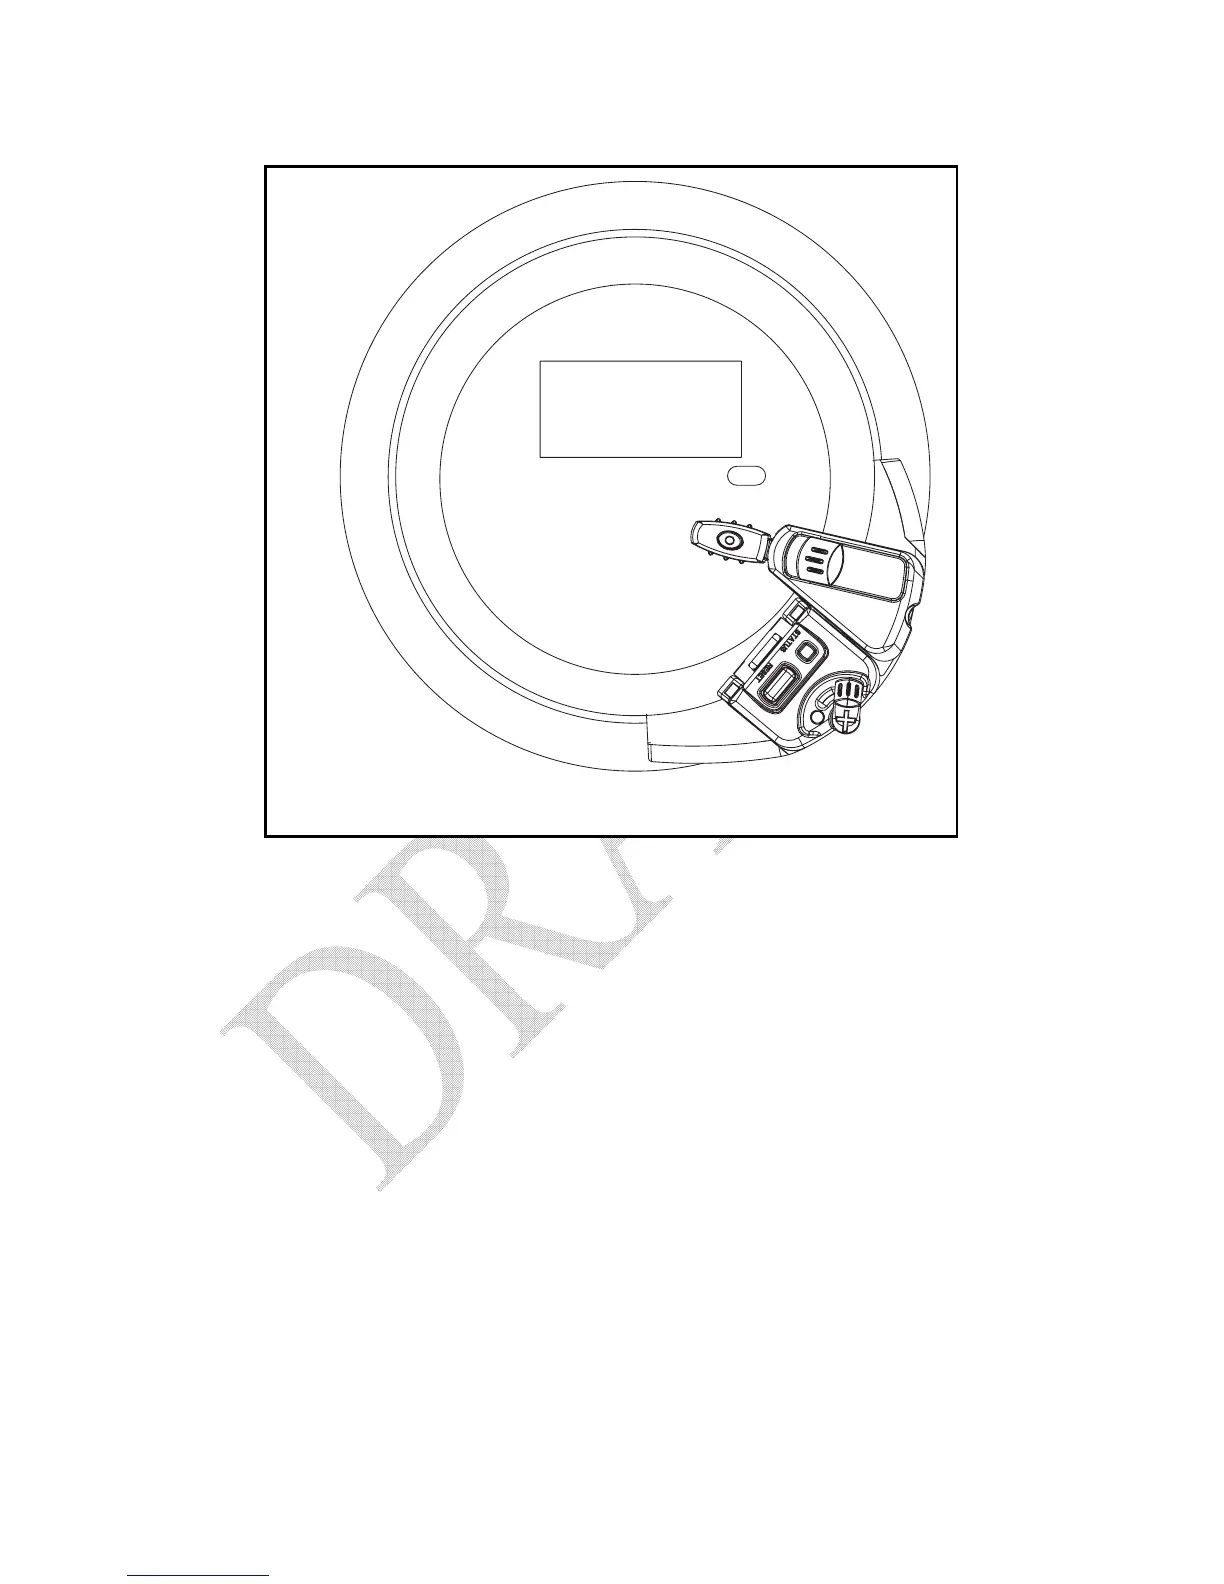
Figure 5.11 – Side Mounted Electronic Meter Installation
5. Once the Sensor Unit is properly positioned, tighten the sensor-strap
adjustment screw until the Sensor Unit cannot be moved easily. Do not
over-tighten!
6. Press and release the RESET button on the battery cover of the Sensor
Unit, as shown in figure 5.11. The red indicator on the Sensor Unit will
begin to flash once per second. It will take up to 15 seconds for the
Sensor Unit to determine that it is installed on an electronic meter. Once
it has determined this, the red indicator light will flash at a steady rate
approximately 3 times per second.
Note: You cannot see the light emitted from the utility meter’s
optical port. It is Infrared (IR) light just like your television
remote control.
If the Sensor Unit indicator does not begin to flash at a faster rate after
about 5 minutes, then the Sensor Arm is not properly positioned over the
optical port or the glass dome is dirty. To adjust the Sensor Arm, open
the Sensor Arm latch and gently move the Sensor Arm up or down a few
millimeters to align it with the optical. Close the Sensor Arm latch then
repeat this step.
 Loading...