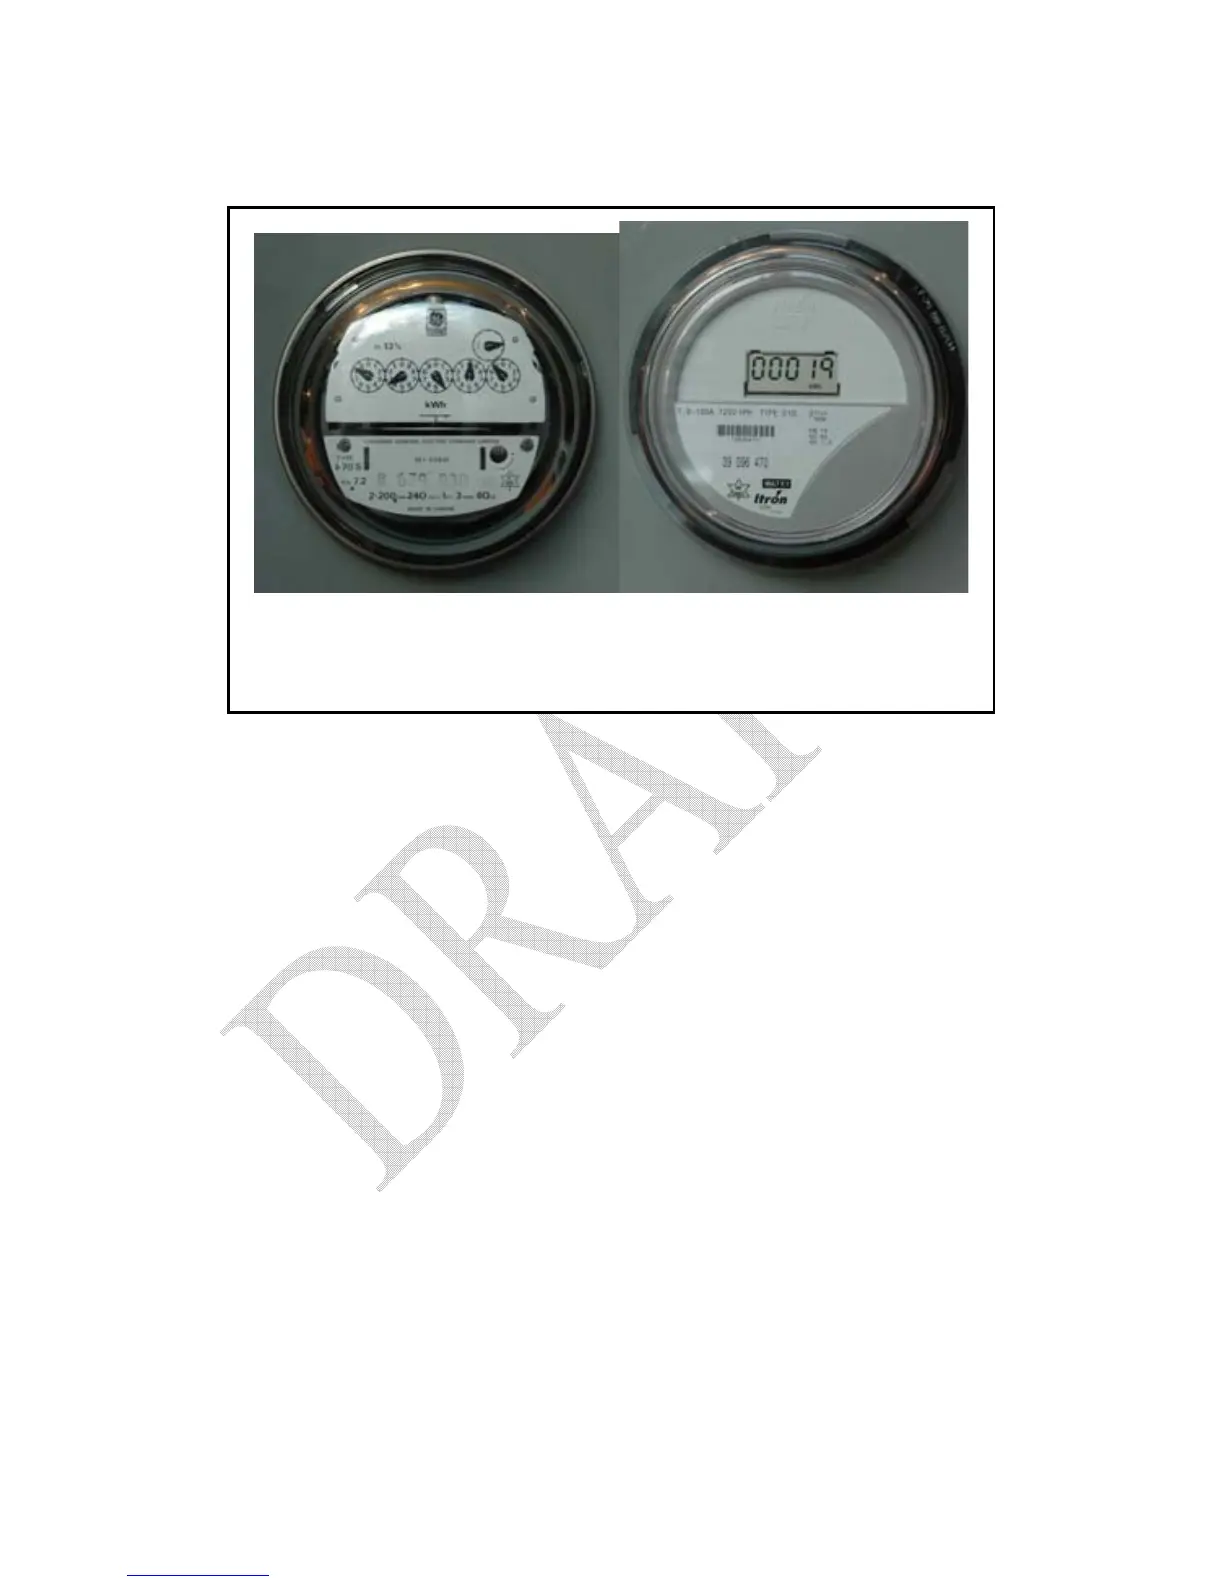
5.5.
Electromechanical Electronic
Figure 5.5 – Utility Meter Types
Electromechanical Meter Installation
It is very important that you follow the steps below exactly as outlined to
ensure that your PowerCost Monitor™ works properly. Be sure to bring your
tools and your Display Unit to your utility meter before starting the
installation process. For best results, install your Sensor Unit on a dry day
using the following procedure:
1. Locate your household utility meter. The meter may be located outdoors
or indoors. If the glass on the utility meter is dirty, wipe it clean with a
damp cloth.
2. Adjust the sensor mounting strap by turning the adjustment screw
several turns with a flat head screwdriver until it is approximately 15cm
(6 inches) in diameter.
3. Lift the Sensor Arm latch and extend the Sensor Arm to its maximum
length. It is possible to pull the Sensor Arm completely out of the
Sensor Unit housing. If this happens simply re-insert it and push it in to
the first click-stop position. This is the correct position for
electromechanical meters. Close the Sensor Arm latch.
 Loading...