5000
28 en | Settings
6.1.2
6.1.3
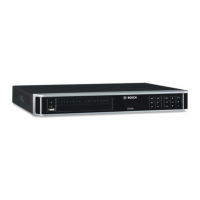
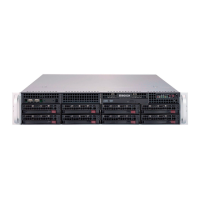
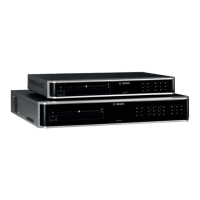
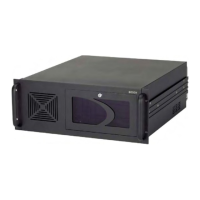
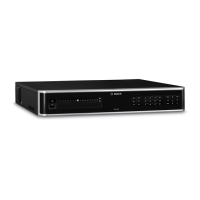
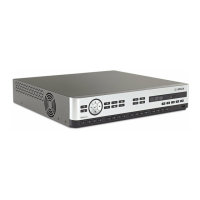
DIVAR 2000 / DIVAR 3000 / DIVAR
1. Insert a USB stick (containing a company logo file) into the USB slot on the front of the
DVR.
2. Choose the USB stick from the ‘Device name’ drop-down menu (a list normally appears
on the bottom half of the screen showing the current folders and files available on the
memory device; if no device is shown, press <Refresh>).
3. Browse through the available folders and files before clicking on the required logo file in
the list.
4. Press <Import> to add the logo.
5. Right-click the mouse to return to the Display screen.
6. Press <Save> to complete import of the logo.
Playback
Instant playback: Assign here the playback time for the preview function: 5 to 60 minutes
(default is 5 minutes).
Show filelist: Select to allow the possibility to display a file list on the Search/Play screen
(default is no show).
Show timeline selection: Choose here to show the timeline buttons (All record, Normal,
Alarm, Motion) on the bottom of the search/play screen (default is show).
Playback disclaimer: Activate or setup a warning disclaimer dialog box to appear
automatically before you can search or playback video recordings (or enter the ‘Search/Play’
screen). If the disclaimer is activated (default is deactivated), you must always press <Accept>
before you can continue with search or playback. See description below for how to set up the
Disclaimer:
1. Press <Configure> to open the Disclaimer screen.
2. Enter the required text in the text box using the alphanumeric keypad.
3. Press <Save> to save the text.
Note 1: Use Default to clear the current disclaimer text and de-select the Enable disclaimer
setting (no disclaimer appears).
Note 2: The Playback Disclaimer text is language dependent; i.e. disclaimer text saved for the
English language setting will not display for the Spanish setting.
Display
Use the Display menu to setup the appearance of your screen.
GUI
Resolution: Choose from the options: 3840×2160@60fps, 3840×2160@30fps, 1920×1080,
1280×1024 (default), 1280×720, 1024×768. The system must reboot to activate a new setup.
Transparency: Adjust this value from 0 to 100% (default is 0).
Time display: Select to display time during playback and live/web viewing.
Channel display: Select to display channel name during playback and live/web viewing.
Hide event and status indicator for covert cameras
Sequence A
Enable sequence monitor A: Activate or access the Sequence Mon. A menu to activate and
setup the tour function (sequence of camera views). The sequence will automatically start
when the system is in live view. To stop and start a camera sequence on Monitor A, use the
Sequence on/off option on the Quick menu (right-click mouse button) or click the sequence
button on the remote control or front panel (DIVAR 5000 only)
The other selections are:
– Interval: This value ranges from 5 (default) to 120 seconds.
Operation Manual Bosch Security Systems2016.09 | v1.0 | AM18-Q0717