21
Bosch Security Systems 09/06 BLCC100R
Solution 16
plus
Quick Start Guide
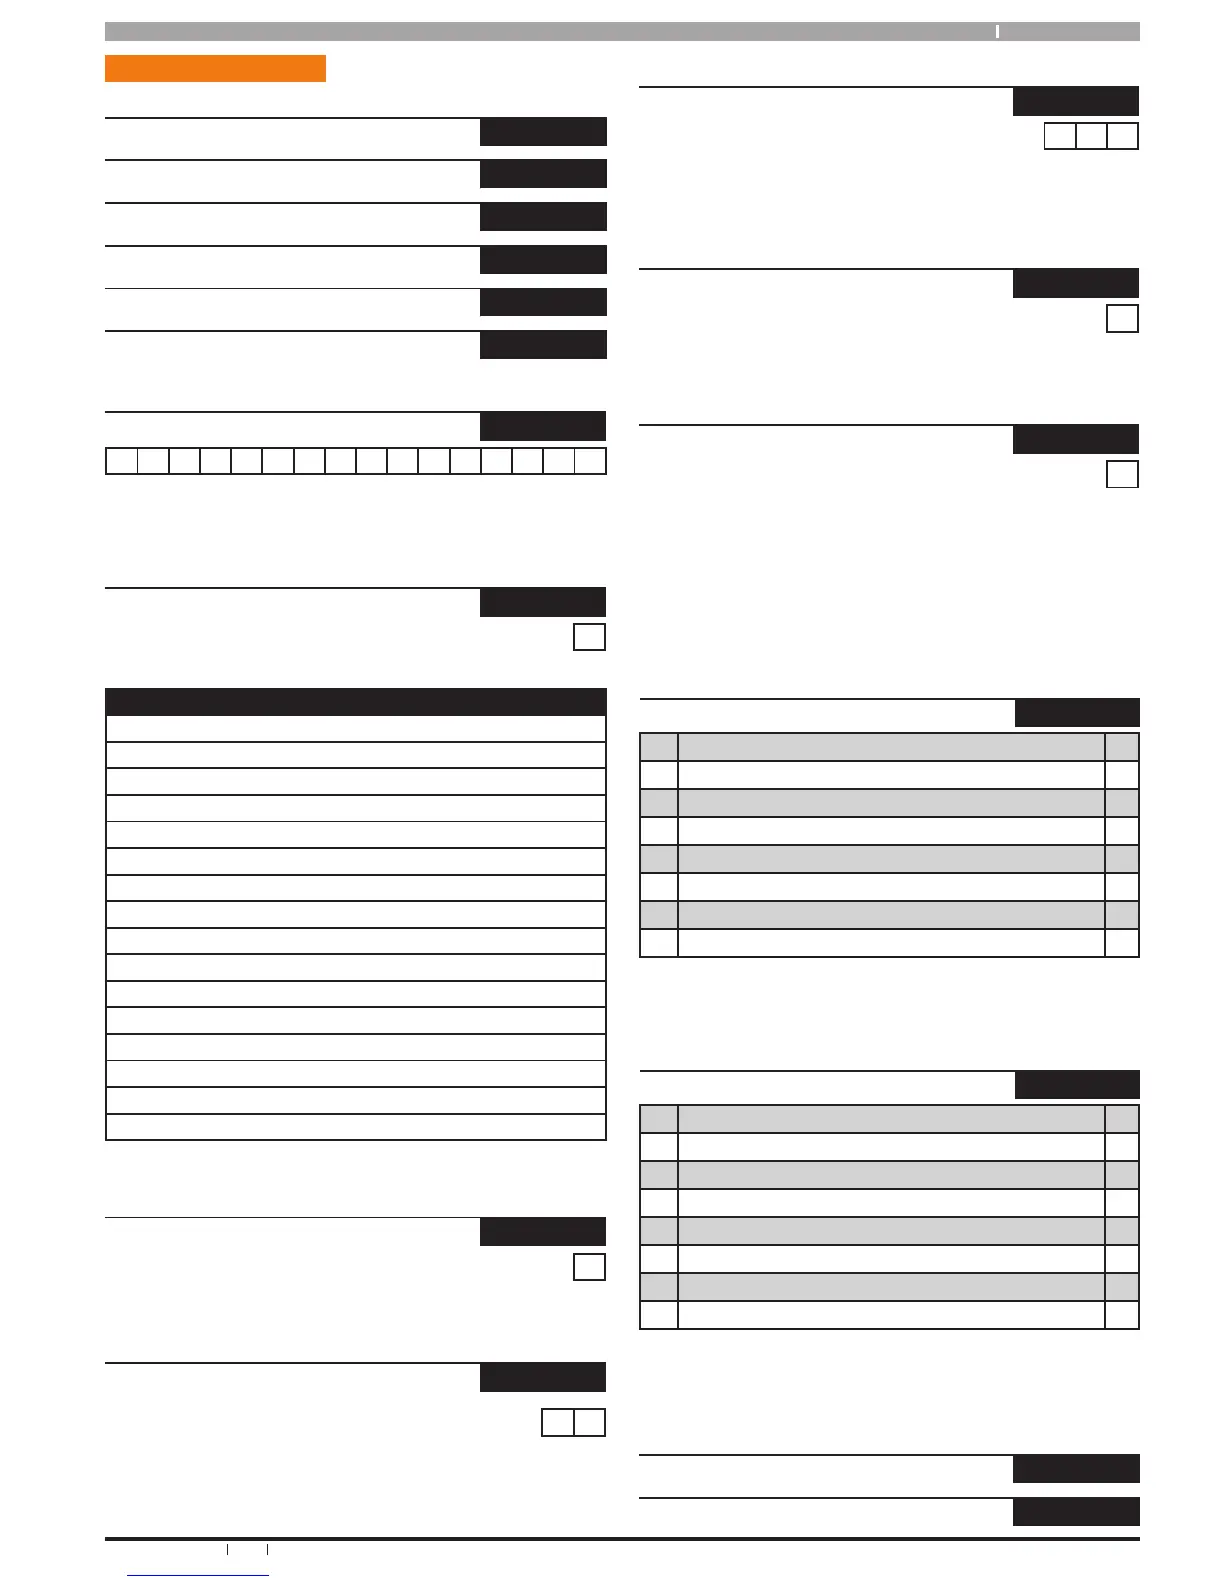
In put Pro grammi ng
Inputs > Commands >
Zone Status
MENU 3-0-0
Zone Array
MENU 3-0-1
Bypass Zones
MENU 3-0-2
Set Chime Zones
MENU 3-0-3
Set Part 2 Zones
MENU 3-0-4
Smoke Sensor Reset
MENU 3-0-5
Inputs > Zone Properties >
Zone Name
MENU 3-1-0
Z o n e 1 N a m e
Use [] and [] Keys To Scroll Cursor Left and Right. Use Keys [0]
– [9] + [#] and [*] To Toggle Characters + Enter [OK] To Save. Refer to
Zone Default Table for other default values.
Inputs > Zone Properties >
Zone Type
MENU 3-1-1
1
Use Keys [] and [] keys or enter 0 – 15 + [OK] To Program Zone Type
Zone Types
0 = Zone Not Used
1 = Burglary Delay 1 (Entry Timer 1)
2 = Burglary Delay 2 (Entry Timer 2)
3 = Burglary Instant 1 (With Exit Delay)
4 = Burglary Instant 2 (No Exit Delay)
5 = Burglary Handover
6 = Burglary 24-Hour
7 = Tamper 24-Hour
8 = Hold Up 24-Hour (Silent & Invisible)
9 = Medical 24-Hour
10 = Panic 24-Hour
11 = Fire 24-Hour
12 = Reserved
13 = Keyswitch Zone
14 = Display Only
15 = 24-Hour Non Burglary
Table 14: Zone Types
Inputs > Zone Properties >
Area Assignment
MENU 3-1-2
1
Use Keys [] and [] keys or enter 1 – 4 + [OK] To Assign The Zone To
A Single Area Only
Inputs > Zone Properties >
Pulse Count
MENU 3-1-3
0 0
PULSES
Enter 0 – 15 + [OK] To Program The Number Of Pulses The Zone Must
Register Within The Zone Pulse Count Time.
Inputs > Zone Properties >
Pulse Count Time
MENU 3-1-4
1 2 0
SECONDS
Enter 0 – 255 + [OK] To Program The Period Of Time In Seconds That
The Pulse Count Must Register.
Inputs > Zone Properties >
Access Group
MENU 3-1-5
0
Use Keys [] and [] keys or enter 1 - 8 + [OK] To Assign The Zone To
An Access Group (0 = Disabled).
Inputs > Zone Properties >
Report Route
MENU 3-1-6
0 = Report Events To Log Only
1
1 = Report Events To Destination 1 + Log
2 = Report Events To Destination 2 + Log
3 = Report Events To Destination 1 & Destination 2 + Log
4 = Report Events To Destination 2 If Destination 1 Fails +Log
Use Keys [] and [] keys or enter 0 - 4 + [OK] To Set the Destination
Zone Reports Are Sent To.]
Inputs > Zone Properties >
Report Options MENU 3-1-7
1 Lockout Dialer Y
2 Report Alarm Y
3 Report Trouble Y
4 Report Bypass Y
5 Reserved N
6 Reserved N
7 Report Restores Y
8 Delay Reporting N
Use Keys [] and [] to scroll up and down the option list. With option
selected press ON / OFF key to enable or disable option. [] will display
to indicate option set. Press [OK] To Save when finished.
Inputs > Zone Properties >
Zone Options MENU 3-1-8
1 Lockout Siren Y
2 Silent Alarm N
3 Inverted Seal N
4 Bypass Allowed Y
5 Sensor Watch N
6 Armed When in Part Mode 1 Y
7 Reserved N
8 Test On Exit Y
Use Keys [] and [] to scroll up and down the option list. With option
selected press ON / OFF key to enable or disable option. [] will display
to indicate option set. Press [OK] To Save when finished.
Inputs > RF Zone >
Add RF Device
MENU 3-3-0
Delete RF Device
MENU 3-3-1