
K
Katherine SextonAug 8, 2025
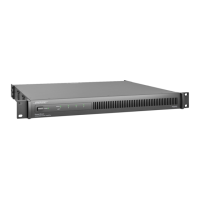
What to do if my Bose PowerShare PS404A Amplifier has power but no sound?
- AangelaliAug 8, 2025
If your Bose Amplifier has power but no sound, try these steps: 1. Ensure the input source is on and sending a signal. 2. Check the cable connections between the source and the amplifier. 3. Make sure the OUTPUT ATTENUATION controls are not muted. 4. If a CC-1 zone controller is connected, verify its volume is up. 5. If a contact closure is connected to the MUTE connector, ensure it hasn't been triggered. 6. Confirm loudspeaker taps are correctly set. Additionally, check that the amplifier has adequate ventilation and that the output wiring is correct, as improper ventilation or a short circuit could also cause this issue.