98
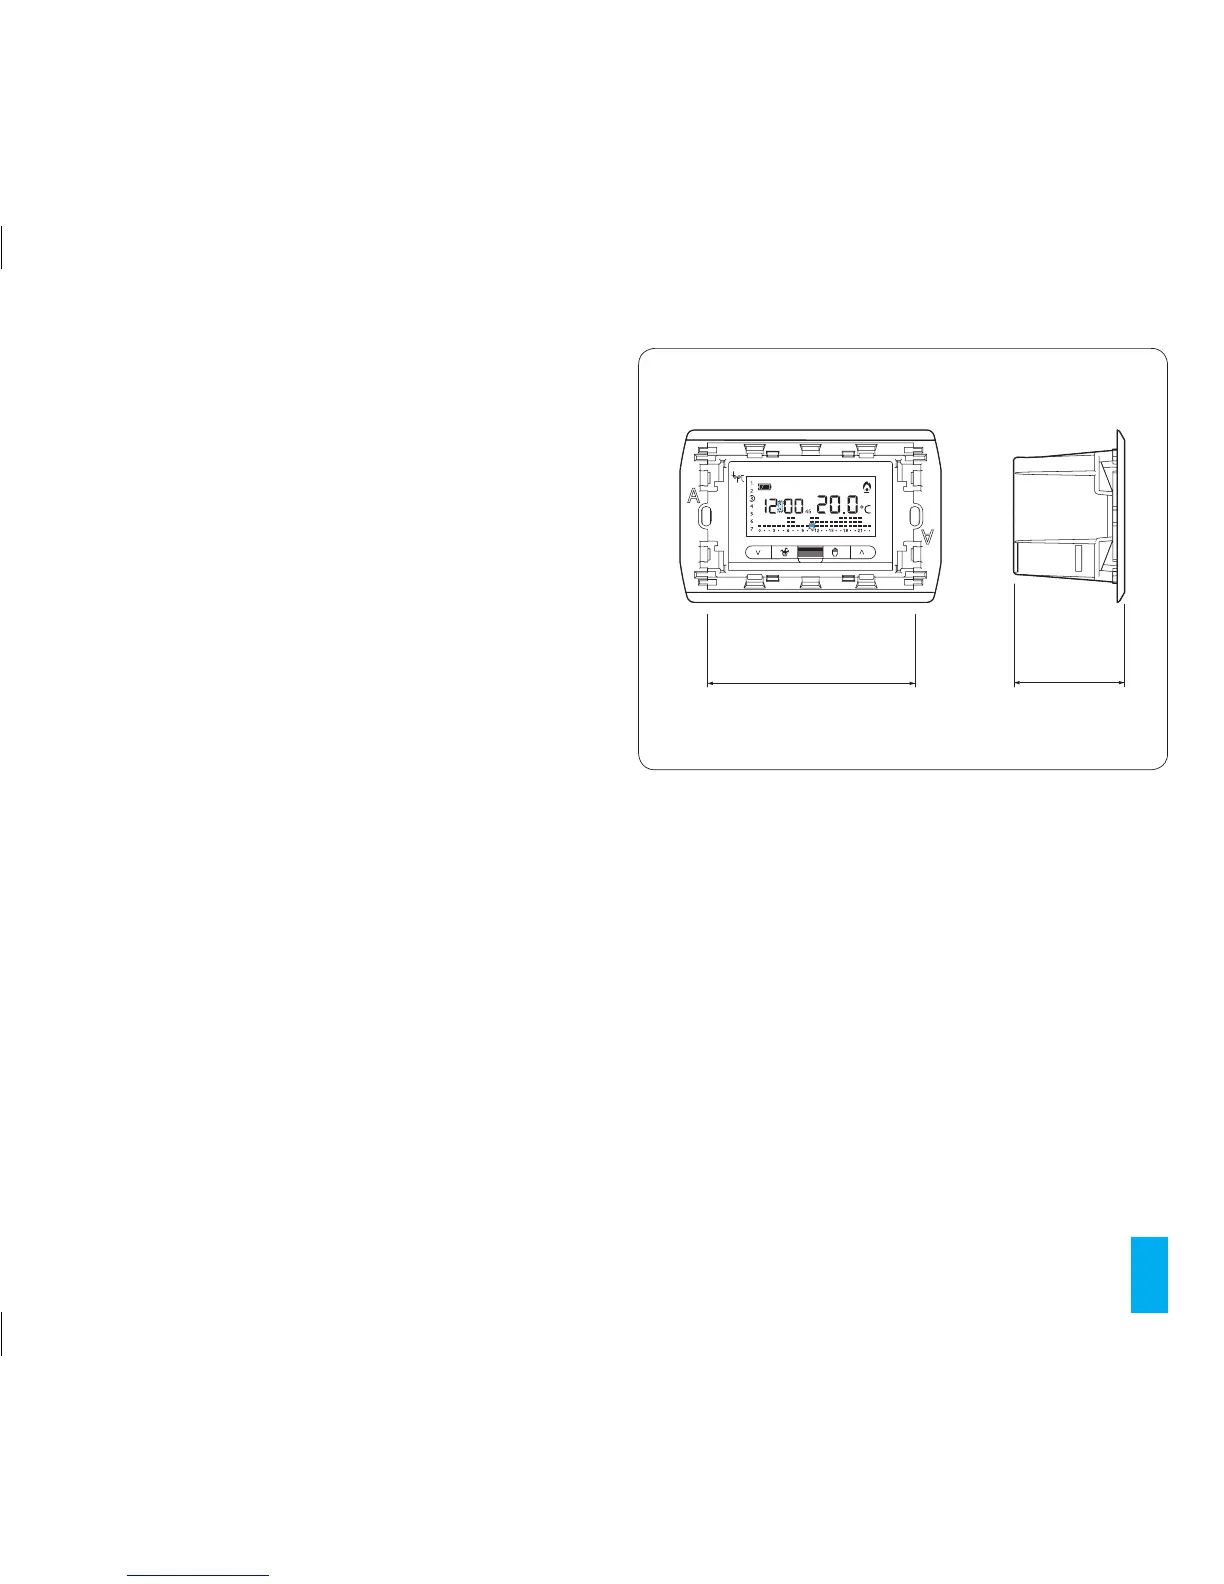
tabs (fig. 94). Press the lateral tabs and extract the main
unit of the thermostat completely (fig. 95).
All symbols on the display will disappear.
22.2- Insert 3 alkaline LR03 penlight AAA 1.5V batteries
within the housing. Make sure the poles face the right
way as shown on the bottom of the housing (fig. 96).
After a few seconds the symbols will reappear on the
display. Push the main unit of the thermostat all the way
to the back and reinsert the tab L.
Warning! Inserting the batteries the wrong way round
could damage the unit. There will be approximately 2
minutes available for replacing the batteries.
If the batteries are not replaced with the available period
or if the reset button R is pressed (fig. 91) all settings will
be lost.
To restart the unit, proceed as described in chapter 3.
ATTENTION. Inserting the batteries the wrong way
round could damage the unit.
The use of weak batteries may cause operating mal-
functions.
In this should happen then proceed as set forth in
chapter 21.
ATTENTION. Only clean the thermostat with a soft
cloth dampened with water.
23 TECHNICAL CHARACTERISTICS
• Unit for domestic use.
• Independently installed electronic device.
• Display: LCD graphic backlit.
• Power supply: 3 alkaline LR03 penlight AAA 1.5V batteries.
• Autonomy: over 1 year.
• Battery low warning.
• Time available for battery replacement: approximately 2
minutes.
• Relay: max. voltage 250 V, max. current 5A with resistive
load (2A with inductive load).
Type of action: 1B-U.
Available contacts: 1 NO-NC switch contacts.