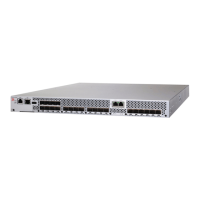
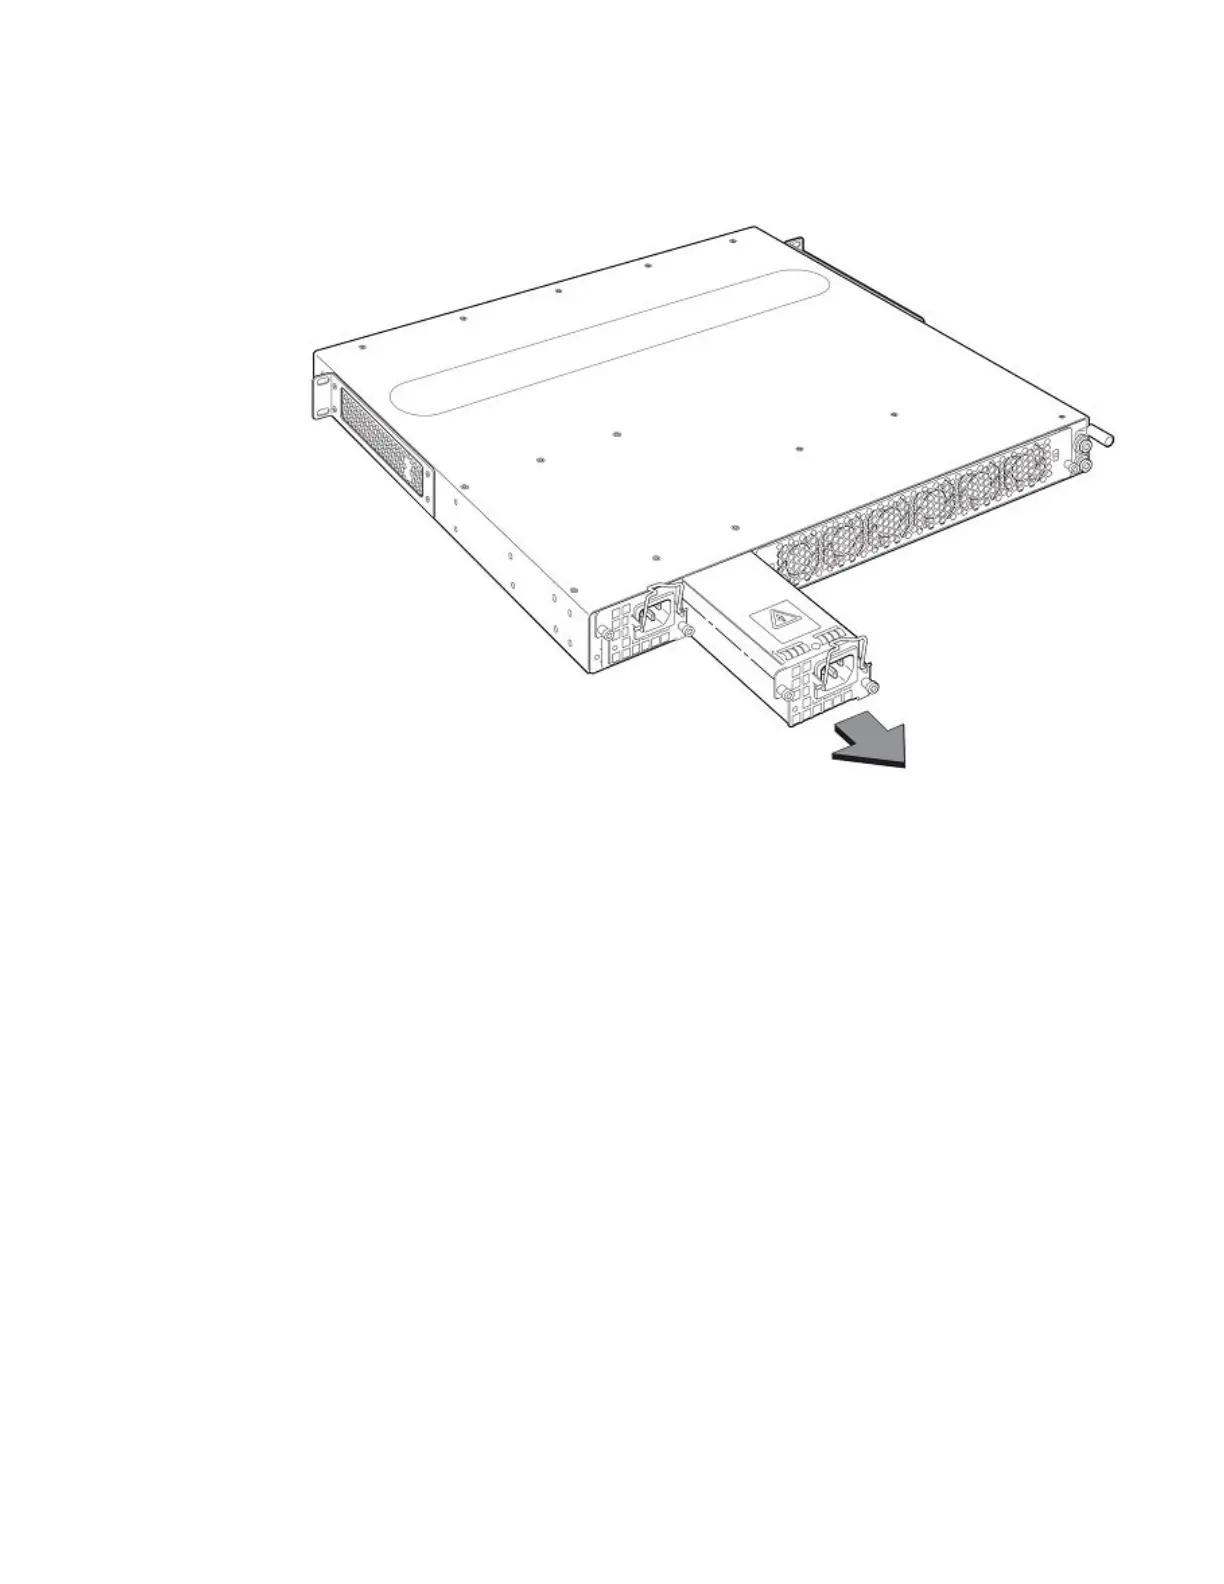
FIGURE 50 Removing the power supply from the device
5. Continue to pull the power supply until it is removed from the device.
6. Place the power supply in an anti-static bag for storage.
7. Insert a new supply, or place and screw in a cover plate over the empty power supply. Refer to
Installing the AC power supply on page 83 for details.
Installing the AC power supply
Perform the following steps to install an AC power supply.
1. Remove the power supply or cover plate currently in the power supply bay you wish to install the
power supply in. Refer to Removing the AC power supply on page 81 for details.
2. Remove the new power supply from its packaging.
3. With one hand, support the underside of the power supply and insert the power supply into the empty
power supply slot. Press until the supply is completely in the slot, so that the connectors on the back
of the supply are fully engaged with the pins on the power backplane.
Installing the AC power supply
Brocade NetIron CES 2000 Series and NetIron CER 2000 Series Hardware Installation Guide 83
53-1003823-01
 Loading...