116
Layout & Editing Inputting Images and Embroidery Patterns
To display the outline extracted from the
analyzed image, select the Show Outline
check box.
Under Analysis Parameters, select the
desired image-analyzing settings.
Noise reduction: Sets the level of noise
(distortions) that is removed from the image.
Segmentation sensitivity: Sets the
sensitivity for the image analysis.
Outline smoothness: Sets the smoothness
of the extracted outline.
Max. Number of colors: Sets the number of
colors used.
From the Thread Chart selector, select the
desired thread color chart. The most
appropriate thread colors from the selected
thread chart are selected. A user thread chart
can also be selected.
To display the original image, click the
Original View tab.
b Memo:
• After changing the settings, click
Retry
to
display the image with the new settings
applied. If
Retry
is not clicked, the new
settings are not applied.
• To quit the operation and close the dialog
box, click
Cancel
.
• To return to the previous dialog box, click
Previous
.
2. On the Result View tab, click the areas of the
image to select whether or not they are to be
sewn.
b Memo:
Areas not set to be sewn are shown filled
with a crosshatch pattern.
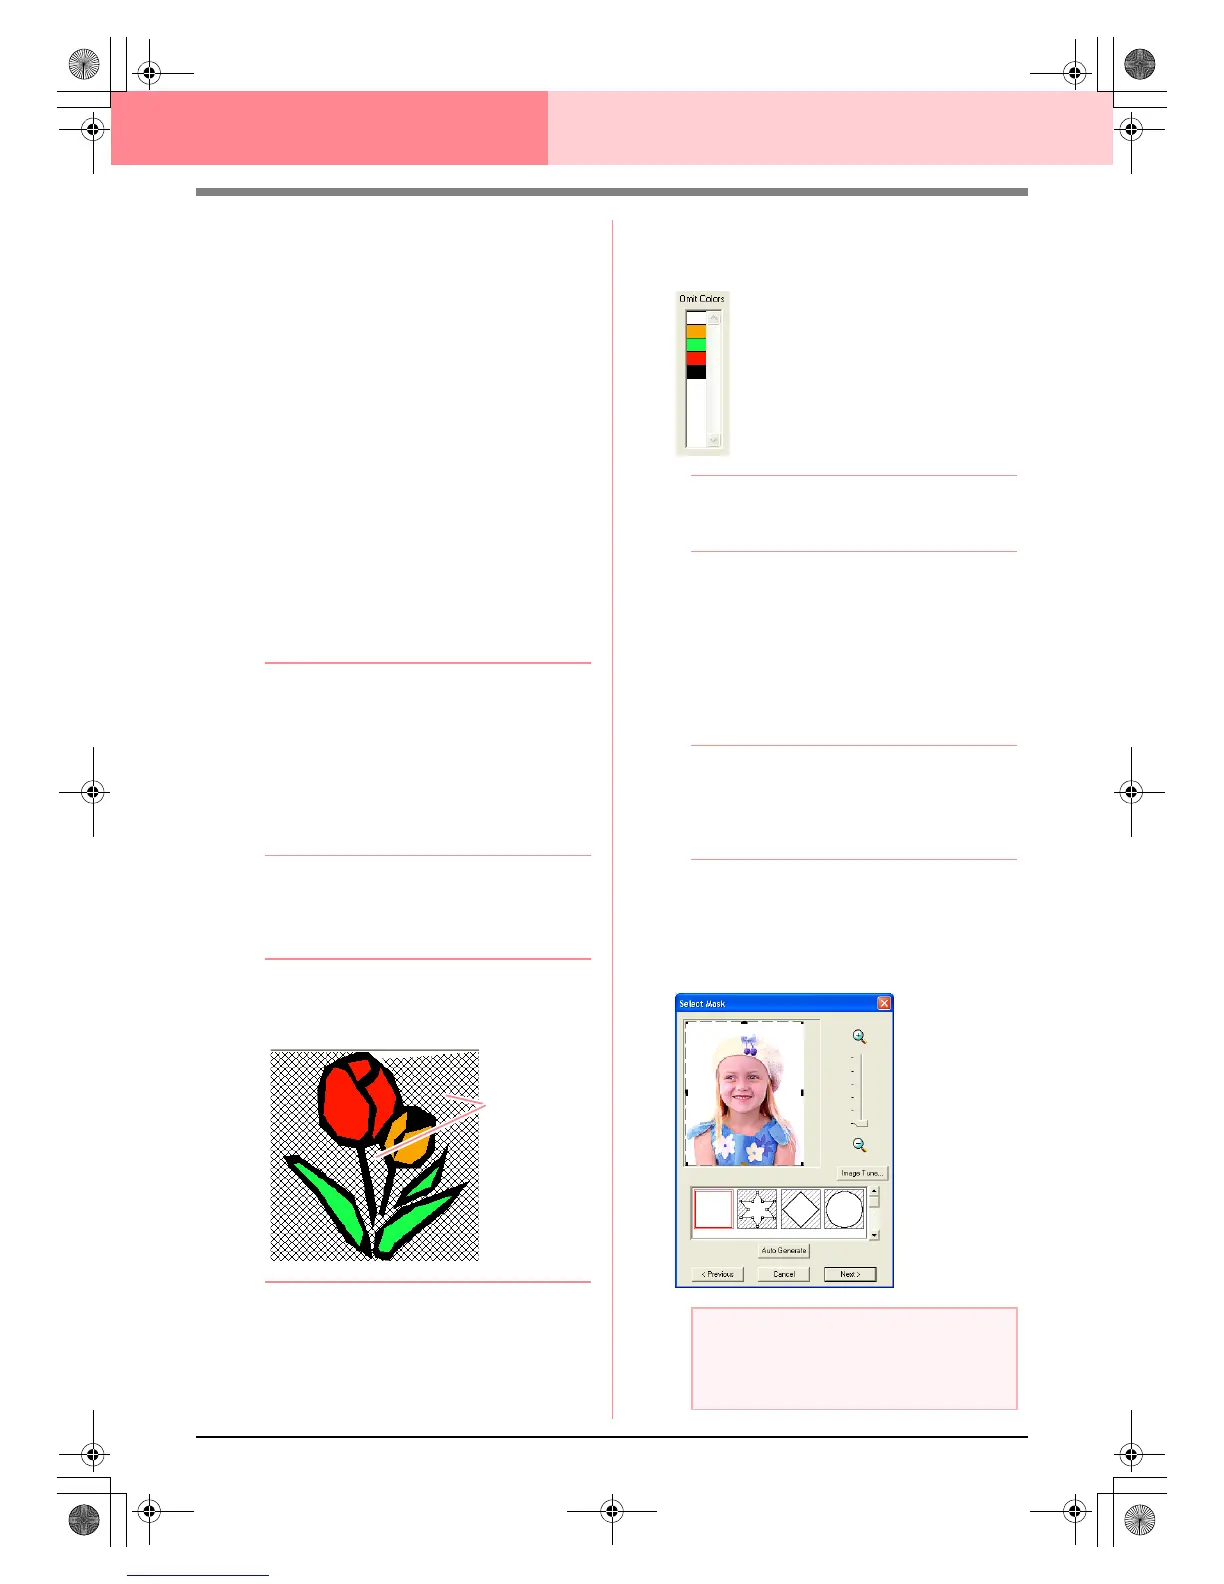
3. If necessary, in the Omit Colors list, click the
colors to select whether or not they will be
sewn.
b Memo:
Colors that are crossed out are set to not be
sewn.
4. After selecting the desired settings, click
Finish.
→ An embroidery pattern is created from the
analyzed data, the appropriate thread col-
ors and sew type settings are applied, and
then the pattern is displayed in the Design
Page.
b Memo:
The sew type settings of the created
embroidery pattern can later be changed in
the same way as the settings for other
objects.
■ If Photo Stitch 1 (Color) is
selected
→ A Select Mask dialog box similar to the
one shown below appears.
These areas
will not be sewn.
a Note:
If the width or height of the image exceeds
500 mm, the Photo Stitch functions cannot
be used.
PeDesignV6Eng.book Page 116 Thursday, July 8, 2004 11:59 AM
 Loading...


