Basic Operation
27
Automatically Creating Embroidery Patterns
Step 3
Adjusting the size and position
of the image
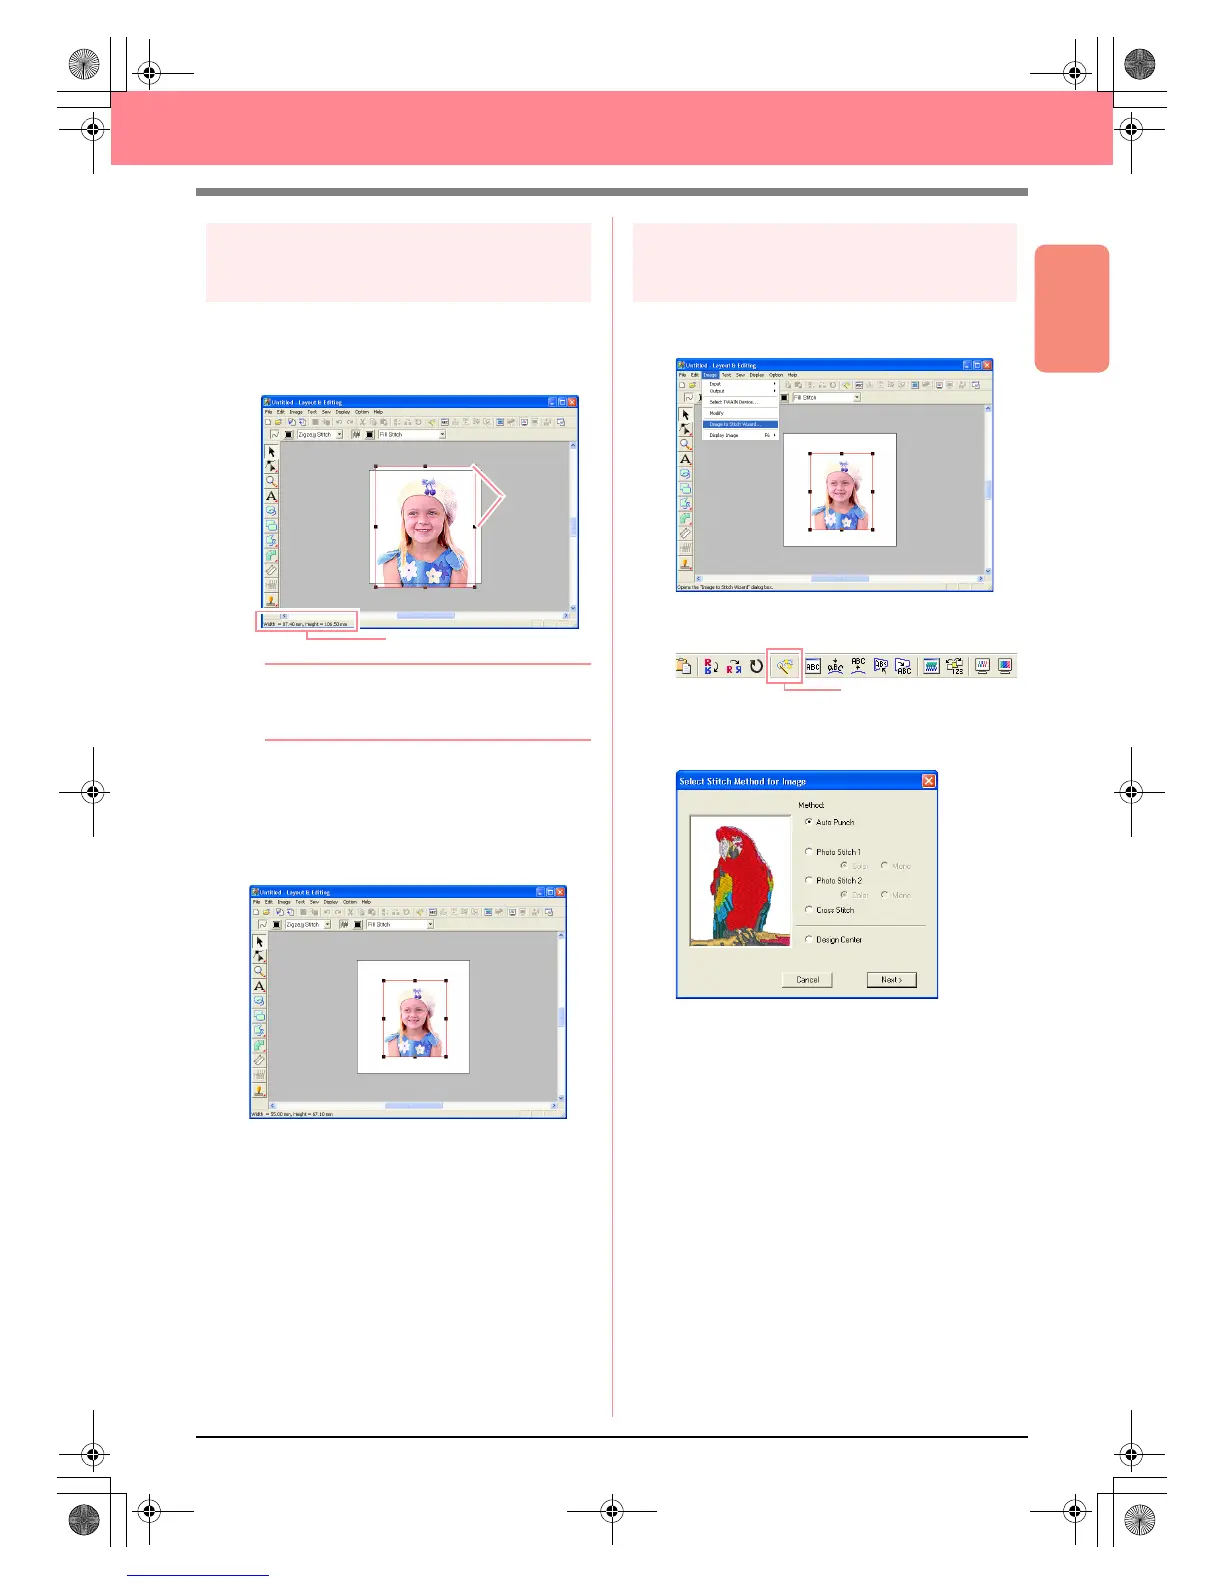
1. Click Image on the menu bar, and then click
Modify.
→ Handles appear around the image.
b Memo:
The status bar shows the dimensions (width
and height) of the image.
2. Adjust the selected image to the desired size,
and move it to the desired location.
c
For more details, refer to , “Changing the
Size and Position of the Image”, on page
114.
Step 4
Automatically converting the
image to an embroidery pattern
1. Click Image on the menu bar, and then click
Image to Stitch Wizard.
An alternate method is to click the Toolbar
button indicated below.
→ The Select Stitch Method for Image dia-
log box appears.
Status bar
Handles
Image to Stitch Wizard
PeDesignV6Eng.book Page 27 Thursday, July 8, 2004 11:59 AM
 Loading...


