15
Tutorial
Tutorial
This section describes the operations of Layout & Editing through the procedures for making embroidery
patterns. First, follow the procedures to create the embroidery patterns and learn the basic operations.
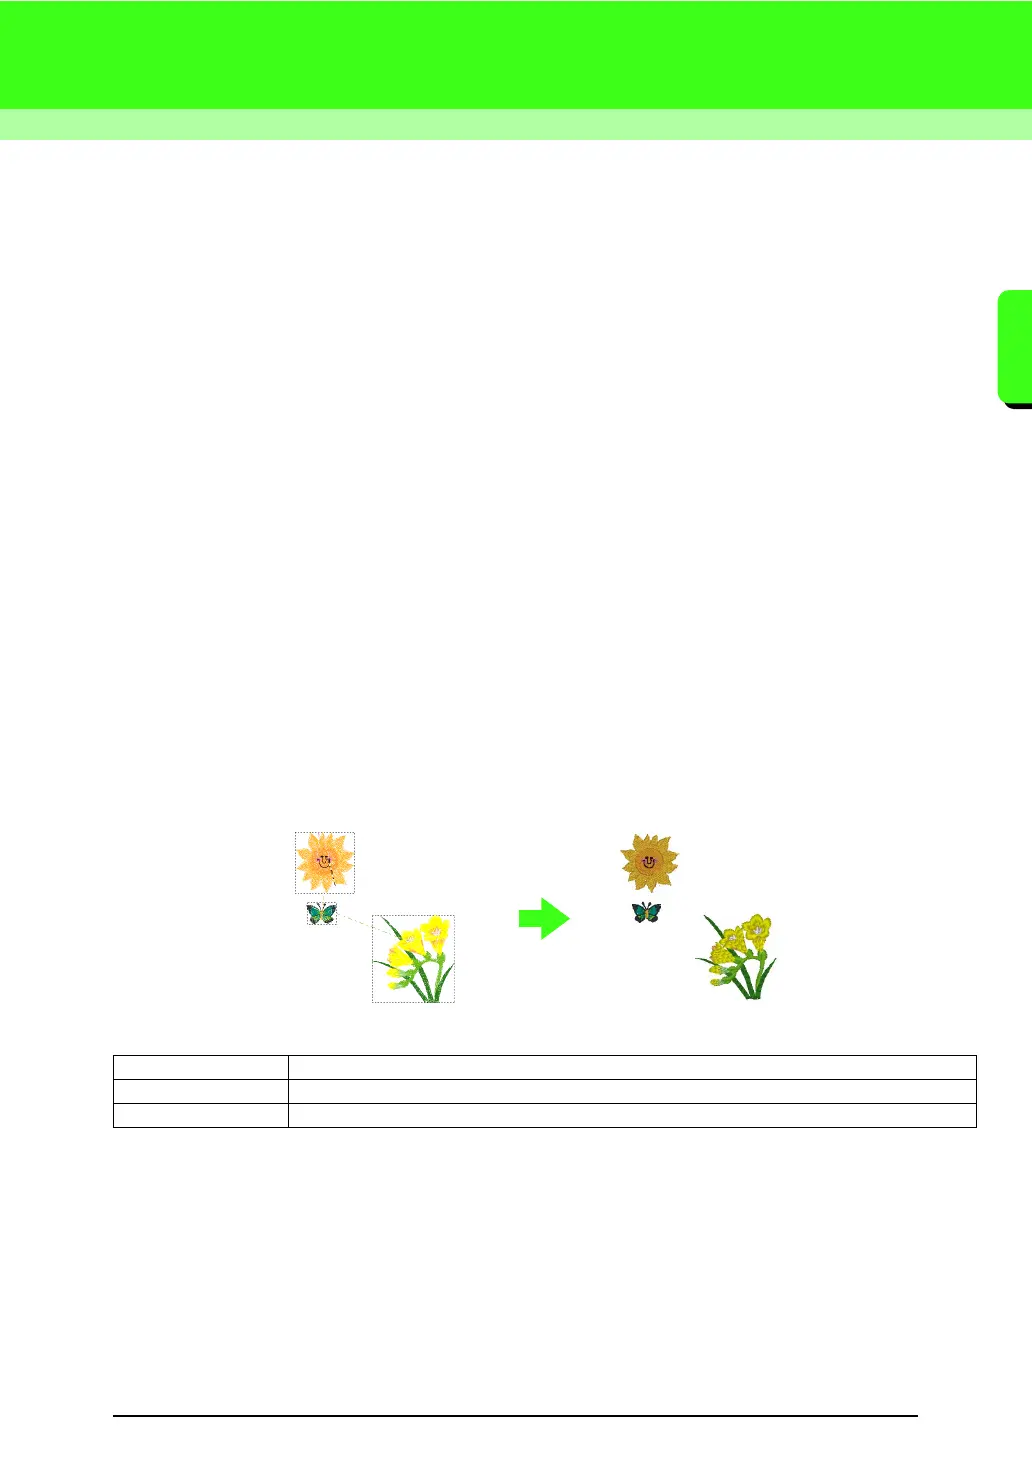
1 Importing Embroidery Patterns (☞ p. 15)
Start up Layout & Editing, and import an embroidery pattern. Then, transfer the created embroidery pattern
to an original card.
2 Automatically Converting an Image to an Embroidery Design (☞ p. 19)
Create an embroidery pattern with the Image to Stitch Wizard.
3 Drawing Shapes to Create an Embroidery Design (☞ p. 29)
Use the Shape tools to draw a design, and then specify the sewing attributes.
4 Entering Text (☞ p. 35)
Create a text pattern, and then arrange it on a shape.
5 Combining Embroidery Patterns (☞ p. 38)
Create an original design by combining various embroidery patterns.
6 Print and Stitch (☞ p. 42)
Create an original design by combining a printed image and an embroidery pattern.
1. Importing Embroidery Patterns
Sample embroidery patterns are provided with this software. These embroidery patterns can be imported into
the Layout & Editing, written to an original card, and used with the embroidery machine.
Here, we will start up Layout & Editing, import an embroidery pattern, then write the pattern to a card.
Step 1 Starting up Layout & Editing
Step 2 Importing embroidery patterns
Step 3 Transferring the design to an original card
 Loading...


