31
OUTBOARD INSTALLATION
HULL PREPARATION
2
OUTBOARD INSTALLATION
HULL PREPARATION
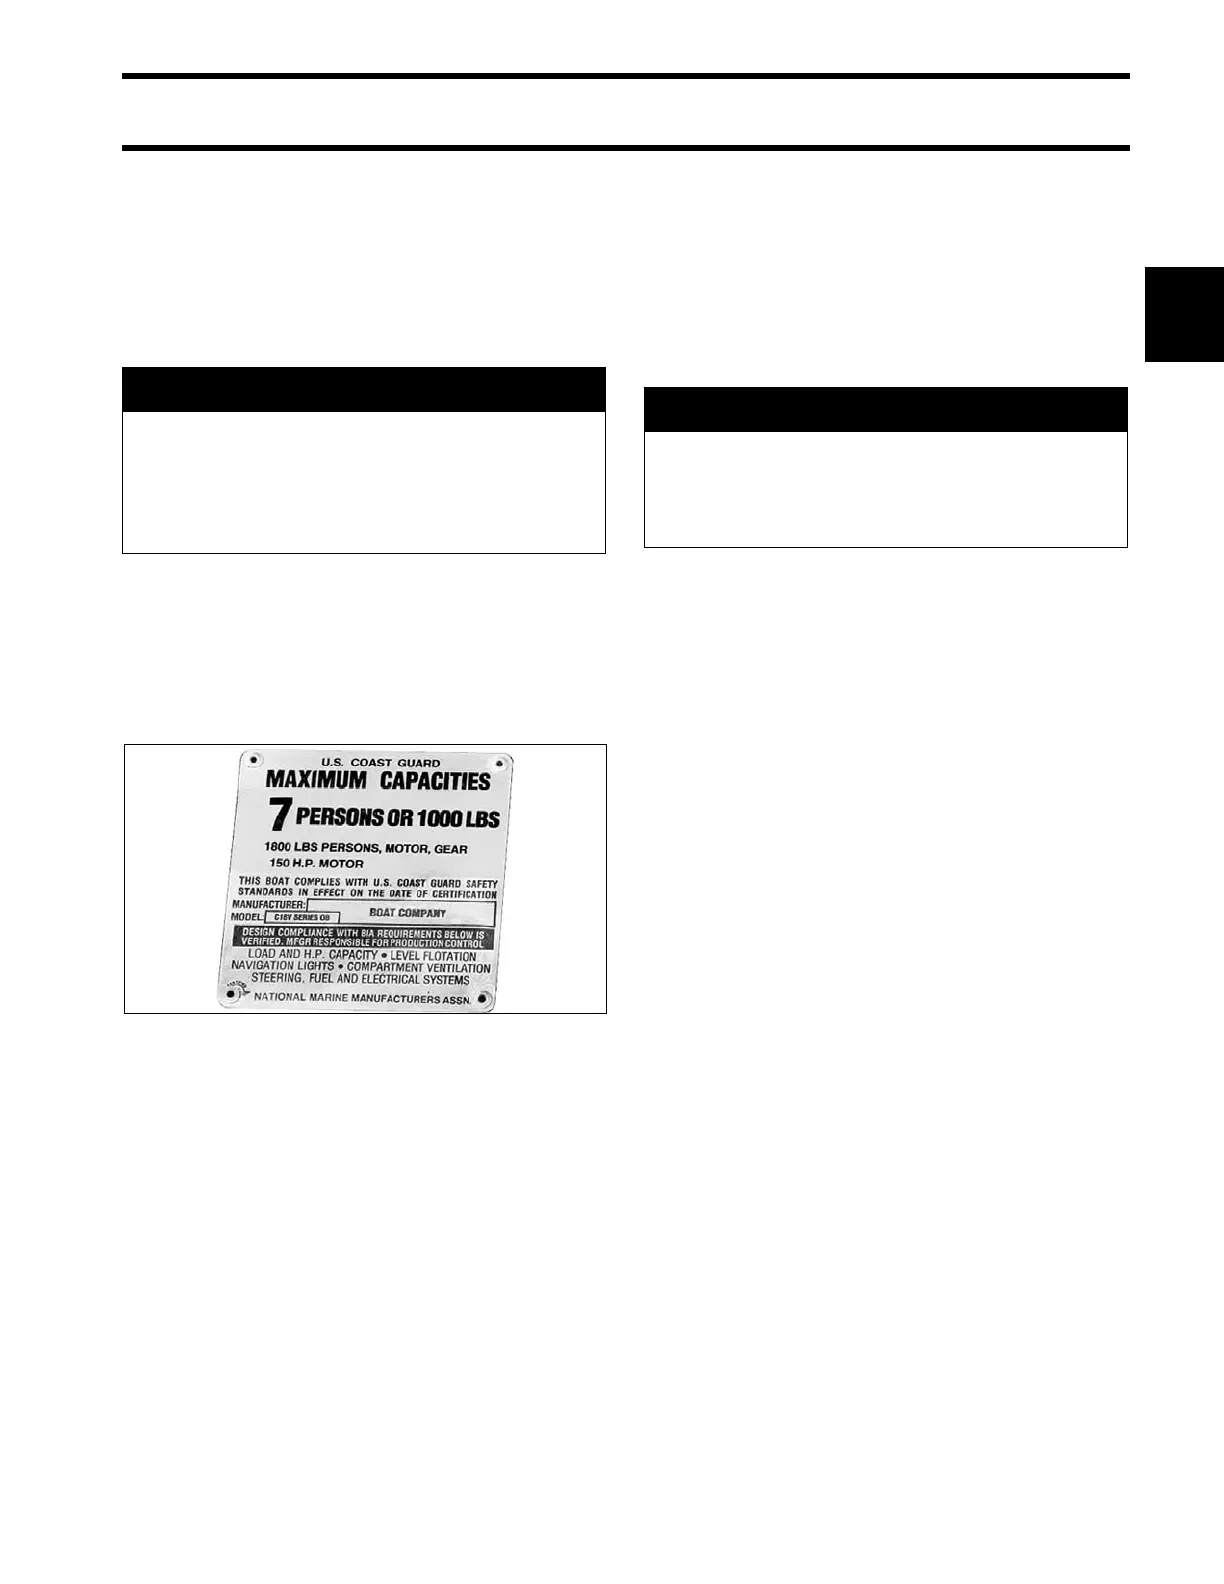
Maximum Capacity
Before installing outboard:
• Refer to the boat man ufacturer's certification
label for maximum horsepower rating.
• Refer t o ABYC S tandards to determine the
maximum horsepower ca pacity for boa ts with-
out certification labeling.
Mounting Surface
Inspect transom surface prior to d rilling mounting
holes.
• The transom should meet ABYC Standards.
• The transom must be flat.
• The transom angle should be approximately 14
degrees.
• Check transom strength and height.
The stern brackets must contact the flat surface of
the transom. Modify trim that prevents th e ste rn
brackets from resting against the transom surface.
Do not modify stern brackets.
Transom Clearances
Make sure the transom and splash well area pro-
vide adequate clearances:
• The top edge of the tran som shou ld be wid e
enough to allow full st eering travel. The ABYC
standard for most single outboa rd inst allations
is 33 in. (84 cm).
• Check cable and hose routing clearances.
• Make sure there is clearance for mounting bolts
and washers. Check the inside area of the tran-
som for obstructions before drilling holes.
Water Flow
Inspect the hull area directly in front of the mount-
ing location.
• Boat-mounted equipment should not create tur-
bulence in th e water flow directly in front of the
outboard's gearcase. Turbulence or disrup tions
in the water flow directly in front of the gearcase
will af fect engine cooling a nd pro peller pe rfor-
mance.
• Avoid locating outboard centerlines within 3 in.
(76 mm) of bottom strakes on dual-outboa rd
installations.
A WARNING
Do not overpower the boat by installing an
outboard that exceeds the horsepower
indicated on the boat’s capacity plate.
Overpowering could result in loss of con-
trol.
1029A
A WARNING
DO NOT install an outboard on a curved or
irregular surface. Doing so can wear, bind,
and damage components, causing loss of
control.