BSMS/2 Mainframe Version 001
Bruker 15
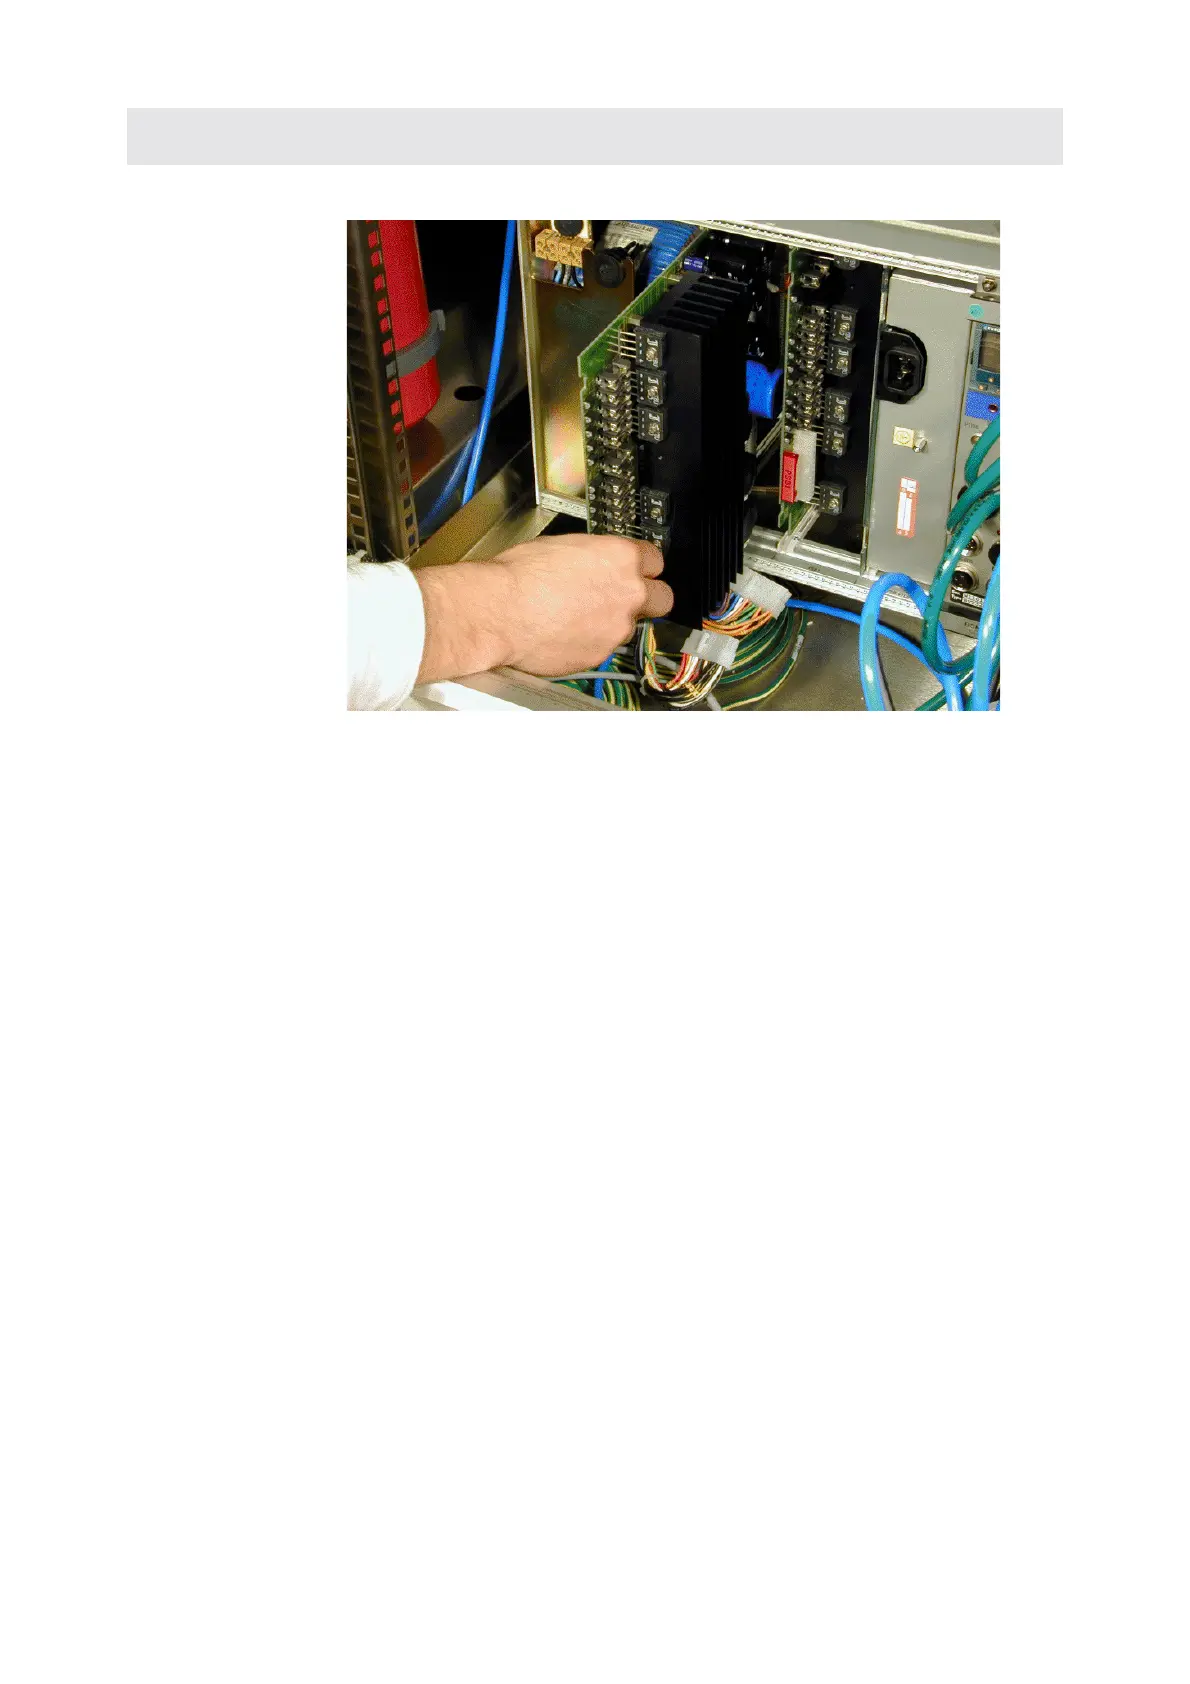
Figure 8: PSB replacement
2. Insert the power supply modules into the rack from the rear (PSB1 right, PSB2
left) and connect them with the AC-plugs.
3. Re-mount the cover plate.
4. Insert the BSMS/2 CPU into SLOT 1 (far left of front rack). Connect the BSMS
keyboard to the CPU.
5. Plug in the mains cable and turn on the BSMS/2.
6. All voltage LED’s on the power supply modules and on the CPU should now be
lit and the BSMS keyboard should run (the display should read ‘Stand By’).
7. In case of a problem, switch off the power supply and check the fuses (see also
Troubleshooting on page 16).