41
Serviceanleitung / Service Manual / / /
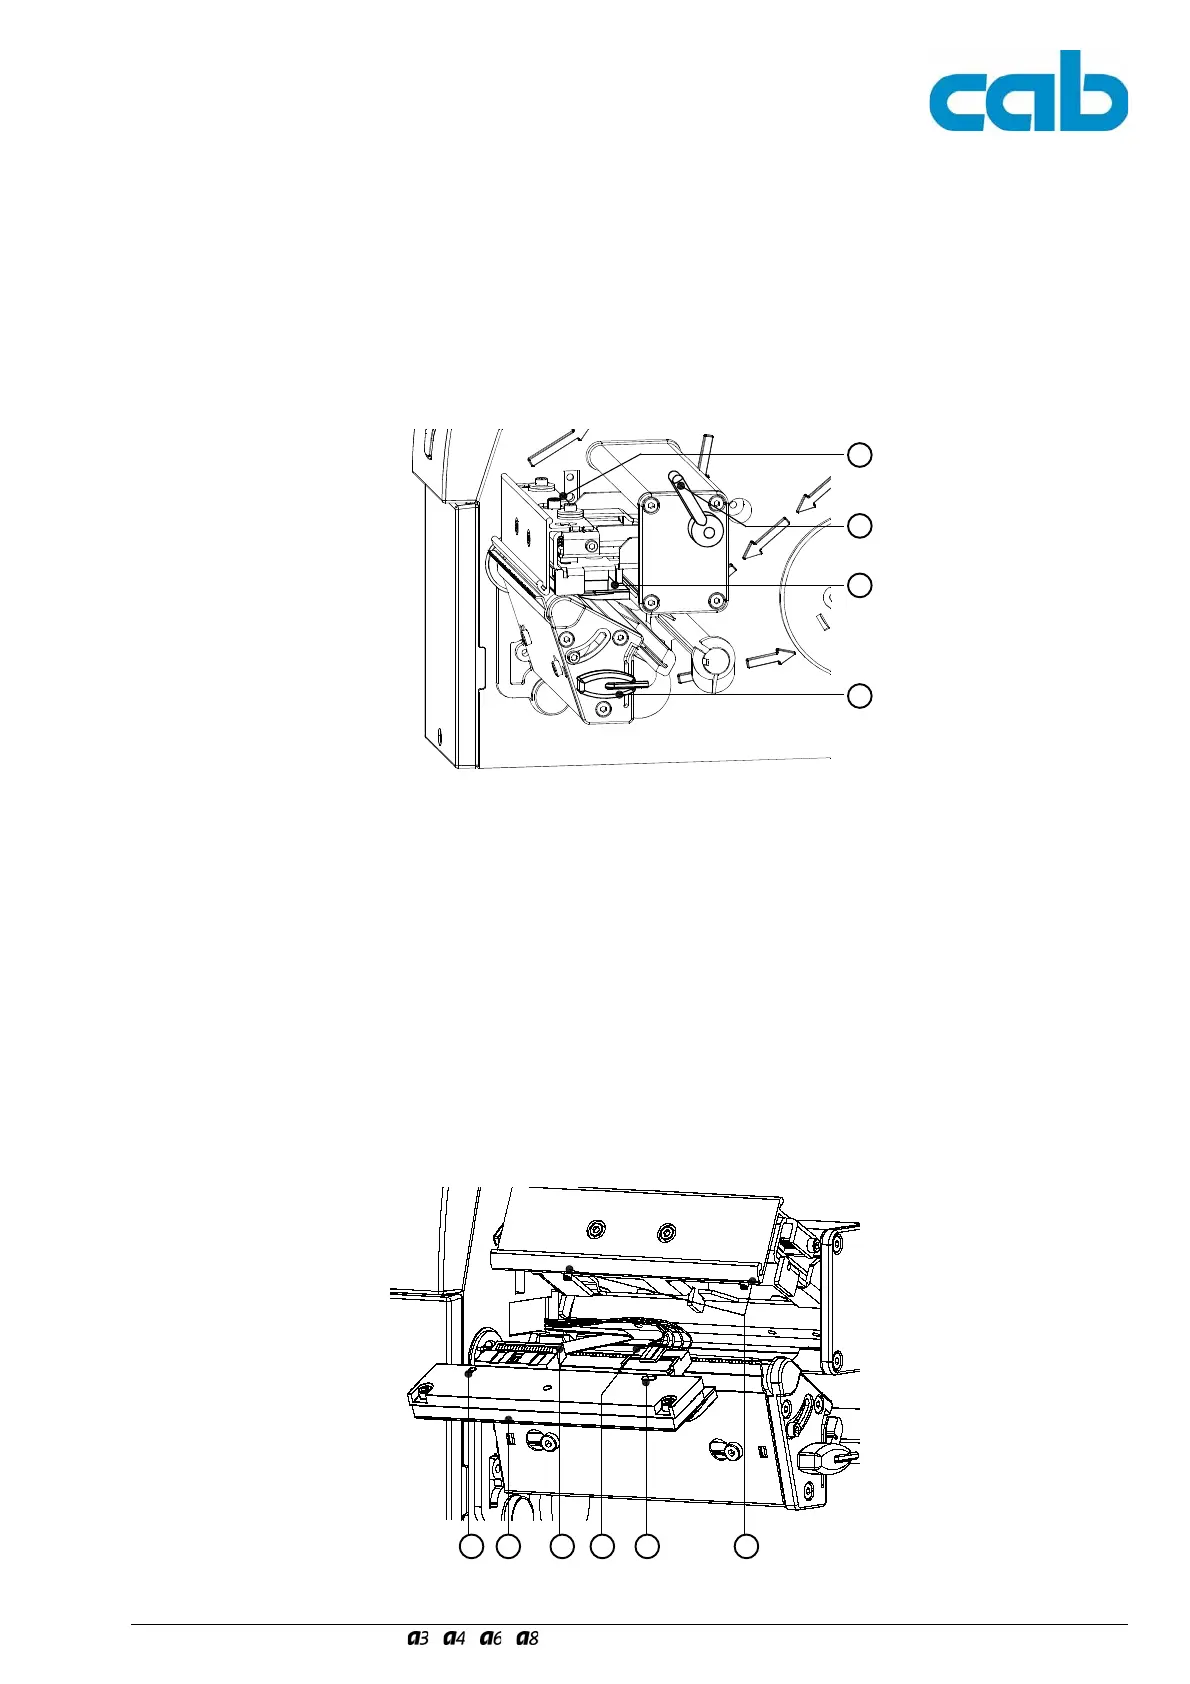
Wechseln Sie den Druckkopf wie folgt:
1. Entnehmen Sie das Material aus dem Drucker.
2. Schwenken Sie den Hebel (6) in die im Bild 15
gezeigte Stellung. In dieser Stellung ist die Druck-
kopfbaugruppe entriegelt, liegt aber noch auf der
Druckwalze auf.
3. Lösen Sie mit dem Sechskantschlüssel (7) die
Feststellschraube (5) für den Druckkopf.
4. Schwenken Sie den Hebel (6) im Uhrzeigersinn bis
zum Anschlag und heben Sie dadurch die Druckkopf-
baugruppe an.
Replace the printhead as follows:
1. Remove the media from the printer.
2. Swing the lever (6) to the position shown in figure 15.
In this position, the printhead assembly is unlocked
but still lying on the print roller.
3. Loosen the printhead locking screw (5) using the
Allen key (7).
4. To lift the printhead assembly, swing the lever (6)
clockwise until it stops.
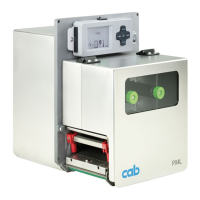
Bild 16Wechsel des Druckkopfes IFig. 16Changing Printhead I
5
6
1
7
5. Ziehen Sie den Druckkopf (1) von den Stiften (11) in
der Druckkopfhalterung ab.
6. Lösen Sie den Druckkopf (1) von den Steckver-
bindern der beiden Druckkopfkabel (9, 10).
7. Stecken Sie die Kabel am neuen Druckkopf an.
8. Setzen Sie den Druckkopf mit den Bohrungen (8) auf
die Stifte (11) auf.
9. Ziehen Sie die Feststellschraube (5) leicht an.
Überprüfen Sie, dass der Druckkopf vollflächig an der
Druckkopfhalterung anliegt.
10. Schwenken Sie den Hebel (6) erneut in die im Bild 15
gezeigte Stellung.
11. Ziehen Sie die Feststellschraube (5) vollständig an,
ohne die Schraube zu überdrehen.
5. Remove the printhead (1) from the pins (11) on the
printhead carriage.
6. Carefully unplug the printhead (1) from the
connectors of the printhead cables (9, 10).
7. Connect the new printhead to the cables.
8. Place the printhead into the assembly and insert the
holes (8) onto the pins (11).
9. Tighten the locking screw (5) by hand. Check that the
printhead is completely secured in the printhead
carriage.
10. Swing the lever (6) again into the position shown in
figure 15.
11. Tighten the locking screw (5) completely. Do not
over-tighten the locking screw (5).
Bild 17Wechsel des Druckkopfes IIFig. 17Changing Printhead II
8 1 9 10 8 11