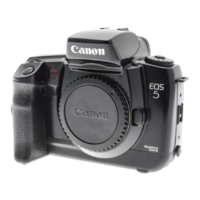
<ADJUSTMENT>
1) Flange focal distance
1. Place the parallel glass against the outer rail surface, and set the camera to bulb.
2. Place the dial gauge on the mount, and measure the aperture’s center and four
corners.
3. If the flange focal distance is not within the standard, change the mount spacer to
adjust.
If the parallelism does not meet the standard, change the parallelism adjustment
washer to adjust.
* If the rail surface is grossly distorted, corrective adjustments will be futile. (The
body must be replaced.)
2) Pressure plate center
1. Close the camera back and set the camera to bulb.
2. Place the dial gauge on the mount and measure the pressure plate center.
3. If it does not meet the standard, replace the film pressure plate.
3) Pressure plate center depression
Calculate the center depression with 1) and 2) above. If it does not meet the standard,
replace the film pressure plate.
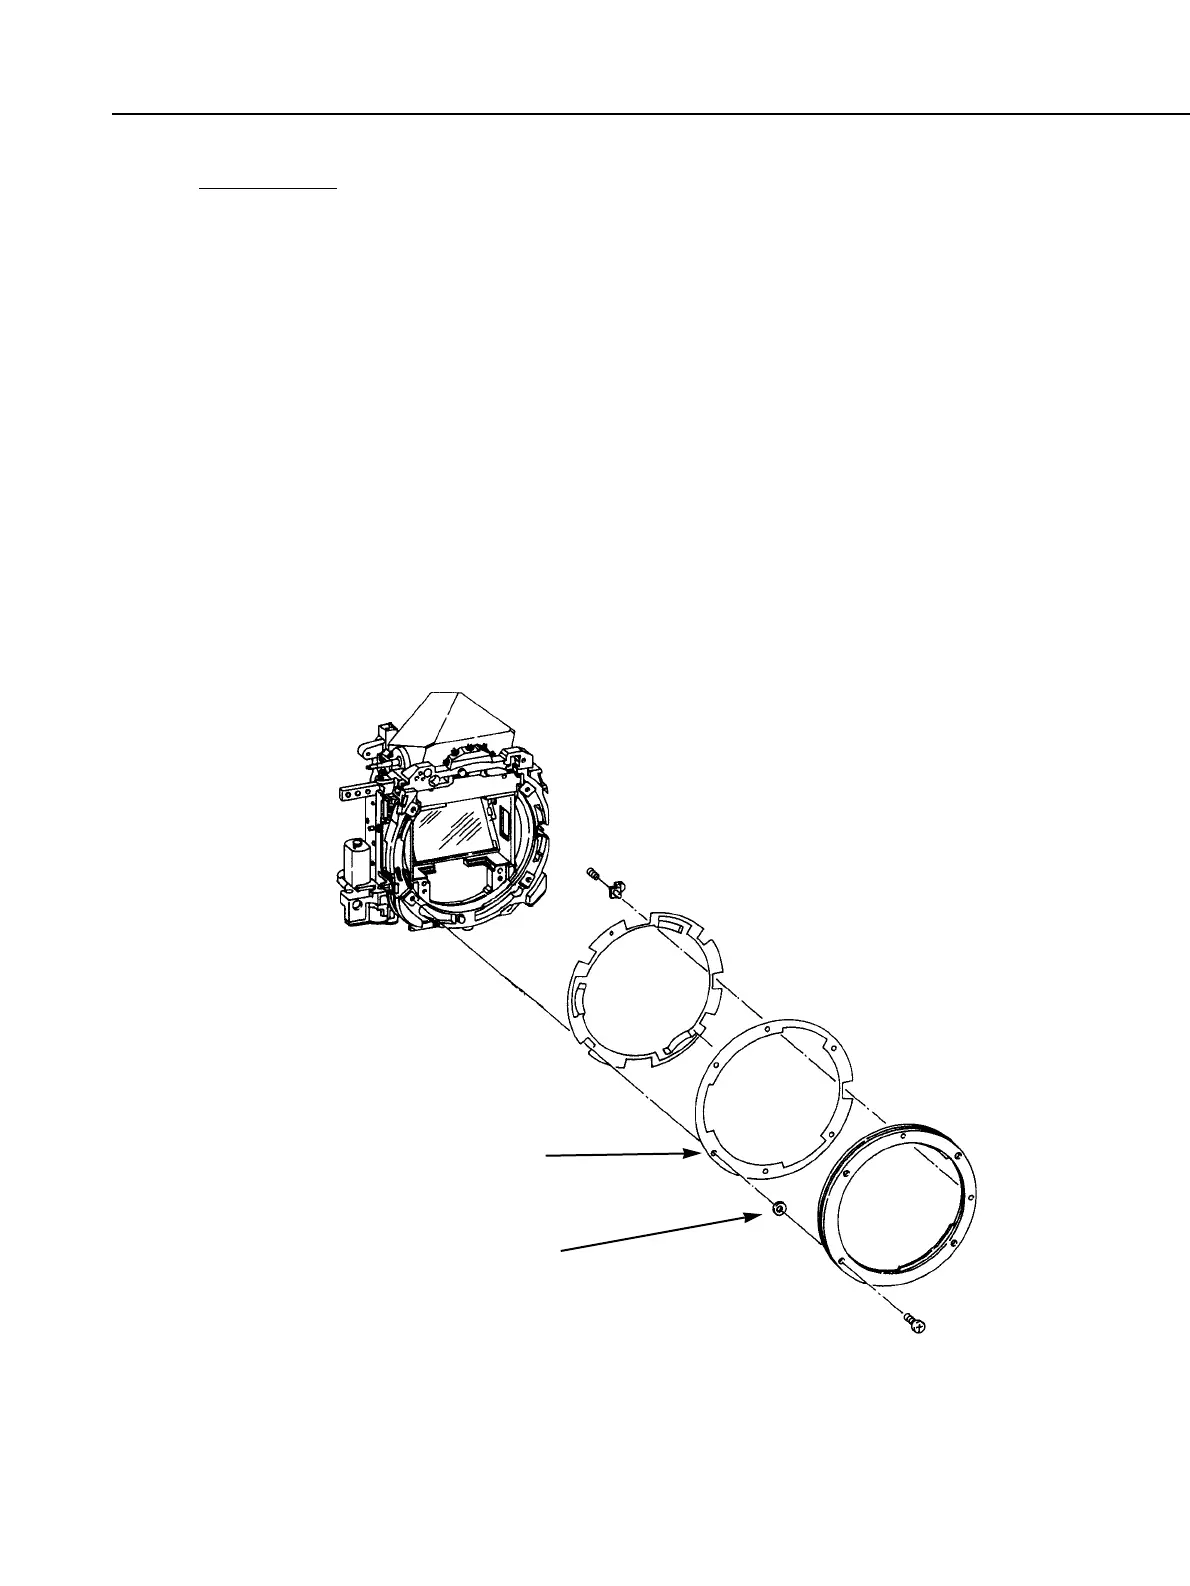
Fig. 3-55 Flange focal distance adjustment
Part 3: Repair Information
3-41
Mount spacer
(Adjustable size)
Parallelism adjustment washer
 Loading...