7-5
Using the Scan Functions
Folder and file names that can be saved
Folder name
The “SCAN_00” folder is created in the
top level directory (root folder) in the USB
memory device. Scanned document files are
saved in this folder.
When the “SCAN_00” folder reaches limit, the
“SCAN_01” folder is automatically created.
Folders up to “SCAN_99” are automatically
created when the current working folder
becomes full.
File name
File names between “SCAN0001.XXX” and
“SCAN9999.XXX” are provided. (“XXX” is the
extension for the file format.)
The two-digit folder number is provided in
the fifth and sixth characters from the left.
A maximum of 100 files can be saved in a
folder.
NOTE
When removing the USB memory device form the port
(1) Press[ ] (Reset).
(2) Press [ ] (Status Monitor/Cancel).
(3) Select <Device Status> using [ ] or [ ] and press [OK].
Status Monitor/Cancel
Device Status
Copy/Print Job
TX Job
RX Job
(4) Select <Remove Memory Media> using [ ] or [ ] and press
[OK].
Device Status
Paper Information
Remove Memory Media
Check Counter
Secure Print Memory
...
(5) Remove the USB memory device.
(6) Press [ ] (Status Monitor/Cancel) after you have checked the
details of the selected job to close the screen.
E-mailing Scanned Documents (D1370 Only)
Attach scanned documents to e-mails and send them to a
specified destination.
This section describes the basic procedure.
Note
Preparing to Use the E-mail Functions
You can send scanned documents to your e-mail application. You
can convert scanned documents into PDF files and send them to
the destination (e-mail application) as e-mail attachments.
Please read “Network Settings” in the e-Manual and configure your
e-mail settings before using the e-mail function.
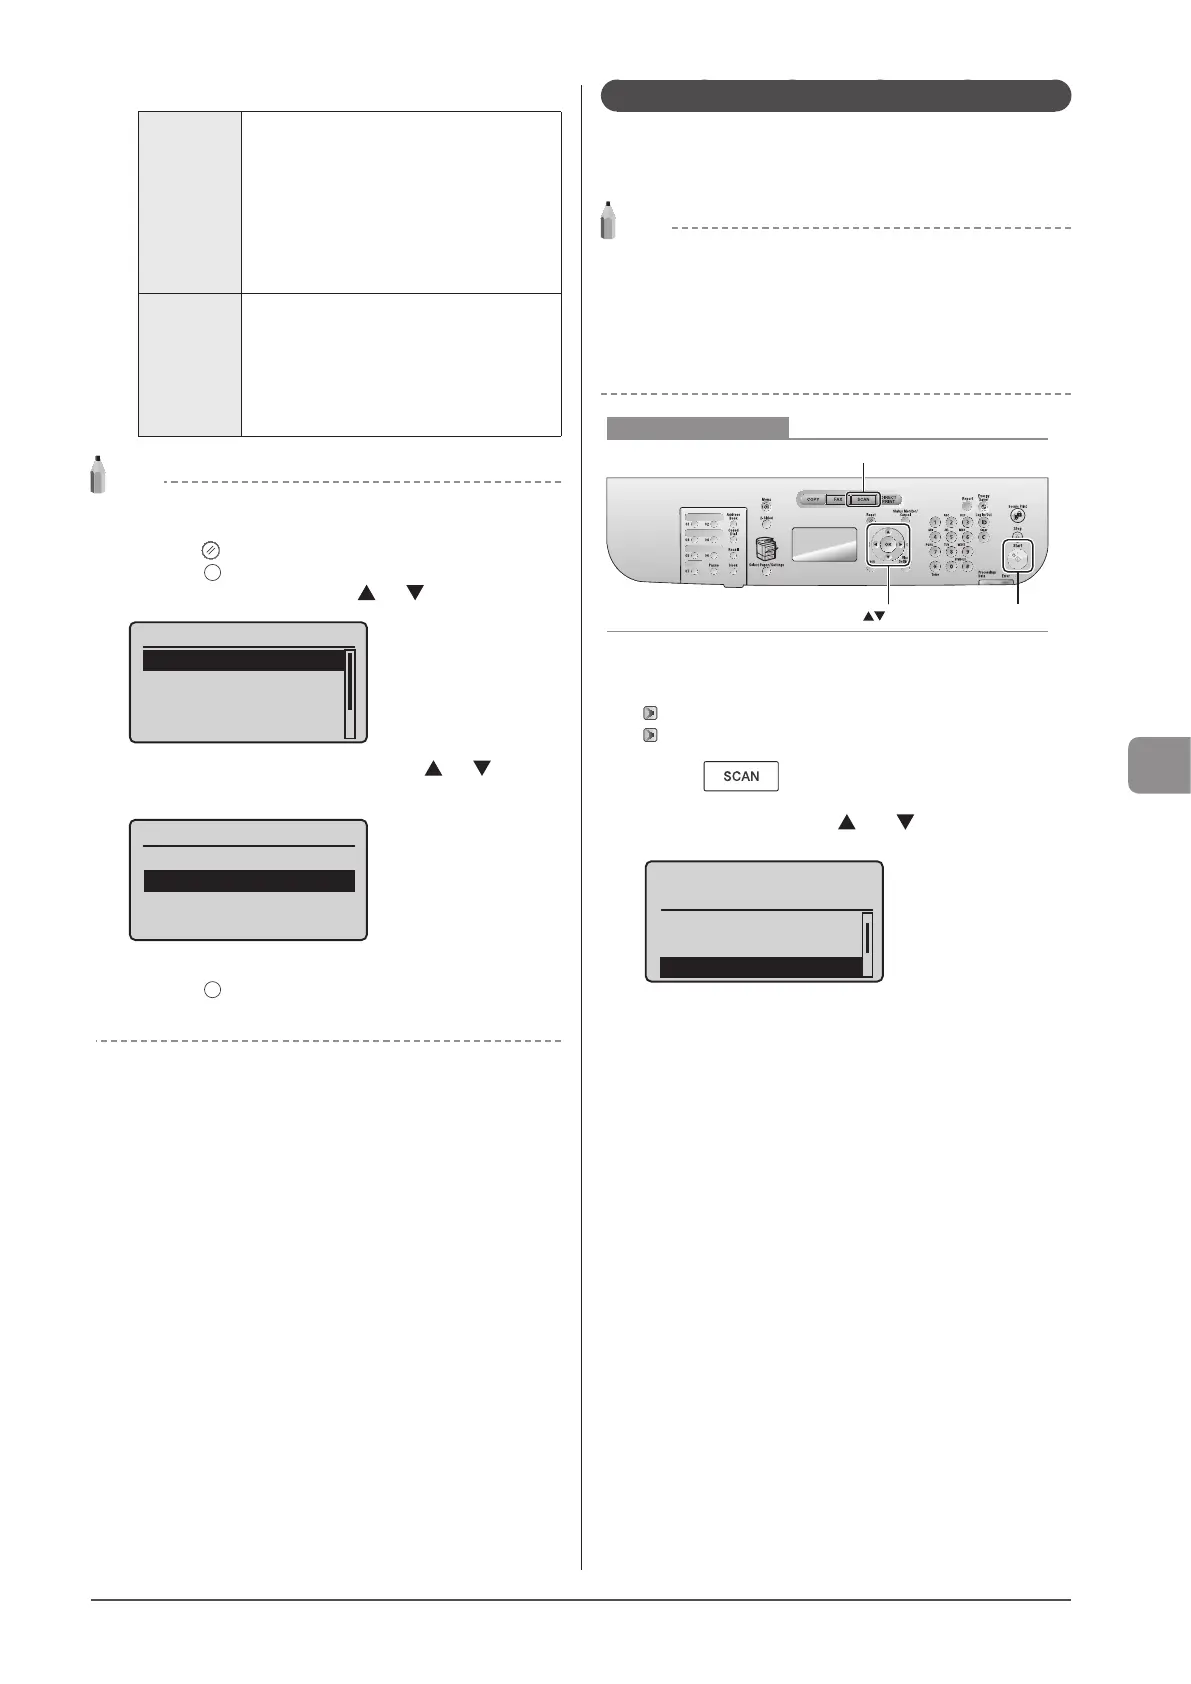
Keys to be used for this operation
OK Start
SCAN
1 Place your document.
“Loading Paper” (→P. 2-9)
“Supported Document Types” (→P. 2-2)
2 Press [ ].
3 Select <E-Mail> using [ ] or [ ] and press [OK].
Select the scan type.
Remote Scanner
Memory Media
E-Mail
4 Specify the destination.
Specify destinations in the following ways.
For details on the setting procedure, see “Scanning” in the e-Manual.
• input directly
• by selecting a one-touch key
• by selecting a coded dial code
• from the Address book
• under sequential broadcasting
5 Specify the scan settings based on your purpose
of the scan.
The following settings can be changed.
For details on the setting procedure, see “Scanning” in the e-Manual.
• Scan size
• Color Mode
• File Format
• Density
• Original orientation
• Original Type
• 2-Sided Original
• Sharpness
• Data Size
The settings specified here are effective only for the current task. To
make the settings effective for all e-mail send
operations, see “Scanning” in the e-Manual.