17
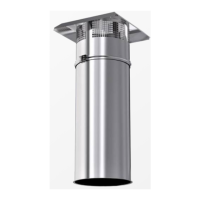
Factory and Field (Bolted and Welded) Risers
There are two options for the riser, this is the connection to hood plenum. There may be welded (factory or
field) or bolted.
Dimensional data identifying the size and location of the riser must be provided for factory installation. The
riser is fully welded to the hood plenum.
When field installed, the riser is shipped loose allowing the installer at the jobsite to decide on the final
location of the riser. Field installed risers help when the final location is not known, or adjustments may
need to be made due to duct misalignments. Field installed risers may be welded or bolted in place.
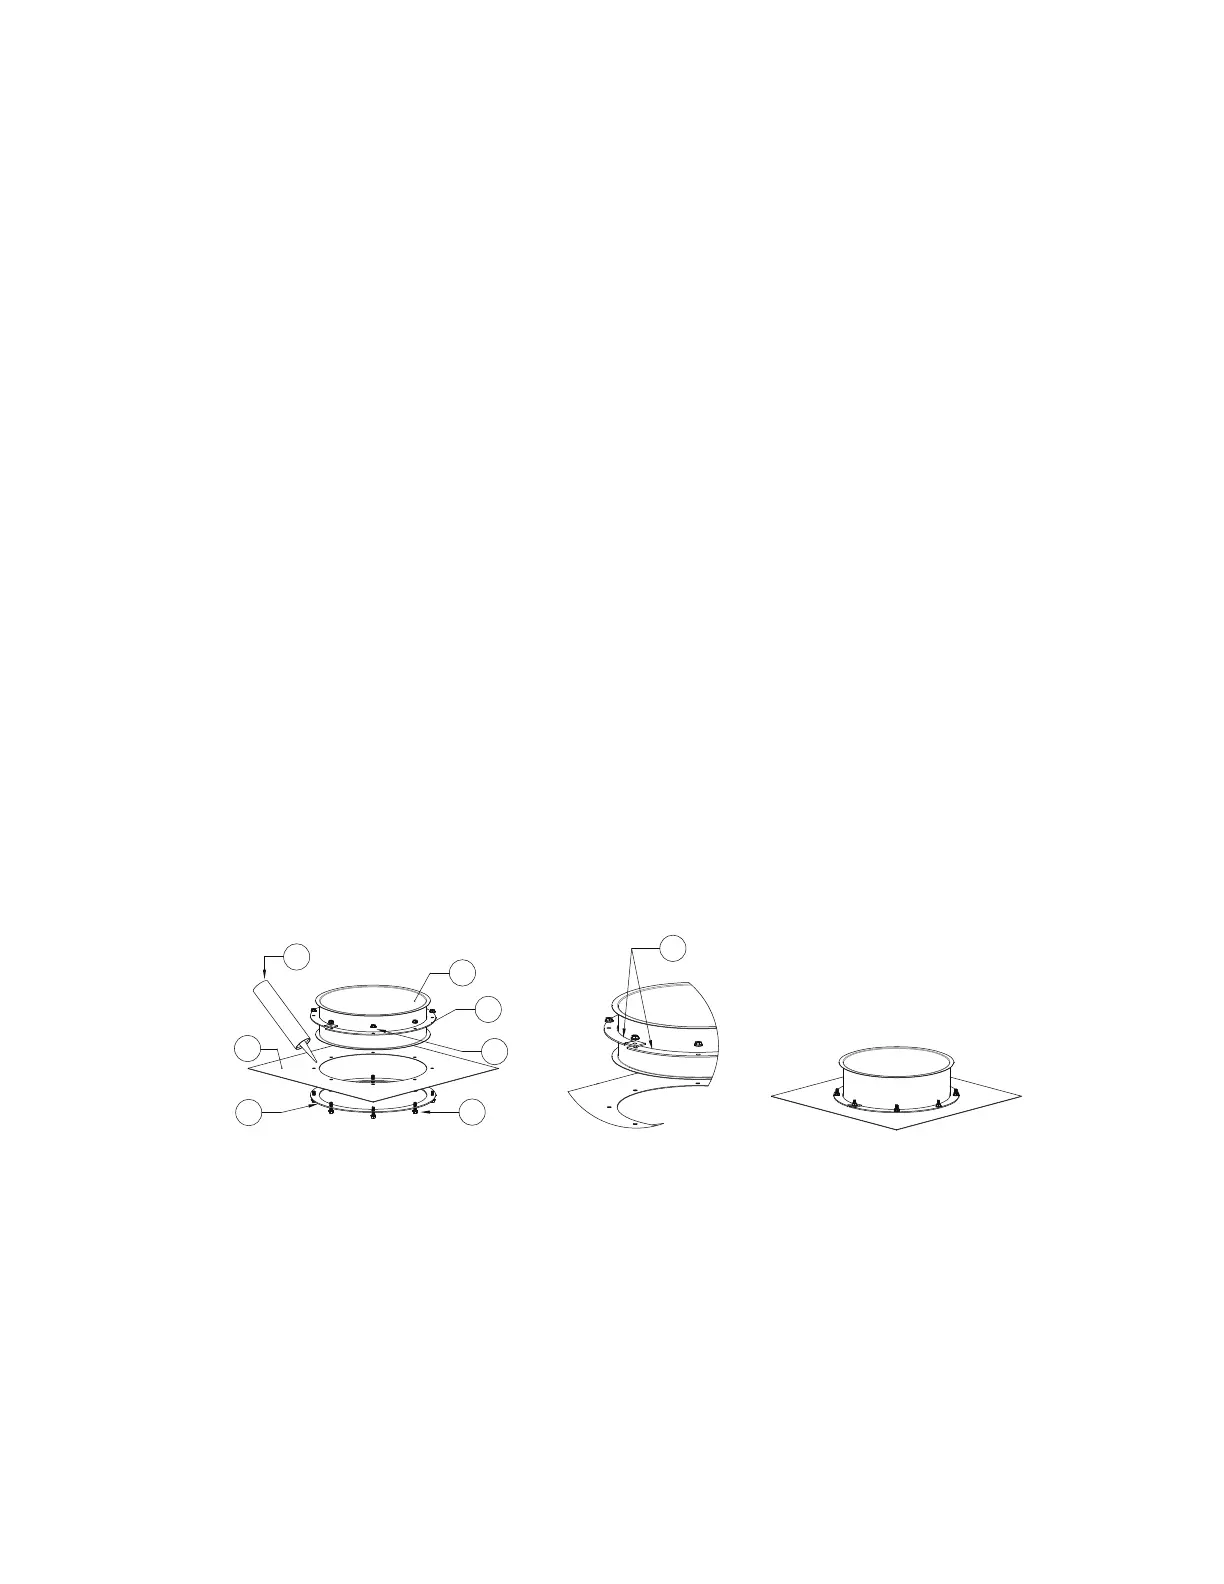
1. Locate the specific position at which the riser needs to be installed.
2. Use the riser as a guide when marking the hood.
NOTE: Verify the hole location is inside the plenum area before cutting any holes.
3. Use the single piece riser ring as a template to mark the bolt hole locations. Align the inner circles of
the hole in the plenum with the single piece riser ring. Mark the bolt hole circle. Make sure the bolt hole
circle is inside the plenum area before cutting.
4. Use 3M Fire Barrier 2000+ Silicone to seal around the riser hole. Apply sealant to the top and bottom
of the hole. Make sure the silicone bead is a minimum of 1/4” thick and is continuous inside and
outside of the bolt hole circle.
5. Center the riser over the hole in the plenum and push down. Make sure the riser flange is positively
sealed. Make sure the two piece riser ring on the riser is pushed down into the sealant. Sealant should
come through the holes on the ring.
6. Align the single piece riser ring to the hole on the inside of the plenum and push into the silicone.
7. Align the two piece riser ring above the hood and bolt the rings together using 1/4”-20 bolts and nuts.
Make sure the tabs are on top.
NOTE: The bolt head must be installed on the plenum side. This is the bottom side of the hood
plenum.
8. Excess silicone should be removed, and the connection should be inspected for gaps and loose
hardware.
9. When joining duct to the riser, refer to “Double Wall Connection to Riser” on page 18.
Figure 8 - Field Installed Riser (Bolted)
1. 3M Fire Barrier 2000+ Silicone
2. Riser
3. Two Piece Riser Ring
4. 1/4”-20 Nuts
5. 1/4”-20 Bolts
6. Single Piece Riser Ring
7. Top of Hood