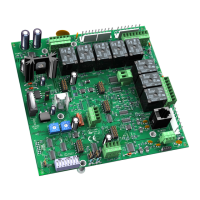
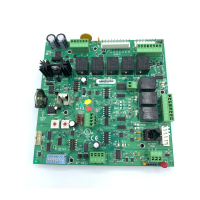
RTU Open 23
To wire a duct sensor to the controller
1 Connect the wiring harness (Part#OPN-RTUHRN). For details, see To wire inputs and outputs (page 14).
2 Wire the sensor to the wiring harness. See diagram below.
3 Connect to J2 wires 1 and 2.
4 Verify your sensor readings.
5 Drill .25" diameter hole. Pass sensor leads through bushing and insert assembly into hole. Secure leads
to ductwork with aluminum tape.
NOTE Sensor termination requires installation of RTU Open wiring harness assembly (Part #OPN-RTUHRN).
Wiring an Outdoor Air Temperature sensor
Part #33ZCSENOAT
Outdoor Air Temperature (OAT) is required to utilize all of the RTU Open’s features. OAT may be provided by a
local sensor (shown below) or a linked sensor in another controller. See Single Point Linkage (page 73).
Wiring specifications
Cable from sensor to controller: If <100 ft (30.5 meters) 22 AWG, unshielded
If >100 ft (30.5 meters) 22 AWG, shielded
Maximum length: 500 feet (152 meters)
To wire an OAT sensor to the controller
1 Connect the wiring harness (Part#OPN-RTUHRN). For details, see To wire inputs and outputs (page 14).
2 Wire the sensor to the wiring harness. See diagram below.
 Loading...