23Perform a Method
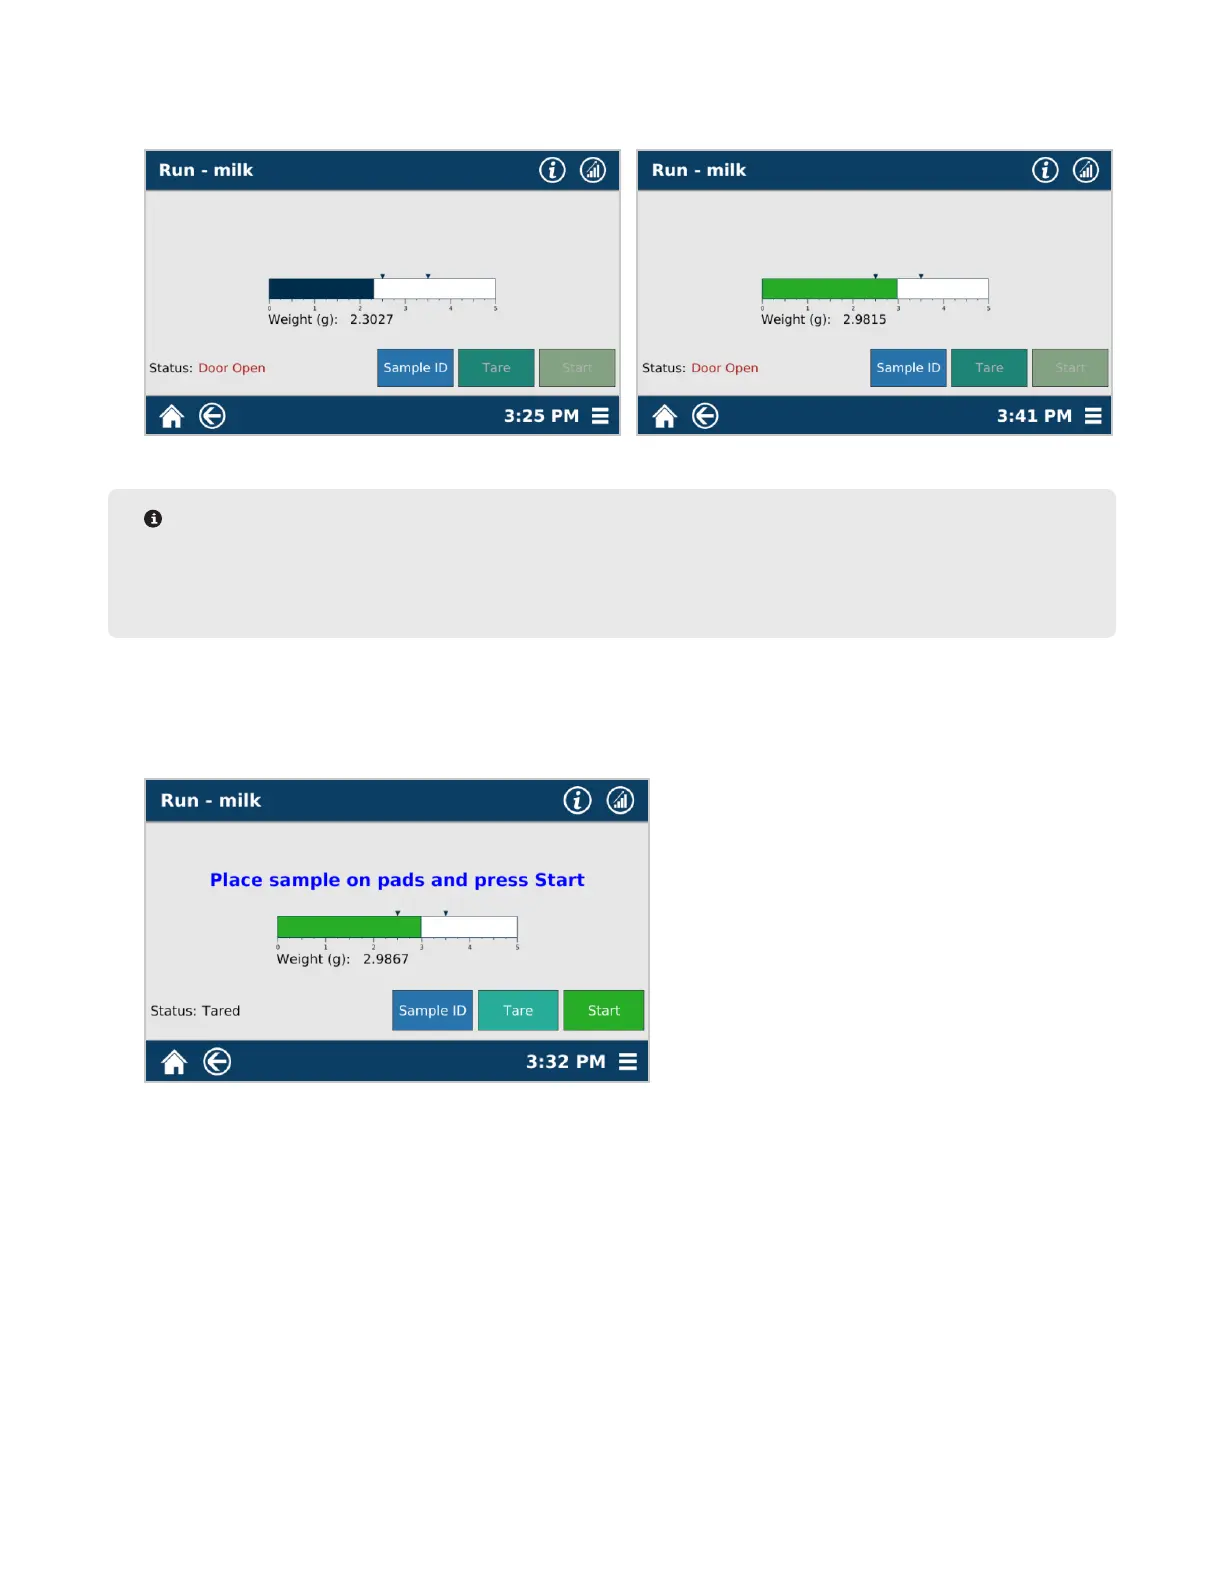
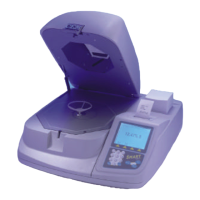
6. Once the sample pads have been tared, add the correct amount of sample to the pad and use the appropriate
application technique. The sample bar representing sample weight will change from BLUE to GREEN once it is
within the designated sample weight range created during method development.
NOTE
If it is unclear how to add the correct amount of sample or the correct sample spread technique, refer to
the video titled “Run Sample” for assistance. If there are still questions, contact us at (800) 726-3331 or
email us at process.support@cem.com.
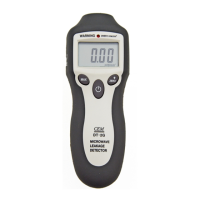
7. After the sample has been added and properly spread, center the pads on the balance pan, gently close the
instrument cover, and press START. The system will automatically record a stable initial weight, and begin its
heating procedure based on the parameters for the method that was chosen. If the system does not begin to
heat within 10 seconds of pressing start, press STOP and contact CEM Service (800) 726-5551.
8. During the analysis, two screens are available for viewing
• Simple - This screen presents only the Moisture or Solids result during the testing process.
• Advanced - This screen includes the weight, sample ID, and all testing parameters specic to the method. No
values can be altered while performing the test.