Pulse input data is stored for up to 30 days.
This guide explains how to install and configure the Advanced 4
th
Gen Bridge.
For information on previous generations of bridges, see the corresponding
installation and configuration guides.
Unpacking the Hardware
We recommend that you follow these unpacking instructions before installing
the hardware.
How to Proceed
1. Check the box. If any damage occurred during shipment, contact your
sales representative.
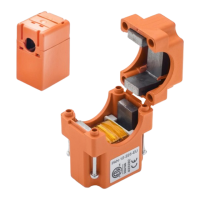
2. Open the box. It should include the following items:
• Bridge
• Cellular antenna
• RF antenna, labeled Rx-1 (Europe) or Rx-2 (USA)
• Pluggable adapters for the pulse inputs
• Pluggable adapter for the Modbus input
• DIN rail adapter with mounting screws
• 5V DC wall adapter
• 4-piece reclose able fastener with adhesive
3. Keep the box in case you need to repack the bridge later.
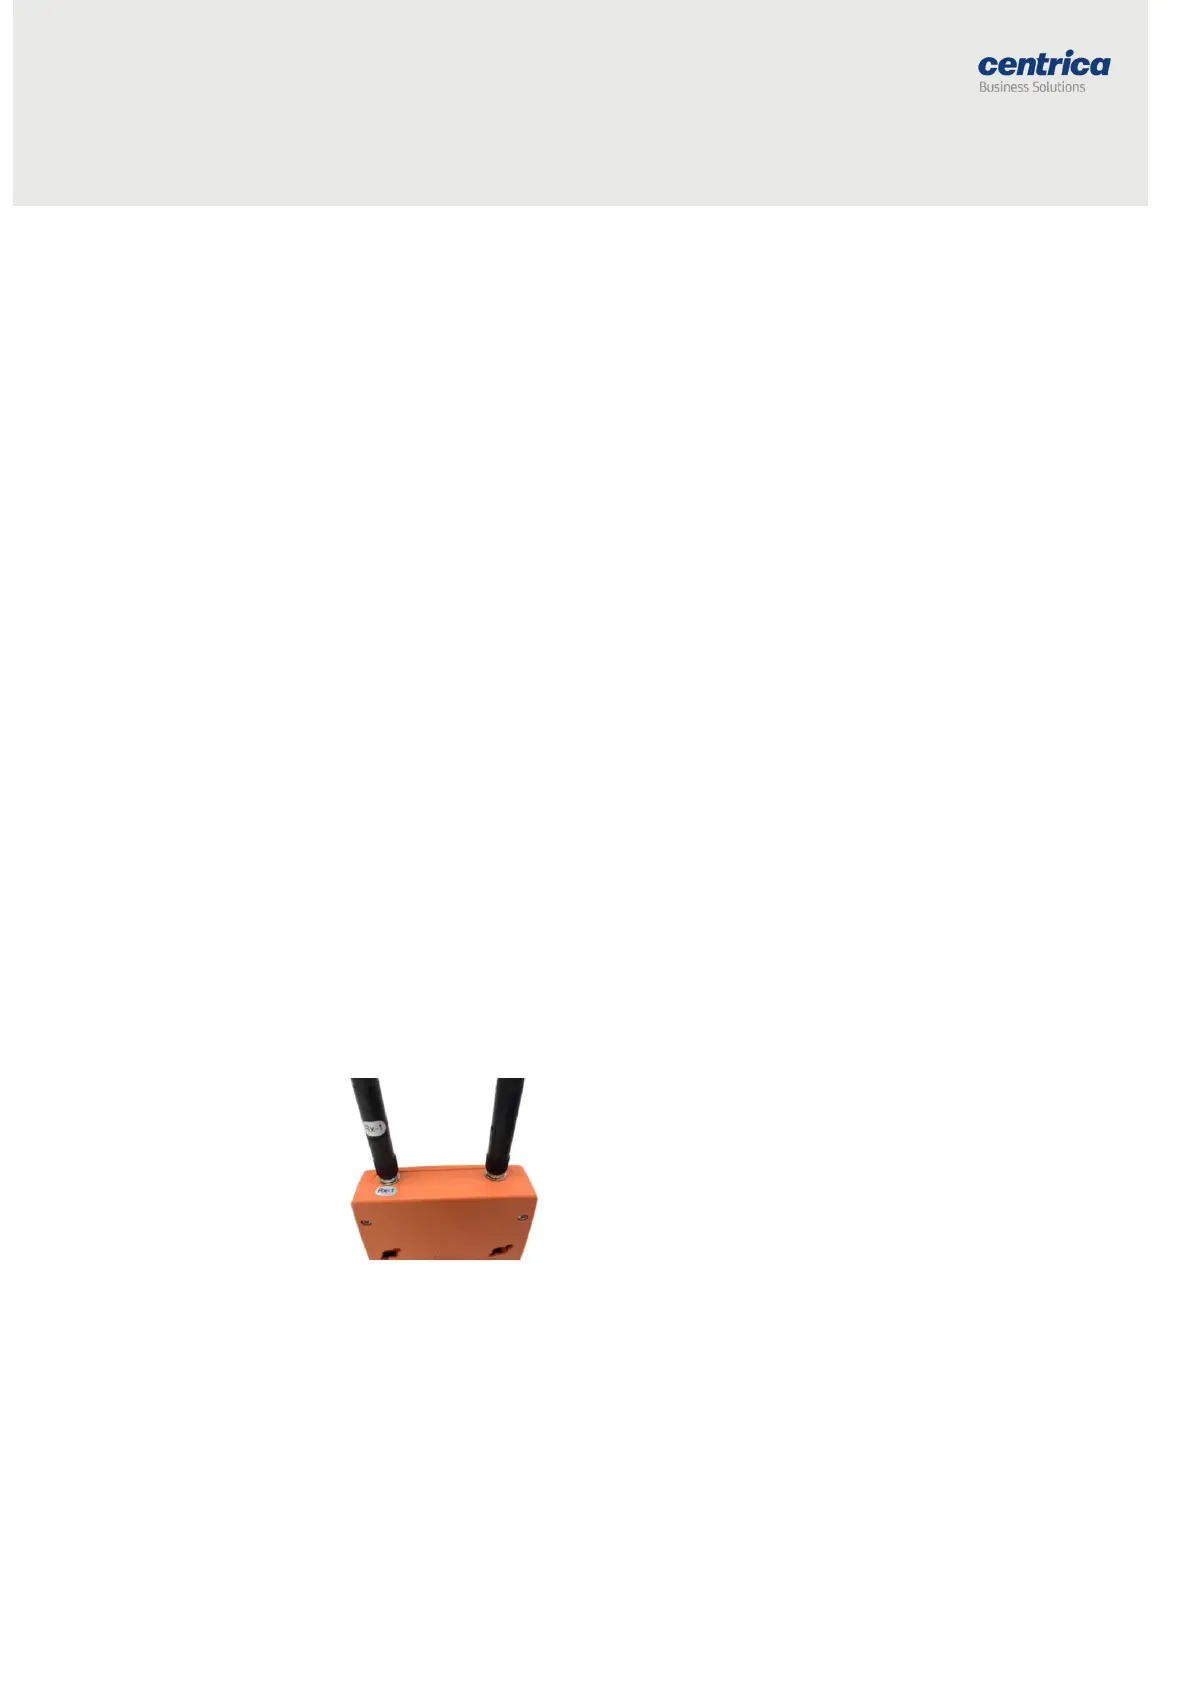
Attaching the Antennas
Before performing any connections, mount the antennas onto the bridge as
follows:
1. (European model) Screw the RF antenna labeled Rx-1 into the
connector marked Rx-1, as shown below.
2. (US model) Screw the RF antenna labeled Rx-2 into the connector
marked Rx-2.
3. Screw the cellular antenna into its connector.
4. Position the antennas as shown below.