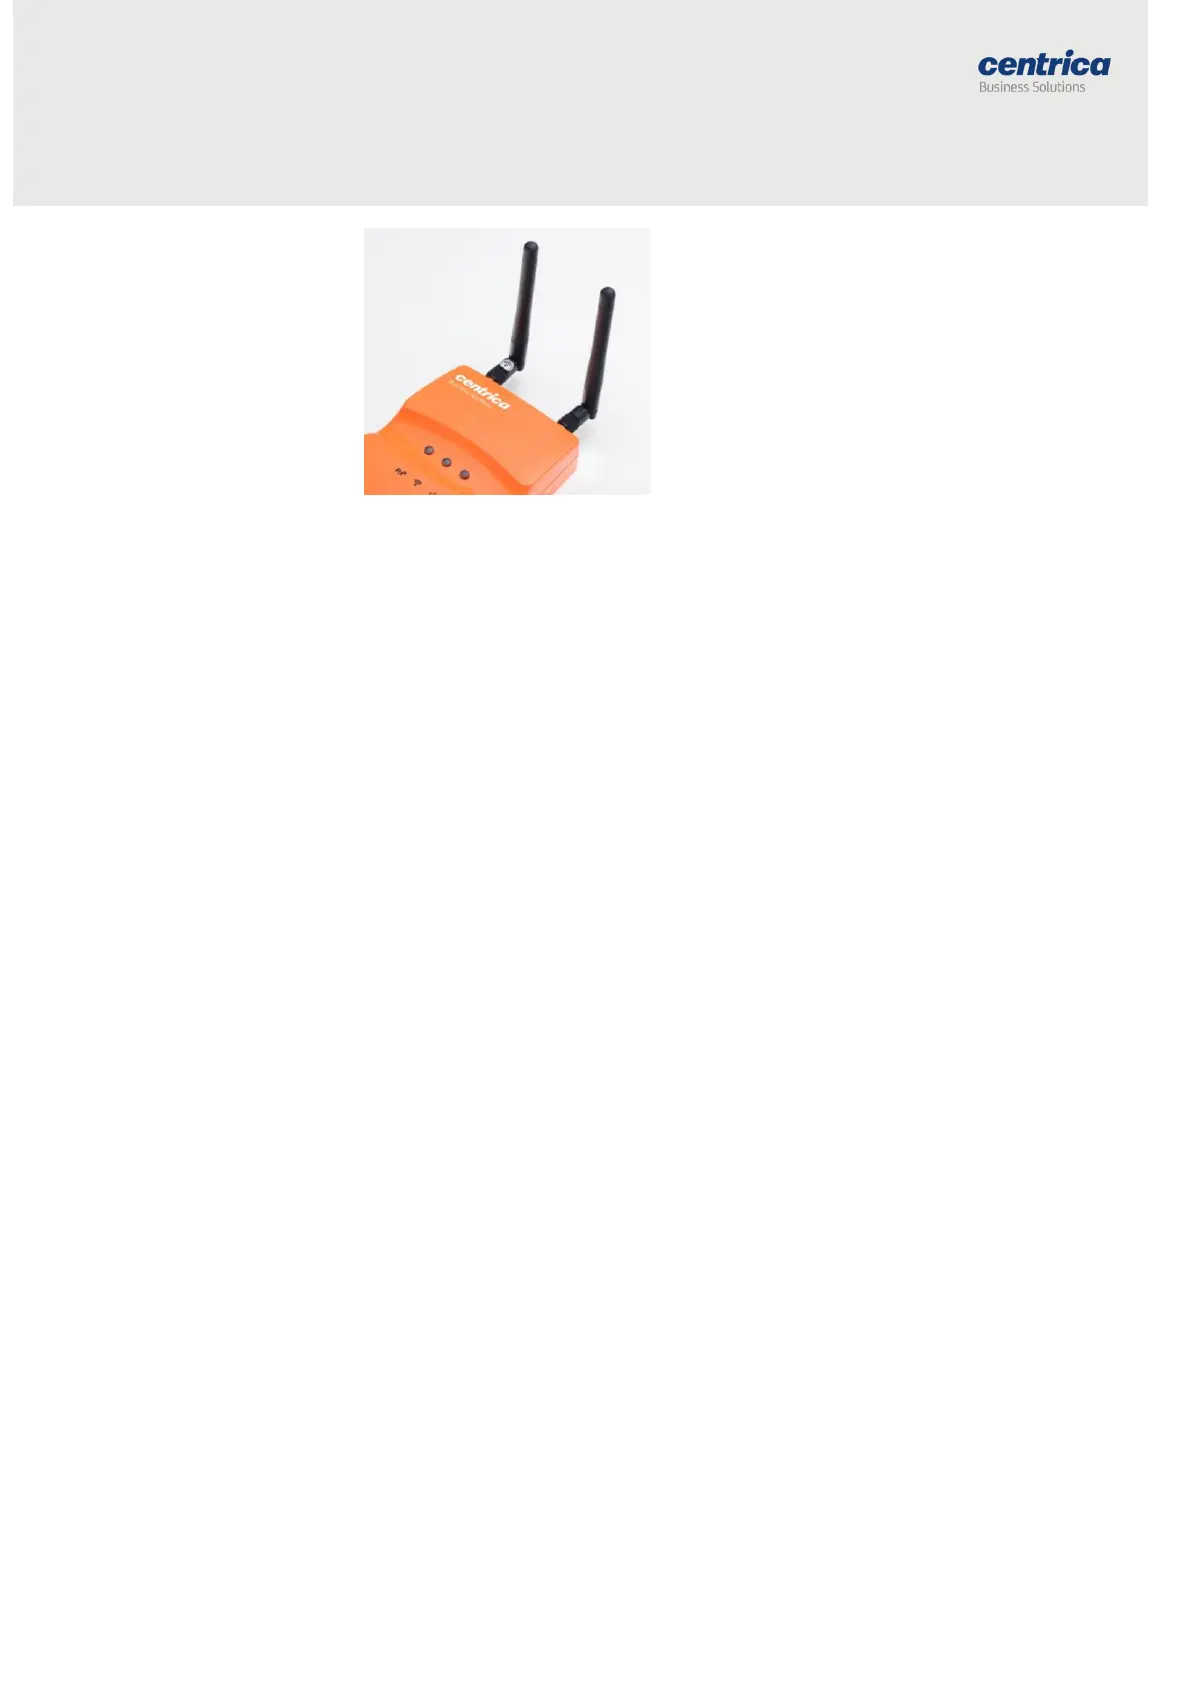
Mounting the Bridge
You can install the bridge on a flat horizontal surface, mount it on a wall using
screws or the re-closeable fastener, or mount it on a DIN rail.
How to Proceed
1. Configure the bridge as explained in this guide.
2. Position the bridge at a distance as follows:
Up to 2 meters from the electrical panel, if the panel is covered with a metallic
cover.
Up to 5 meters, if the panel is not covered.
3. Choose a clean and even surface, located near a power source.
4. Make sure the bridge side vents are not blocked.
5. Attaching with screws: Use the template on the back of the bridge
to measure the distance between the two screws.
6. Adhering to the wall: Peel the adhesive backing off two pieces of the
re-closeable fastener and attach them to the back of the bridge.
In the same way, attach the two remaining pieces of the re-closeable fastener
to the wall, making sure they are aligned with the pieces on the bridge.
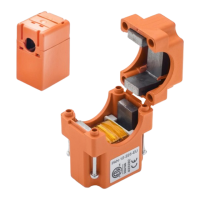
7. Attaching to a DIN rail: Attach the included DIN rail adapter to the
bridge using the two screws provided. The adapter clips onto a
standard DIN rail.
Connecting the Bridge
Depending on the required network configuration, you can connect the bridge
to the Internet using Wi-Fi, a cellular network, or wired LAN.