- 17 -
15. Getting started
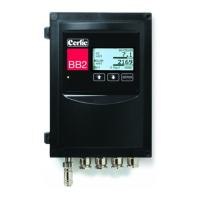
Start-up of the instrument begins when power is supplied. While a self-test is being
performed, it may take up to 30 seconds for the sensor to initialize and be identified.
Changes to the settings can not be made until the BB2 control box has recognized the
sensor. When recognized, the sensor will appear in the display mode.
If the self-test indicates that the internal clock has been without electric power for a
period of time, the unit goes to a menu for setting date and time. After this setting is
complete, the display mode shows the sensors in the order in which they were tagged or
slot number.
• To accept the slot choice for the sensor, press “ENTER”. Data stored in the
sensor is transferred to the BB2 control box.
• Press and ENTER simultaneously for 5 seconds. The BB2-menu opens.
• Select “Settings” and confirm by pressing ENTER.
• Set the different parameters for the control box in this menu.
• Press and ENTER simultaneously to return to the Main Menu.
• Select the sensor you want to set up using / .
• Press ENTER for 5 seconds. The sensor menu for selected sensor opens.
• Select “CALIBRATE”. Calibrate each sensor according to the description.
• Quit the calibration menu by pressing to the highest level. Press “ENTER”.
• Select “SETTINGS”.
• Insert the appropriate values for the sensor selected. Note that “Cleaning” has a
submenu with additional parameters.
• Select “SCALE”.
• Insert the appropriate values for the sensor selected. Min and Max refers to the
measured value required for 4 and 20 mA output.