0-5492 7-3 TIG (GTAW) Welding
from any ignition source. Turn adjusting screw counterclockwise, until the required flow rate is indicated
on the gauge. Close downstream valve.
Shutdown
Close cylinder valve whenever the regulator/flowmeter is not in use. To shut down for extended periods (more
than 30 minutes).
1. Close cylinder or upstream valve tightly.
2. Open downstream equipment valves to drain the lines. Bleed gas into a well ventilated area and away
from any ignition source.
3. After gas is drained completely, disengage adjusting screw and close downstream equipment valves.
4. Before transporting cylinders that are not secured on a cart designed for such purposes, remove
regulators/flowmeters.
7.02 Setup For Lift TIG (GTAW) Welding
A. Select Lift TIG mode with the process selection control (refer to Section 4.02.1 for further information).
B. Connect the TIG Torch to the negative welding terminal (-). Refer to Note below for Optional TIG Torch
information. Welding current flows from the power source via Dinse type terminals. It is essential,
however, that the male plug is inserted and turned securely to achieve a sound electrical connection.
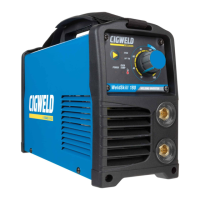
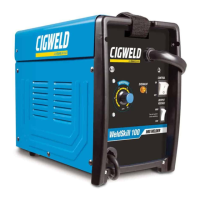
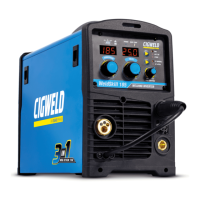
C. For WeldSkill 155 use Tig Torch W7003021. Refer to Table 2-2 on Page 2-6 for Options and accessories.
There are two TIG Torch options for WeldSkill 185. Refer to Table 2-2 on Page 2-6 for Options and
accessories.
For WeldSkill 185, connect the TIG torch trigger switch and remote current control if applicable via
the 8 pin socket located on the front of the Power Source. The TIG torch will require a trigger switch
to weld in LIFT TIG Mode.
D. Connect the work lead to the positive welding terminal (+). Welding current flows from the Power Source
via Dinse type terminals. It is essential, however, that the male plug is inserted and turned securely to
achieve a sound electrical connection.
E. Connect the Argon Regulator/Flowmeter to the Welding Grade Argon Shielding Gas Cylinder then
connect the TIG Torch gas hose to regulator. Before turning on shielding gas check that all fittings are
tight and the gas valve on the TIG torch is turned off. Before commencing to TIG weld open TIG torch
gas valve to allow sufficient shielding gas flow when welding. Refer to Section 7.03 for recommended
Shielding Gas flow rates and other TIG Welding information.
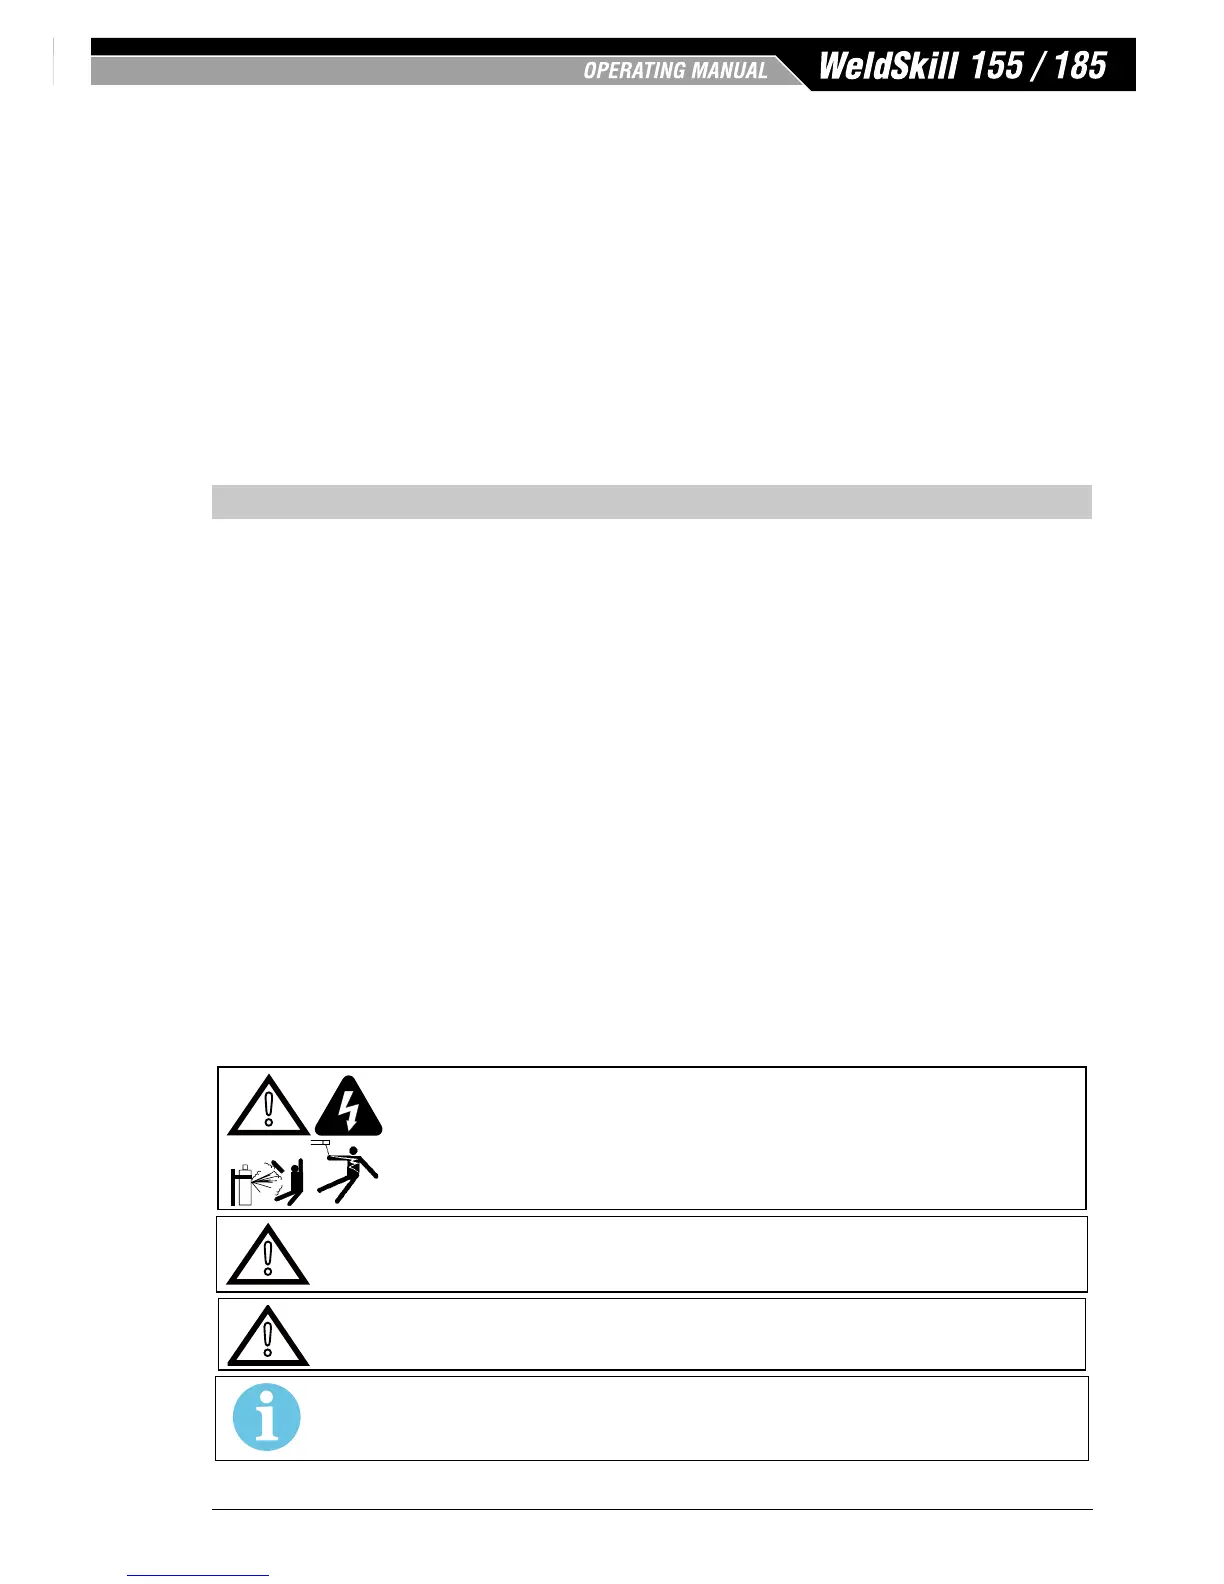
WARNING
Secure the welding grade shielding gas cylinder in an upright position by chaining it to a suitable stationary
support to prevent falling or tipping.
Open Gas Cylinder Valve carefully.
!
WARNING
Before connecting the work clamp to the work piece and inserting the electrode in the TIG torch make sure the Mains
power supply is switched o.
!
CAUTION
Remove any packaging material prior to use. Do not block the air vents at the front or rear of the Welding Power Source.
NOTE!
The TIG Torch is NOT supplied. It is an optional accessory. Refer to Table 2-2 on Page 2-6 for optional accessory informa-
tion.
Refer over page to Lift TIG Welding Setup diagrams.