3-23
Cisco Video Surveillance 5010/5011 Indoor Fixed HD IP Dome Camera User Guide
OL-22669-01
Chapter 3 Operation
Imaging Tab
Selecting Manual White Balance Settings
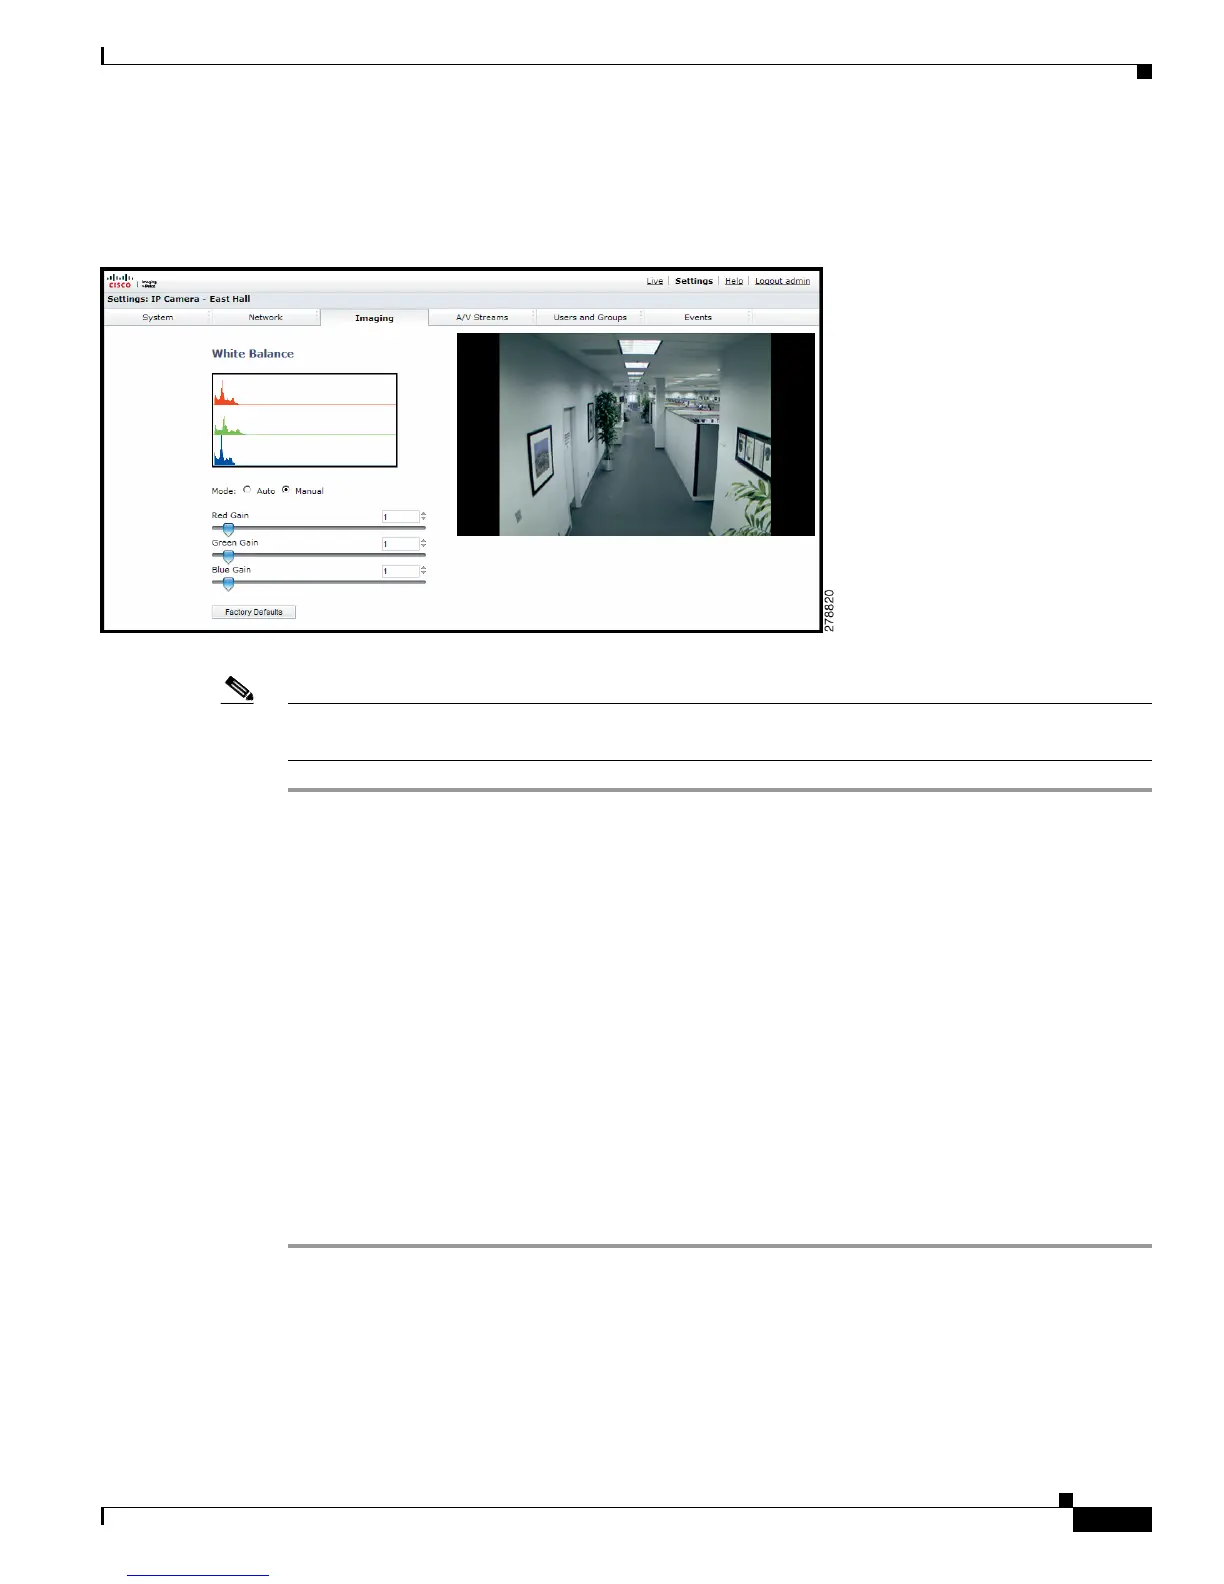
Figure 3-10 Manual White Balance Page
Note Manual white balance is recommended only for indoor applications that have a single, unchanging
primary light source.
Step 1 Place your mouse pointer over the Imaging tab.
Step 2 Select White Balance from the drop-down menu.
Step 3 Select the Manual mode.
Step 4 Move the sliders to adjust the following settings in Manual mode:
• Red Gain: Adjusts the image output in the red range. Move the slider to the right to increase the red
level; move the slider to the left to decrease the red level. As you move the slider, you will see the
color change on your monitor. The manual range of adjustment is 0 to 32; the default setting is 1.
• Green Gain: Adjusts the image output in the green range. Move the slider to the right to increase
the green level; move the slider to the left to decrease the green level. As you move the slider, you
will see the color change on your monitor. The manual range of adjustment is 0
to 32; the default
setting is 1.
• Blue Gain: Adjusts the image output in the blue range. Move the slider to the right to increase the
blue level; move the slider to the left to decrease the blue level. As you move the slider, you will see
the color change on your monitor. The manual range of adjustment is 0 to 32; the default setting is 1.
Step 5 If required, click the Factory Defaults button to reset the white balance to the factory default setting.