4-9
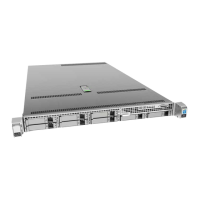
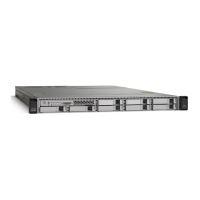
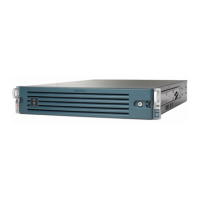
Cisco Content Delivery Engine 205/220/250/280/285/420/460/475 Hardware Installation Guide
Chapter 4 Installing the VDS Internet Streamer Software and Initially Configuring a CDE
Launching a New CDE for the First Time
Procedure
Step 1 Log into CIMC GUI.
For more information on setting up the CIMC, and logging on to the CIMC, see the Launching a CDE280
for the First Time.
Step 2 In the Navigation pane, click the Admin tab.
Step 3 On the Admin tab, click Communications Services.
Step 4 In the Communications Services pane, click the SNMP tab.
Step 5 In the SNMP Properties area, update the following properties:
Table 4-1 Fields to be updated to configure SNMP
Name Description
SNMP Enabled check box Whether this server sends SNMP traps to the
designated host.
Note After you check this check box, you need
to click Save Changes before you can
configure SNMP users or traps.
SNMP Port field The port on which Cisco IMC SNMP agent runs.
Enter an SNMP port number within the range 1 to
65535. The default port number is 161.
Note The port numbers that are reserved for
system calls, such as
22,23,80,123,443,623,389,636,3268,326
9 and 2068, cannot be used as an SNMP
port.
Access Community String field The default SNMP v1 or v2c community name
Cisco IMC includes on any SNMP get operations.
Enter a string up to 18 characters.
SNMP Community Access drop-down list This can be one of the following:
–
Disabled — This option blocks access to
the information in the inventory tables.
–
Limited — This option provides partial
access to read the information in the
inventory tables.
–
Full — This option provides full access
to read the information in the inventory
tables.
Note This is only for SNMP v2c users.
 Loading...