6-6
Cisco Content Delivery Engine 205/220/250/280/285/420/460/475 Hardware Installation Guide
Chapter 6 Installing the VQE and Initially Configuring a CDE
Re-Manufacturing a CDE
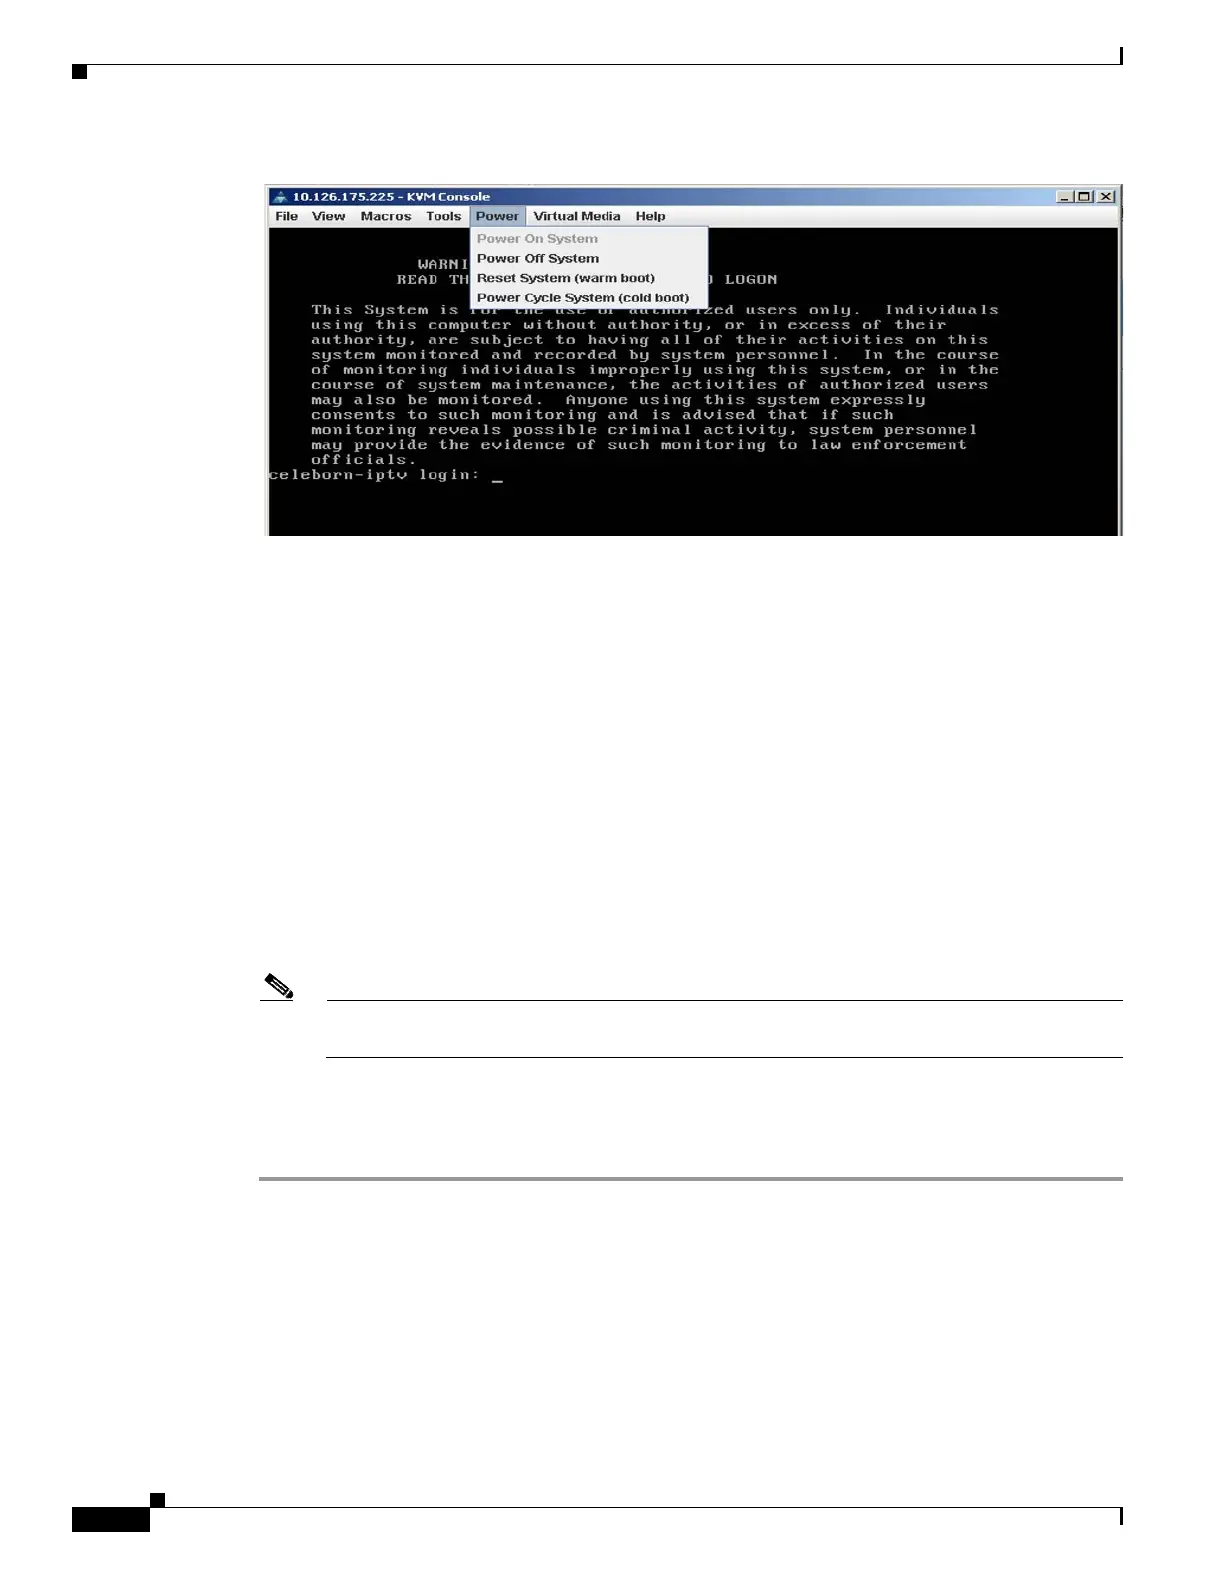
Figure 6-5 Rebooting the Server
Step 4
Install the VQE Software for CDE280:
a. Connect to the serial console of CDE280:
–
Enter the IP address of the server with admin as the username and the password previously set.
user1$ ssh -l admin 10.140.104.17
admin@10.140.104.17's password: XXXXX
C240-FCH1852V20Y#
–
Enter the following command:
C240-FCH1852V20Y# connect host
Step 5 Power on the CDE.
Once the CD starts booting, it displays a spinning “|” symbol for approximately five minutes. Allow the
booting to proceed and monitor the sequence from a remote terminal provided by the terminal server.
The Installer main menu is displayed at the conclusion of the boot sequence; you should see a menu
similar to this:
Step 6 Un-mount the ISO file:
From the Virtual Media tab, select Activate Virtual Devices.
Note When you select Activate Virtual Devices, the system prompts whether you want to unmount
the iso file or not.
Step 7 From the Power tab, select Power Cycle Systems (cold boot) to reboot the server.
Step 8 To connect to the Console, see “Connect to the Console” section on page 4-7 and Configure VQE
Software, page 6-2.
Installing the VQE Software
To install the VQE software, see Installing VQE Release 3.11 Software” section in the Release Notes for
Cisco CDA Visual Quality Experience Application Release 3.11.
 Loading...