Configuring the WAP4410N Wireless-N Access Point
Wireless
WAP4410N Wireless-N Access Point with Power Over Internet 43
6
STEP 4 Click Save.
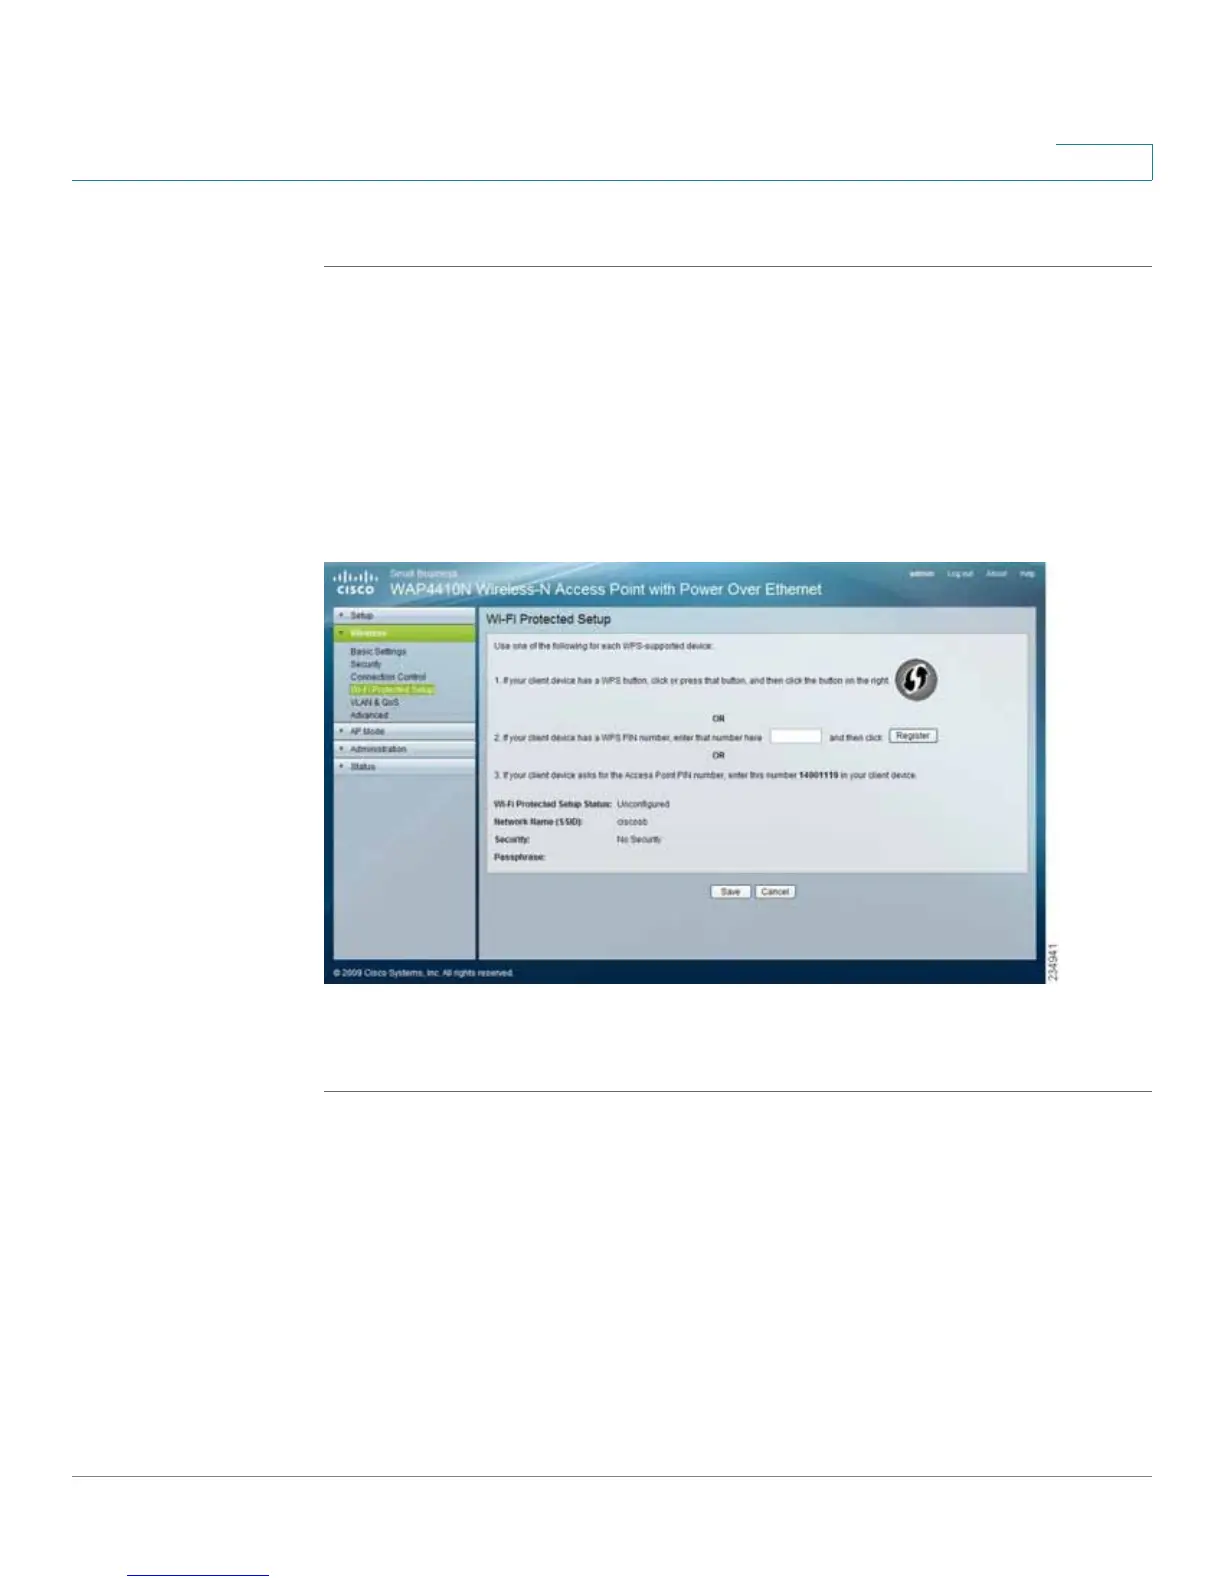
Configuring Wi-Fi Protected Setup
The Wireless > Wi-Fi Protected Setup page allows you to configure the Wi-Fi
Protected Setup (WPS) settings for the access point. WPS was designed to help
standardize and simplify ways of setting up and configuring security on a wireless
network by typing a PIN (numeric code) or pushing a button (Push-Button
Configuration, or PBC).
To configure the wireless WPS settings of the access point, follow these steps:
STEP 1 Click Wireless > Wi-Fi Protected Setup.
STEP 2 Configure the wireless wi-fi settings by doing one of the following actions:
• Option 1—Use this method only if the client device has the WPS push
button. Press the WPS button of the client device and then click the button
on the right.
• Option 2—Provide the PIN number of the client device. You can find this
number in the utility of the device. Enter the number and click Register.
• Option 3—Enter the PIN number shown on the label at the bottom of the
access point into the utility of the client device.

 Loading...