750-392
CBEX-DE
4-11
Firing Preparations for Gas (Series 200, 700)
4.8 — Firing Preparations for Gas (Series 200, 700)
• Prior to initial starting, check the actuator connection to the gas butterfly valve (or linkage connection on single-point sys-
tems). Assure freedom of movement and check for loose set screws.
• Verify the presence and availability of gas. On a new installation, representatives of the gas utility should be present
when gas first flows into the system to supervise purging of the new gas line, unless they have already done so.
• Determine that the pilot is operating properly, as outlined in Chapter 3.
• Determine that sufficient pressure exists at the entrance to the gas train by installing a test gauge downstream of the reg-
ulator.
• The gas pressure regulator must be adjusted to the proper pressure level. Since the regulator is generally supplied by oth-
ers, adjustment should proceed according to instructions supplied by its manufacturer.
It is necessary for the operator to know the burner requirements in gas quantity and pressure.
The information can generally be found on the Dimension Diagram (DD) supplied by Cleaver-Brooks for the spe-
cific installation. Should the information not be readily available, consult the Cleaver-Brooks Service Department
and be ready to provide the boiler serial number.
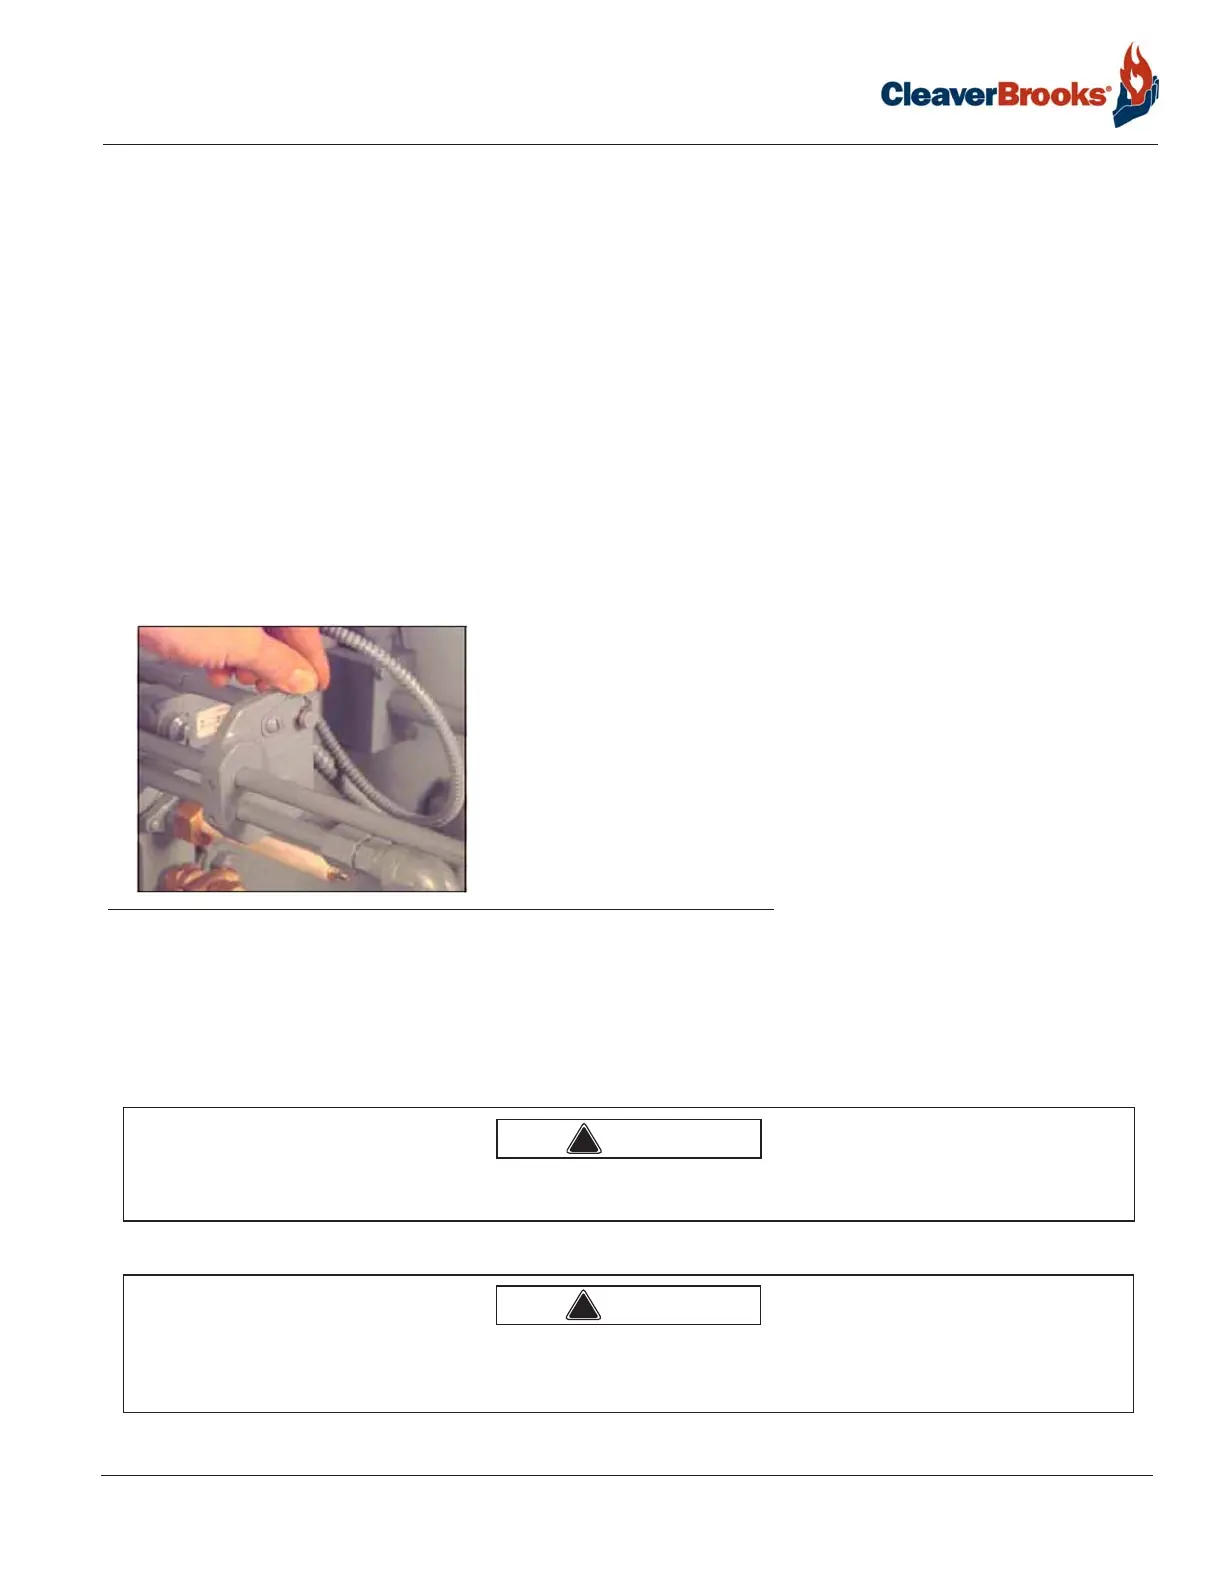
•If the burner is a combination fuel model, set the gas/oil switch to
“gas.” Withdraw the oil burner gun and latch it in its rearward (lockout)
position.
•On initial startup, it is recommended that the main gas shutoff cock
(downstream of the motorized gas valves) remains closed until the pro-
grammer has cycled through pre-purge and pilot sequences. When the
fuel light on the control panel comes on, observe the action of the
motorized gas valve stem to determine that it opens when energized and
closes when de-energized.
FIGURE 4-6. Oil Gun in the Lock-Out Position
As soon as it is confirmed, turn the burner switch “off” and let the programmer finish its cycle. Check that the
gas valve has closed. Again, turn the burner “on.” When the fuel valve light glows, slowly open the main gas
cock. Main flame should ignite unless there is air present in the line. If the flame is not established within about
5 seconds, turn the burner switch “off” and allow the programmer to recycle normally for a new lighting trial.
Several efforts may be necessary to “bleed” air from the line.
Do not repeat unsuccessful lighting attempts without re-checking the burner and pilot adjustments. Failure to follow
these instructions could result in serious injury or death.
The burner and control system are designed to provide a “pre-purge” period of fan operation prior to establishing igni-
tion spark and pilot flame. Do not attempt to alter the system or take any action that might circumvent the “pre-
purge” feature. Failure to follow these instructions could result in serious injury or death.
!
Warning
!
Warning