Upgrading The Computer
6 - 14 Upgrading the System Memory (RAM)
6
6. The RAM module will pop-up, and you can remove it.
7. Pull the latches to release the second module if necessary.
8. Insert a new module holding it at about a 30° angle and fit the connectors firmly
into the memory slot.
9. The module’s pin alignment will allow it to only fit one way. Make sure the module
is seated as far into the slot as it will go. DO NOT FORCE the module; it should fit
without much pressure.
10. Press the module in and down towards the mainboard until the slot levers click into
place to secure the module.
11. Replace the component bay cover.
9
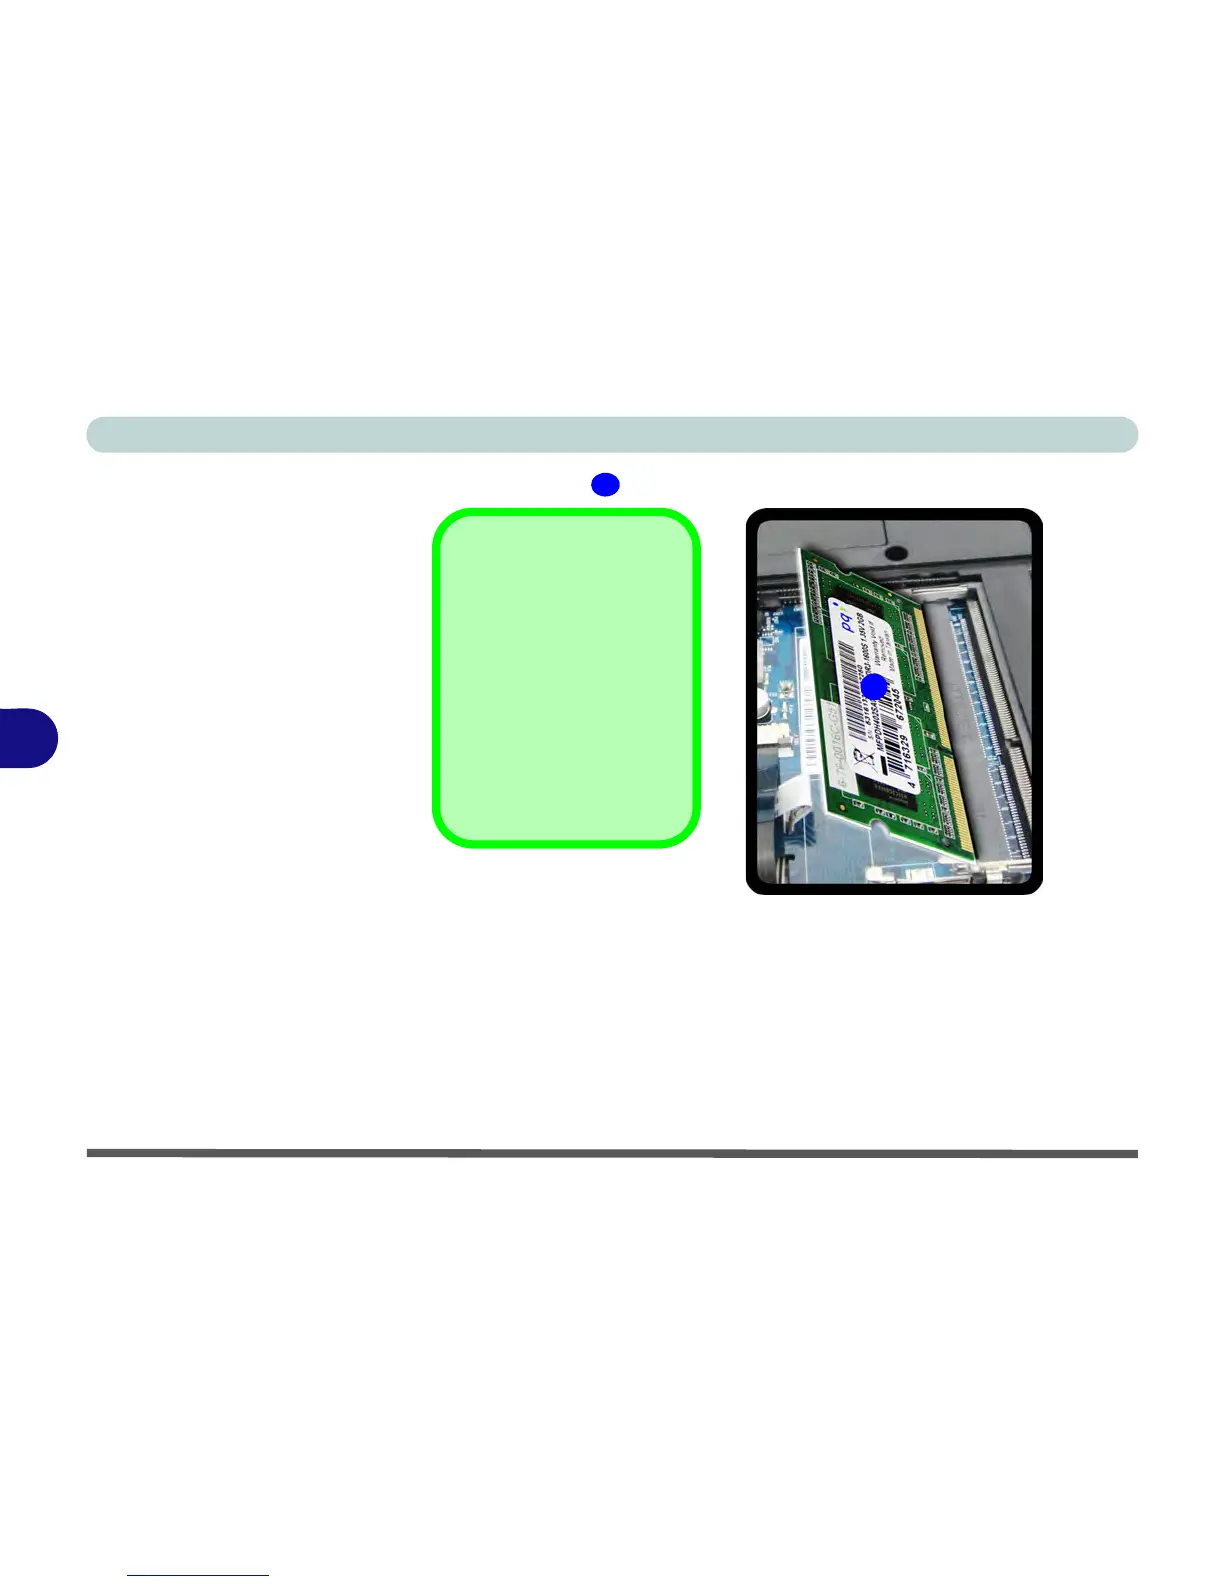
Single Memory
Module Installation
If your computer has a sin-
gle memory module, then
insert the module into the
Channel 0 (JDIMM1)
socket. In this case this is
the lower memory socket
(the socket closest to the
mainboard).
 Loading...