OPERATING MANUAL
800.749.2761 www.coachcomm.com
41
System Conguration File
X-System’s Conguration File (CCF) contains everything about a system, including X-Net device locations, port assignments,
conferences, and proles. This le is used by the Control Unit, and it coordinates all device activity on the system. Only one
conguration le can be live on a system at any given time; however, you can save multiple versions of conguration les
locally or on a USB drive.
Each X-System is pre-congured by CoachComm with the customer’s desired settings. Saving, setup, and modications of
the conguration le are performed in X-Ware, if used. CoachComm’s Customer Support staff is available to help with any
advanced conguration needs during the season.
Saving a Conguration File
Changes to the conguration during operation will be saved at the Control Unit (CU). However, if you wish to save a copy of
the conguration le for later use, follow these procedures:
1. Insert a USB drive into your personal computer or laptop.
Note: Make sure the USB drive has enough space on it to save the le. 50 KB should be sufcient.
2. Connect your computer to the CU. See “Connecting X-Ware to Your CU” on page 32 for more details on this
process, if needed.
3. Make sure your CU is powered on. If you have not already done so, set the Home/Away status.
4. Launch X-Ware, then click the gear icon located at the top right of the home screen. This will launch X-Ware’s
Advanced Settings window. (See page 34 of this manual for more information about using X-Ware.)
5. Click the
Save File
button on the top left of the screen and save your le to your USB drive. You may also choose
to save a copy to the Documents folder on your personal computer or laptop.
Note: The le name must be 8 characters or less! It may be helpful to use school and date in the name.
For example, ASU1104, BAY1031, etc.
6. Once the le has been saved to your USB drive, you can exit out of the software and eject the USB drive from the
computer.
Loading a Conguration File
Follow these procedures when uploading a new conguration le to your system:
Important! Be sure you have saved a backup copy of your current conguration le prior to loading a
new one, in case you need to revert back to it for any reason.
1. Make sure your Control Unit (CU) is powered on and the current conguration le has completely loaded, then plug
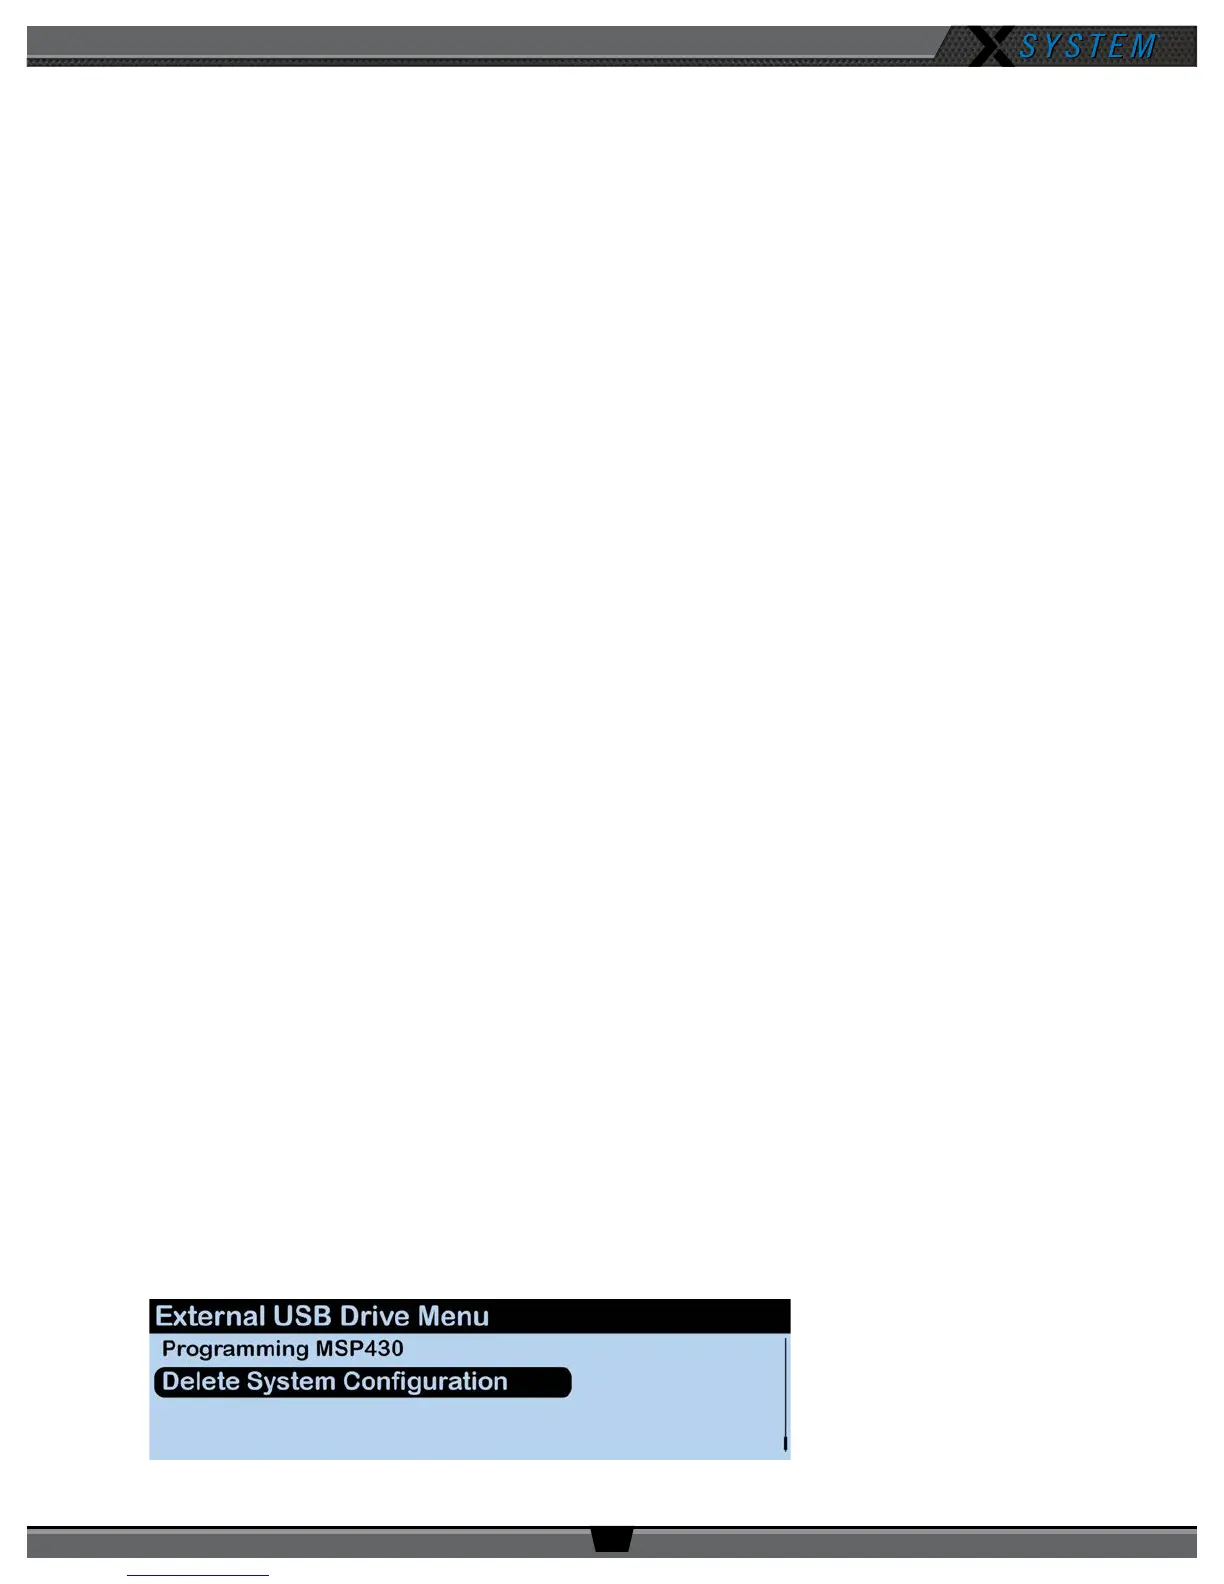
the USB drive into the front of the CU. An External USB Drive menu screen will display on the CU LCD.
2. Navigate down the list of menu options until
Delete System Conguration
is highlighted. Press the Enter button
and delete the current le that is stored on the CU.
Figure 54: CU LCD Delete Conguration File Prompt