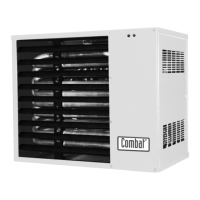
SECTION 14: SERVICING
33 of 46
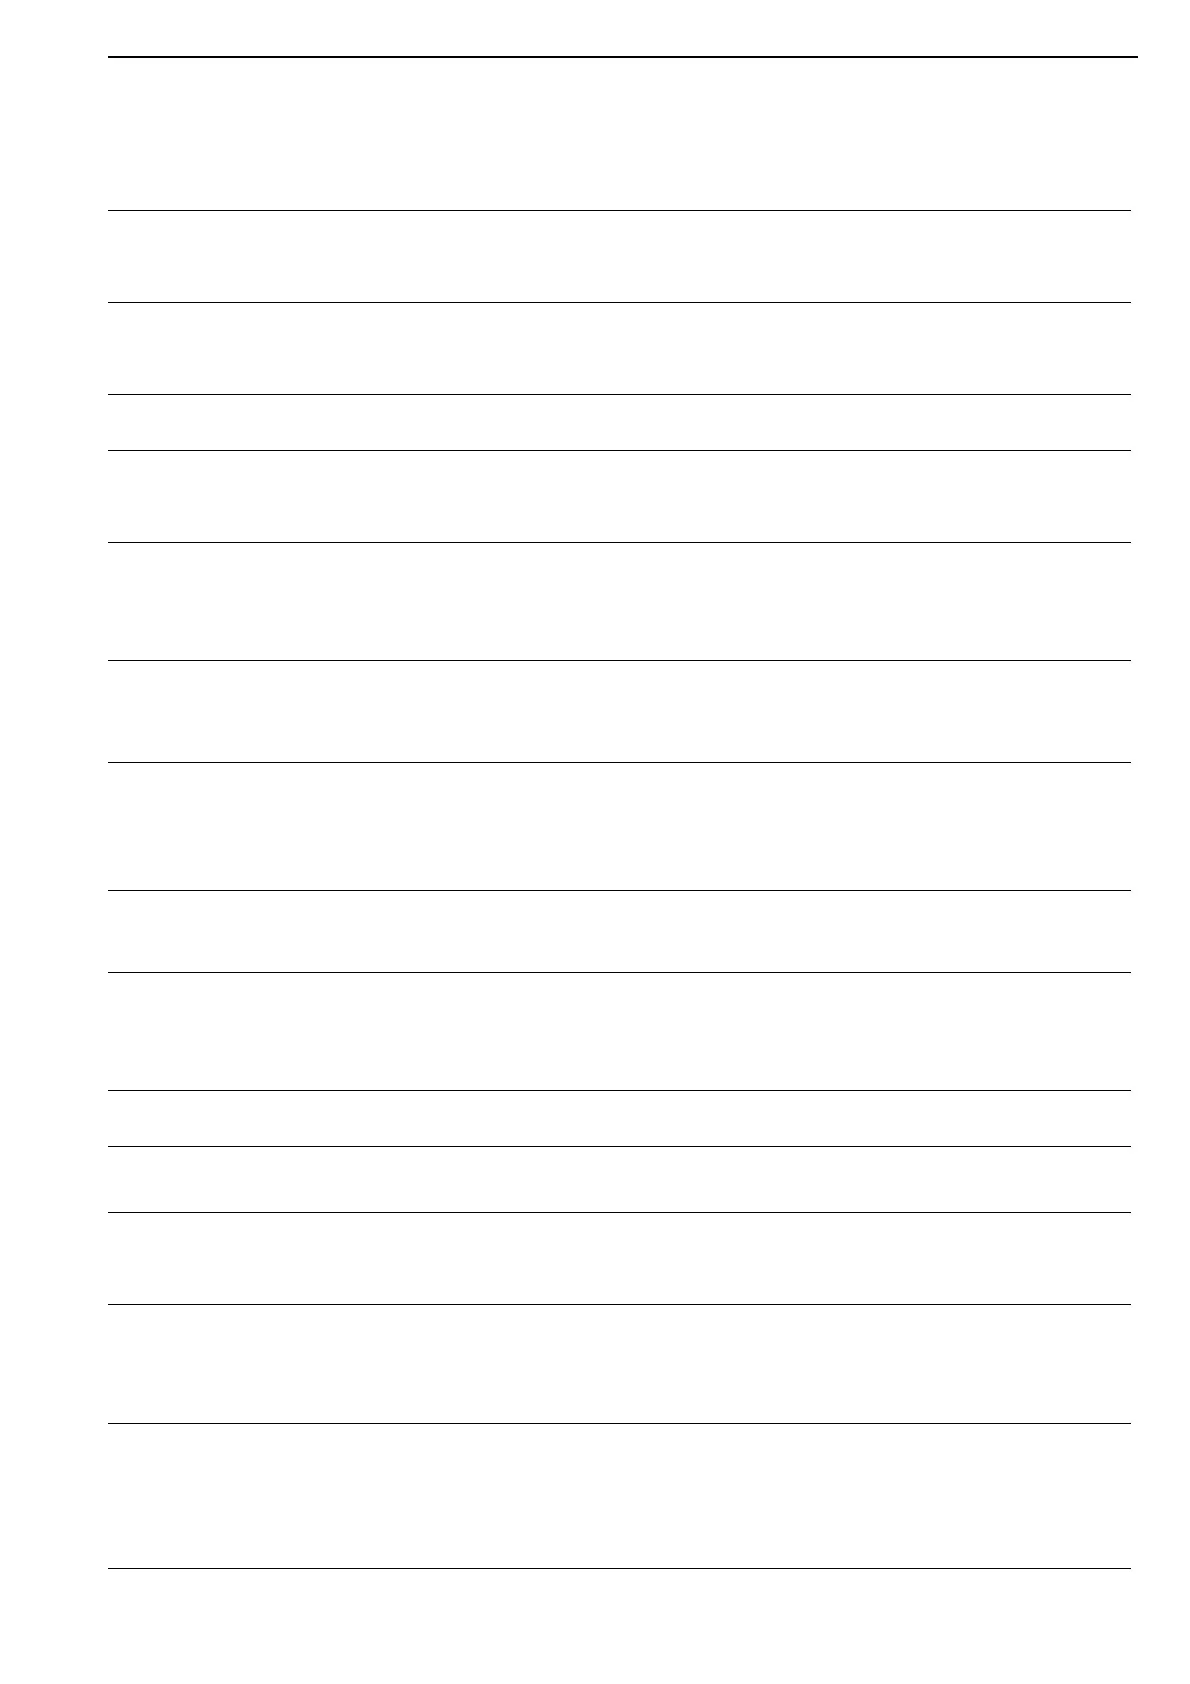
Heat Exchanger Make sure there are no cracks.
Make sure t
here is no sagging, bending or distortion.
Clean or replace as requi
red.
Gas Line and Shut-off
Valves
Check for gas leaks.
See Page 18, Section 10.
Burner Observation
W
indow
Make sure it is clean and free of cracks or holes.
Clean and replace as requi
red.
Flue Blower Scroll, Wheel
an
d Motor
Compressed air or a vacuum cleaner may be used to clean dust and dirt.
Inshot Burners and
Or
ifices
Clear obstructions (even spider webs will cause problems).
Carefully
remove any dust and debris from the burner.
Direct-Spark Igni
ter Replace if there are cracked ceramics, excessive carbon residue, or erosion
of the electrode.
The electrode gap shoul
d be 1/8" (3.2 mm).
Thermostat There shoul
d be no exposed wire or damage to the device or wiring.
See Page 20, Section 11.
Suspension Points Make sure t
he heater is hanging securely.
Look for signs of we
ar on the suspension materials or ceiling.
See Page 12, Section 6.
Silicone Tubing Ensur
e tight, secure fit on all pressure fittings at pressure switch,
burner partition, and blower outlet.
Gas Valve Verify that cap coveri
ng pressure regulator adjustment screw is secure and
has not been tampered with.
Verify all wi
ring connections.
Condensate Drain
(when installed)
Flus
h drain and clear any obstructions.
Ductwork Consul
t an indoor air quality professional for proper cleaning procedures
Air Circulation Blower For a complete inspection, refer the manufacturers Installation, Operation
and Service manual.
Wall Tag
I
f wall tag is present, make sure it is legible and accurate. Please contact
Combat HVAC Limited or your Combat
®
indepen-dent distributor if you
need a wall tag. See Page 4, Section 2.1.
Safety Labels
Product safety signs or labels sho
uld be replaced by the product user when
they are no longer legible. Please contact Combat HVAC Limited of your
Combat
®
independent distributor to obtain replace-ment signs or labels. See
Page 2, Figure 1 through Page 3, Figure 2.