M a i n t e n a nc e l 5- 9
5
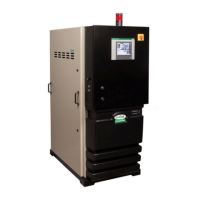
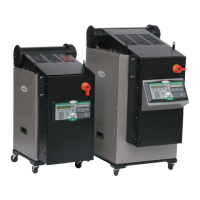
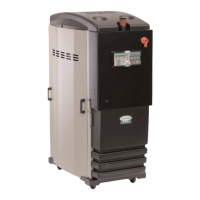
M a i n t e n a n c e
C l e a n i n g th e P r e c o ol e r Coi l s
If you have the optional precooler, you need to clean the coils to keep it working efficiently.
Cleaning frequency depends on the type and amount of material you process.
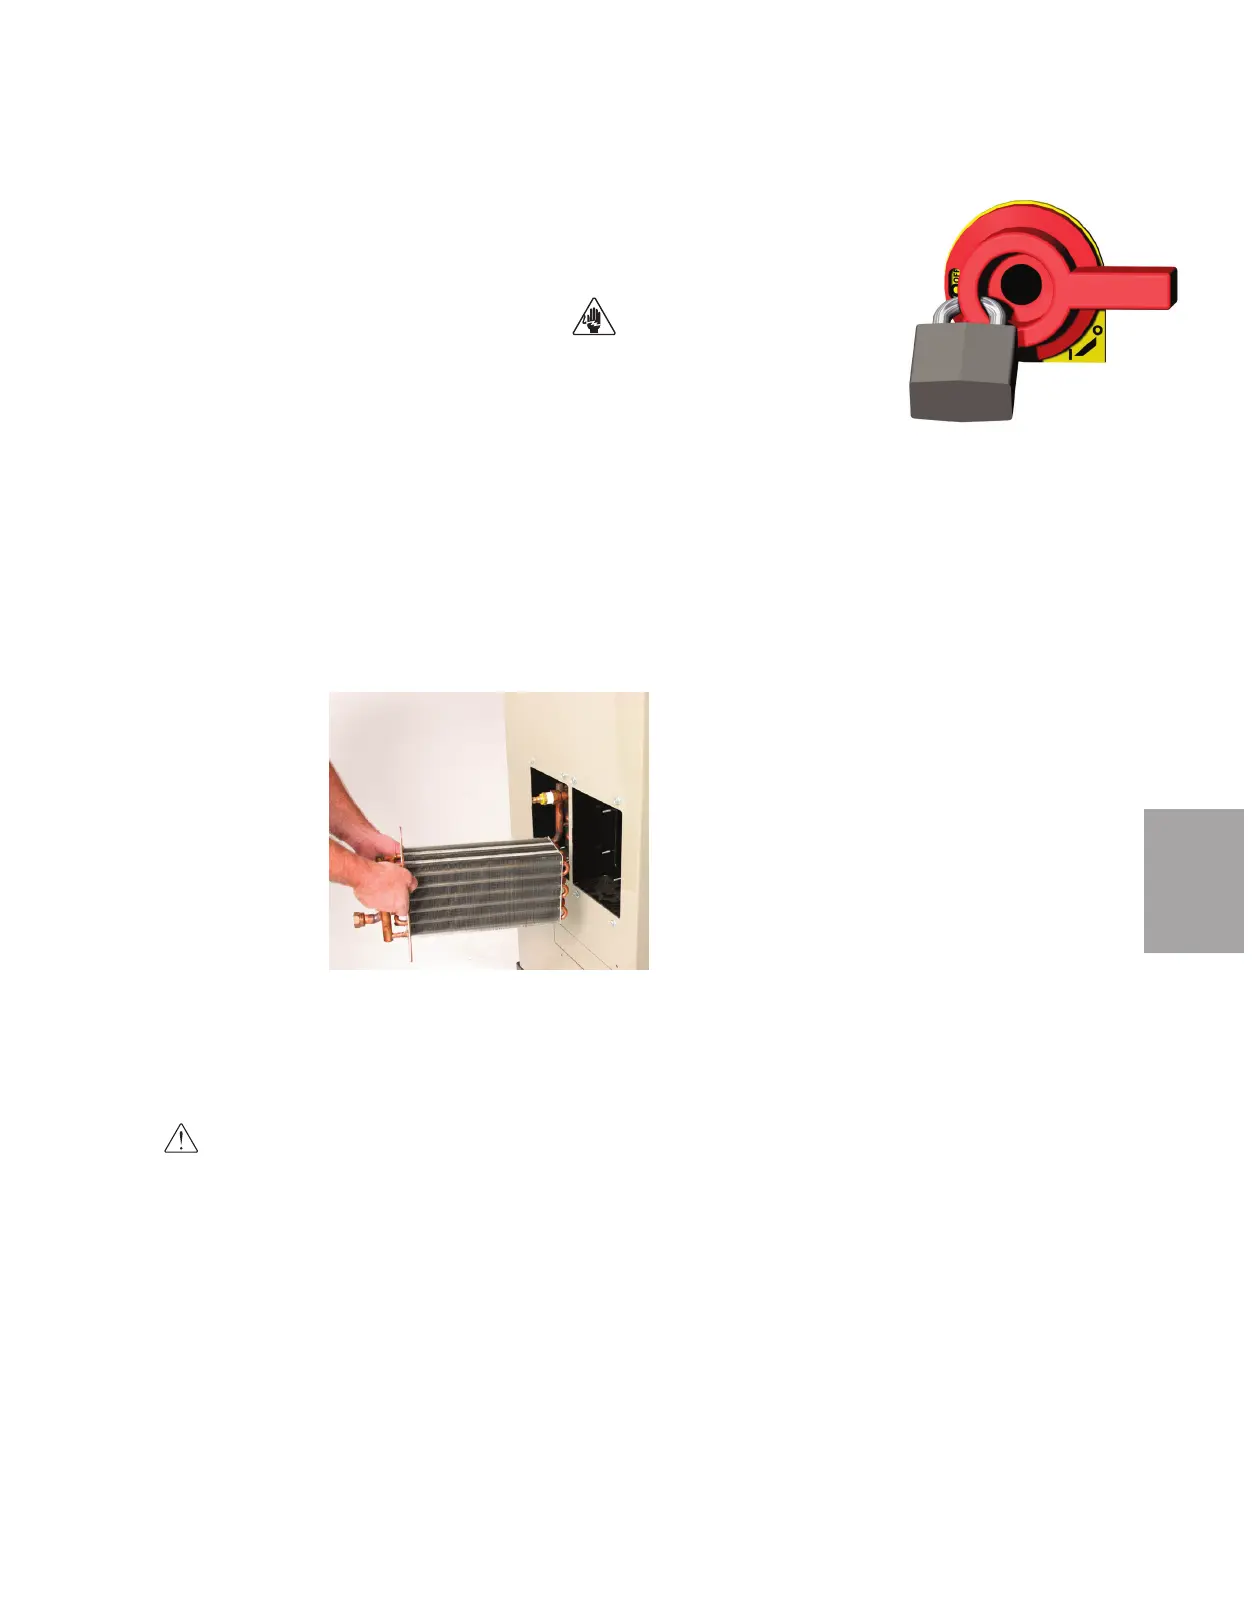
1 Stop the dryer and lockout the main power.
2 Turn off the water flow to the water supply line. Disconnect supply and return lines.
NOTE: If an optional flow control was added with the precooler, remove the compression fitting from
the precooler inlet. Loosen the fitting on the flow control, then swing the copper water supply tube
out and away from the precooler inlet.
3 Remove the screws securing the precooler in the housing.
✒
TIP: If the precooler (without a flow control) was installed using the recommended 24 inch
(61 cm) of flexible hoses, there is no need to disconnect the hoses from the precooler inlet
and outlet.
4 Remove the precooler assembly from the precooler housing.
5 Clean the assembly using a mild soap and water. Let the assembly dry thoroughly
before installation. In severe situations, steam cleaning or use of solvents maybe neces-
sary.
CAUTION: During the cleaning process, DO NOT cut or remove the stainless steel wire that holds
the assembly together.
6 Inspect the condition of the gasket. If it is damaged, replace the gasket.
7 Reassemble by repeating the steps in reverse order.
8 Connect the water supply line to the inlet. If a manual shut off valve is used, it should
be mounted on the inlet line as well.
9 Connect the outlet of the aftercooler to the inlet of the flow control valve using the
pre-shaped copper tubing and compression fittings provided.
✐