3 - 6 l I ns t al l a t io n
When configured as a
central dryer, the dry-
ing temperature can
not be set since there
is no process heater in
the system.
C h e c k i n g fo r P r op e r Air Fl o w
IMPORTANT: This procedure must be performed before loading material into the hopper.
CAUTION: If the airflow direction is incorrect due to improper phase connection, material from
the hopper can be pulled back into the dryer, causing permanent damage to this equipment.
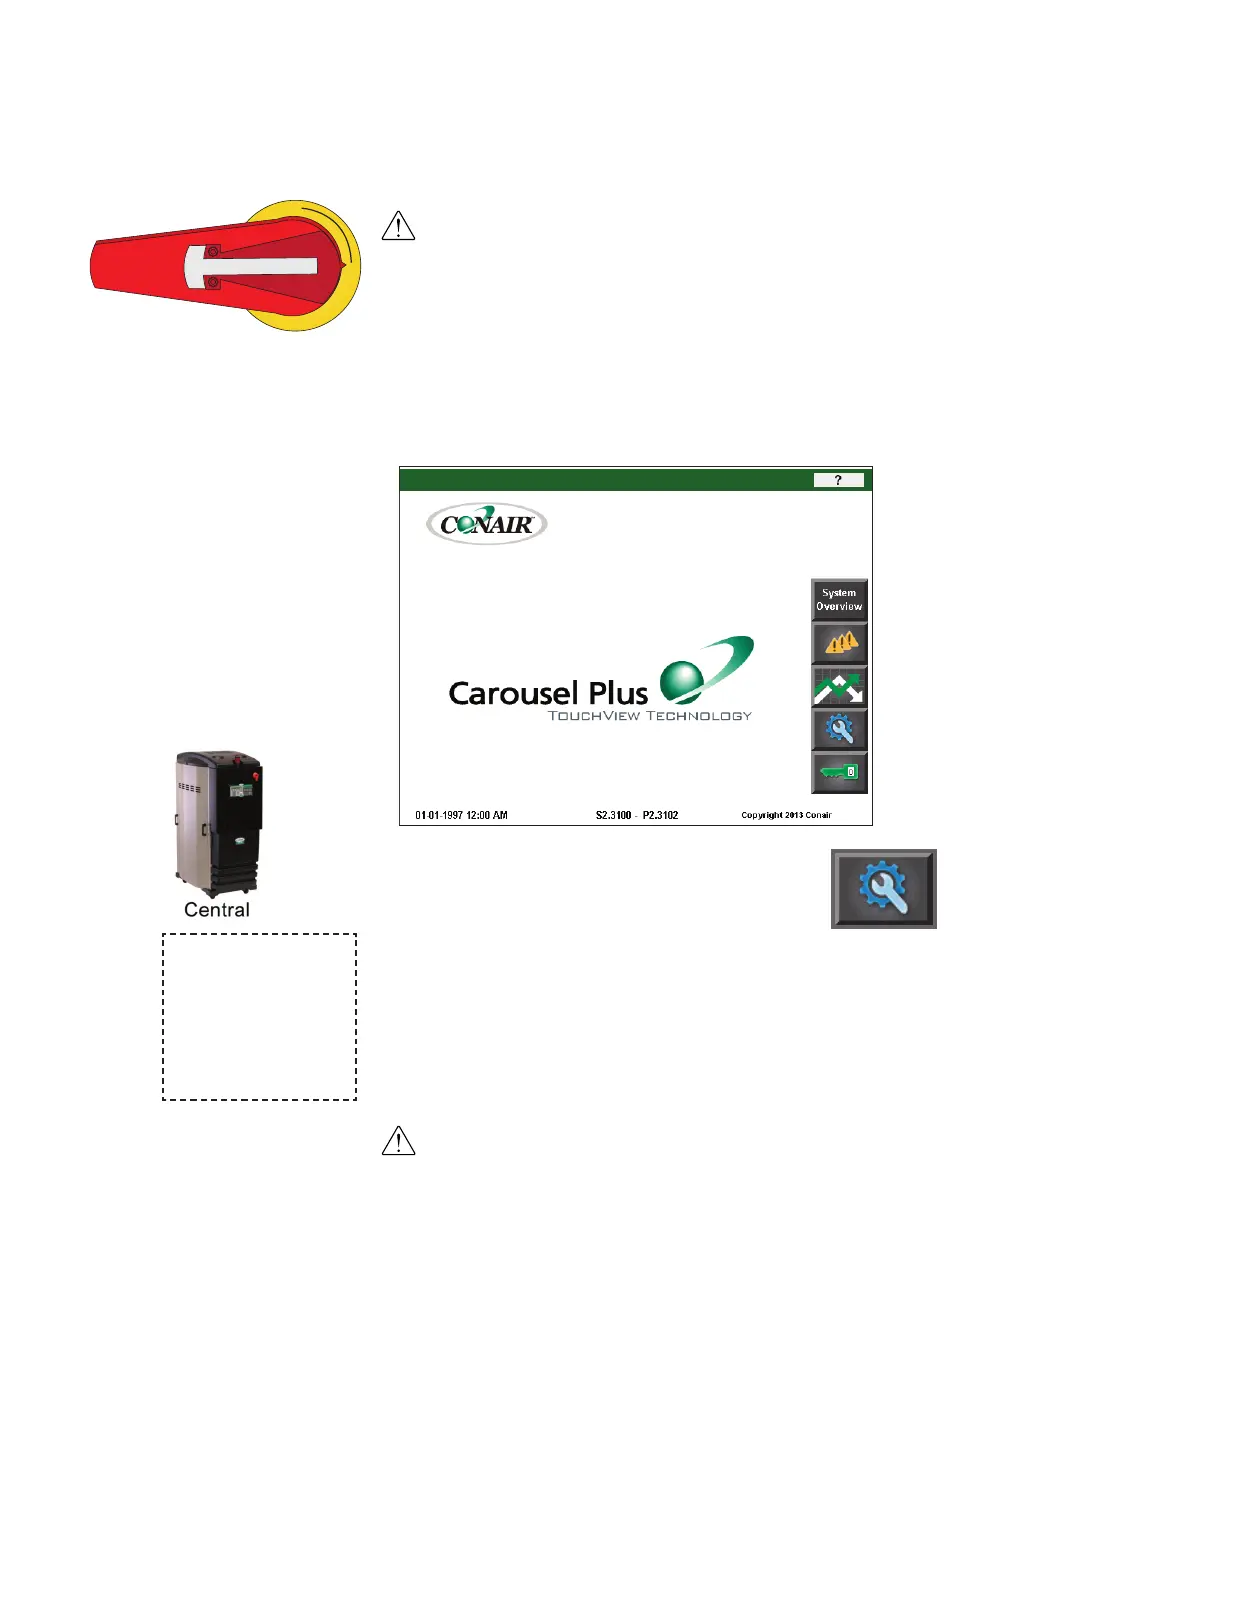
1 Turn on the main power to the dryer. Make sure the dryer’s disconnect dial is in the ON
position. This powers up the control and the display will illuminate.
2 From the Home Screen , press the “Setup” button.
WARNING: All wiring, disconnects, and fuses should be installed by qualified elec-
trical technicians in accordance with electrical codes in your region. Always main-
tain a safe ground. Do not operate the equipment at power levels other than what
is specified on the machine serial tag and data plate.
NOTE: Users must be
logged in as Maint 1
(user level 3) in order to
perform this operational
test.
✐