CONTENTS
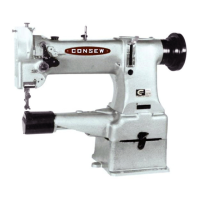
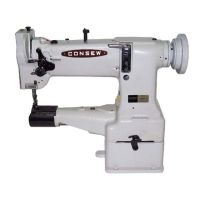
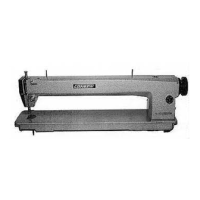
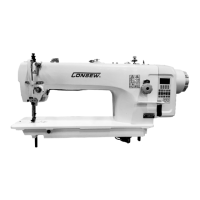
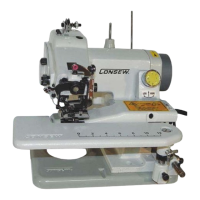
1. MAIN PARTS NAMES 1
2. SPECIFICATIONS 1
3. WORK TABLE AND MOTOR 2
4. INSTALLATION 3
4-1. Installing the rubber hinge and the corner rubber .: 3
4-2. InstaIIing the oiI pan 3
4-3. Installing the machine head 3
4-4. Installing the spool pin 4
4-5. Installing the knee lifter assembly 4
4-6. Installing the belt 5
4-7. Installing the bobbin winder 5
4-8. Installin'g the belt guard (L) 6
4-9. Installing the thread stand 6
4-10. Lubrication 7
4-11. Checking the machine pulley rotating direction 8
5. PREPARATION BEFORE SEWING 9
5-1. Installing the needle 9
5-2. Removing the bobbin case 9
5-3. Winding the lower thread 10
5-4. Installing the bobbin case 10
5-5. Threading the upper thread 11
5-6. Adjusting the stitch length 11
6. SEWING 12
6-1. Sewing 12
6-2. Backtacking '2
7. THREAD TENSION 13
7-1. Adjusting the thread tension 13
7-2. Adjusting the presser foot pressure 13
8. STANDARD ADJUSTMENTS 14
8-1. Adjusting the thread controller spring 14
8-2. Adjusting the height of the feed dog 15
8-3. Adjusting the feed dog position (longitudinal) 15
8-4. Adjusting the positions of the needle and needle hole of the feed dog 16
8-5. Adjusting the timing the needle with feed 17
8-6. Adjusting the height of the needle bar 17
8-7. Adjusting the timing between the needle and hook 18
8-8. Adjusting the clearance between rotary hook and opener (thread release finger) 19
" 8-9. Adjusting the clearance between feed forked connection and feed fork collar 20
8-10. Adjusting the height of the presser feet 20
8-11. Adjusting the presser foot movement amount 21
8-12. Adjusting the timing of the vibrating presser foot 22
8-13. Adjusting the feed regulator ; 23
9. SAFETY CLUTCH MECHANISM 24