26 27
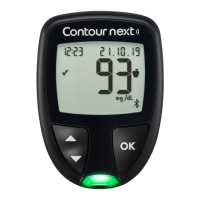
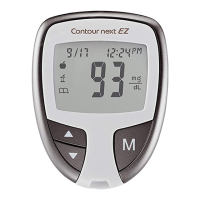
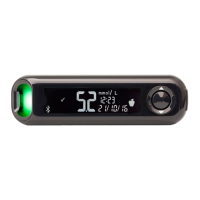
Contour
®
next blood glucose monitoring system
TESTING
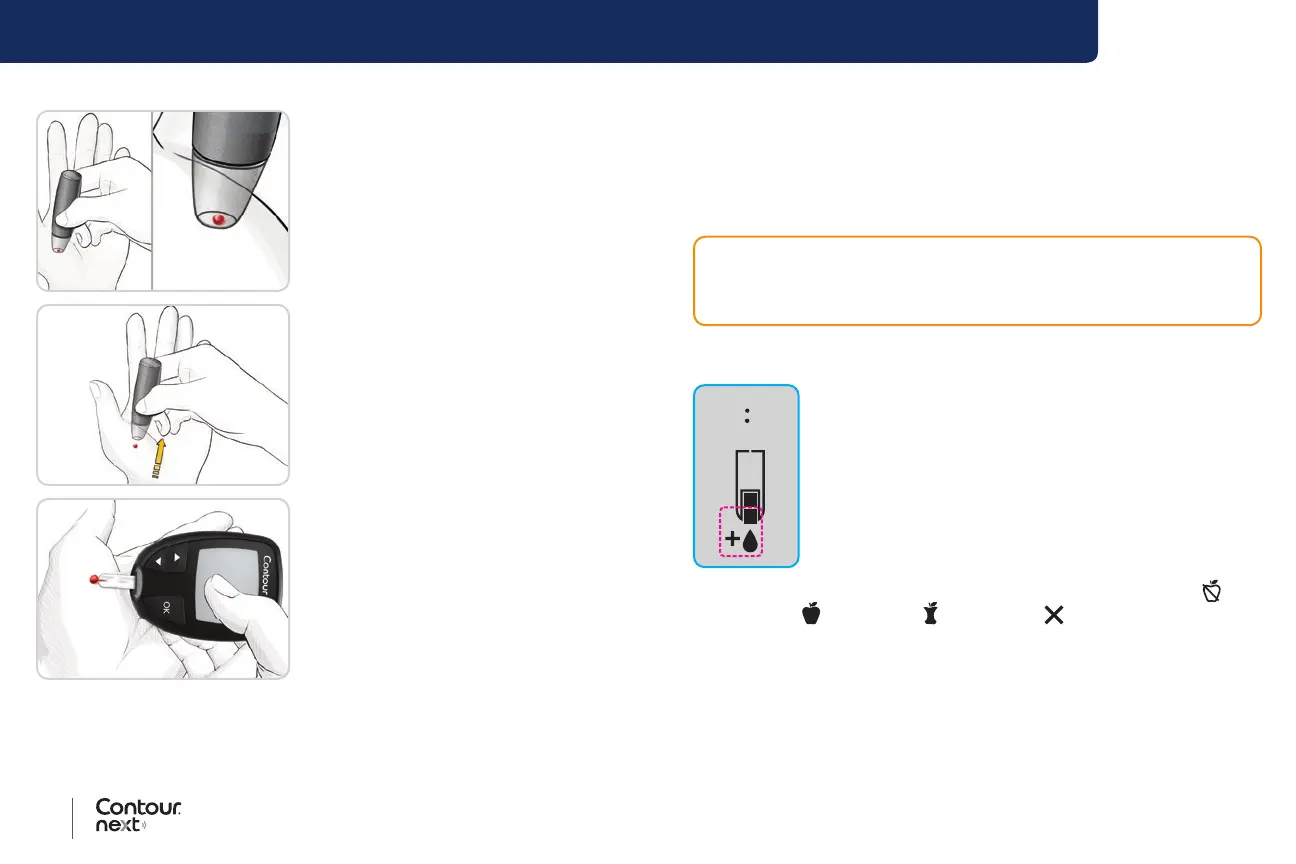
The lancing device graphics are for illustration purposes only.
4. Press the lancing device rmly
against puncture site, then press
the release button.
5. Maintain steady pressure until a
small, round blood drop forms.
6. Lift the lancing device straight up
and away from the skin without
smearing the blood.
7. Test immediately after you have
formed a small, round blood
drop, as shown.
Immediately touch the tip of the
test strip to the drop of blood.
The blood is drawn into the test
strip through the tip.
Do not test the blood sample from palm if you get:
• Smeared blood.
• Clotted blood.
• Runny blood.
• Clear uid mixed with the blood.
8. Hold the tip of the test strip in the blood drop until the meter beeps.
Second-Chance sampling for AST—Apply More Blood
1. If the meter beeps twice and the screen displays
a blinking blood drop with a plus sign, the test strip
does not have enough blood.
2. Apply more blood to the same test strip within
60 seconds.
NOTE: If the screen displays an E 1 error message,
remove the strip and start with a new strip.
If the Meal Marker feature is On, the meter suggests a Fasting
,
Before Meal
, After Meal , or No Mark marker for your blood
glucose result. This is based on the time of day and the meal period:
fasting/breakfast, lunch, dinner or overnight. The Meal Marker is
blinking.
CAUTION: Do not press the test strip tip against the skin or place
the blood on top of the test strip. These actions could lead to
inaccurate results or errors.