Chapter 6—Z-Series Coro-Vane
®
Seal Replacement Instructions
Please Note: The photos listed below contain a Z2000;
however, all Z-Series pumps use the same procedures for
seal replacement.
To determine the parts needed for repair, refer to
Appendix A—Model Number and Identication Code,
and Appendix E—Parts Details.
CAUTION! BLEED ALL PRESSURE FROM THE
PUMP AND PIPING BEFORE STARTING TO
INSTALL YOUR SEAL ASSEMBLY.
Cleanliness
Even the smallest amount of dirt on your new seal can cause
early failure. Keep all parts, tools and your hands clean while
installing the seal. Never touch the smooth lapped faces
of the carbon rotor or seal seat. For LP-Gas, anhydrous
ammonia and similar liquids, you are trying to seal a uid
that is 5 to 10 times thinner than water! Your new seal needs
every chance it can get, so keep it clean.
Workmanship
Your Corken pump is a precision piece of equipment with
very close clearances. Treat it as such. Never use force
during assembly or disassembly (see steps 1 through 10).
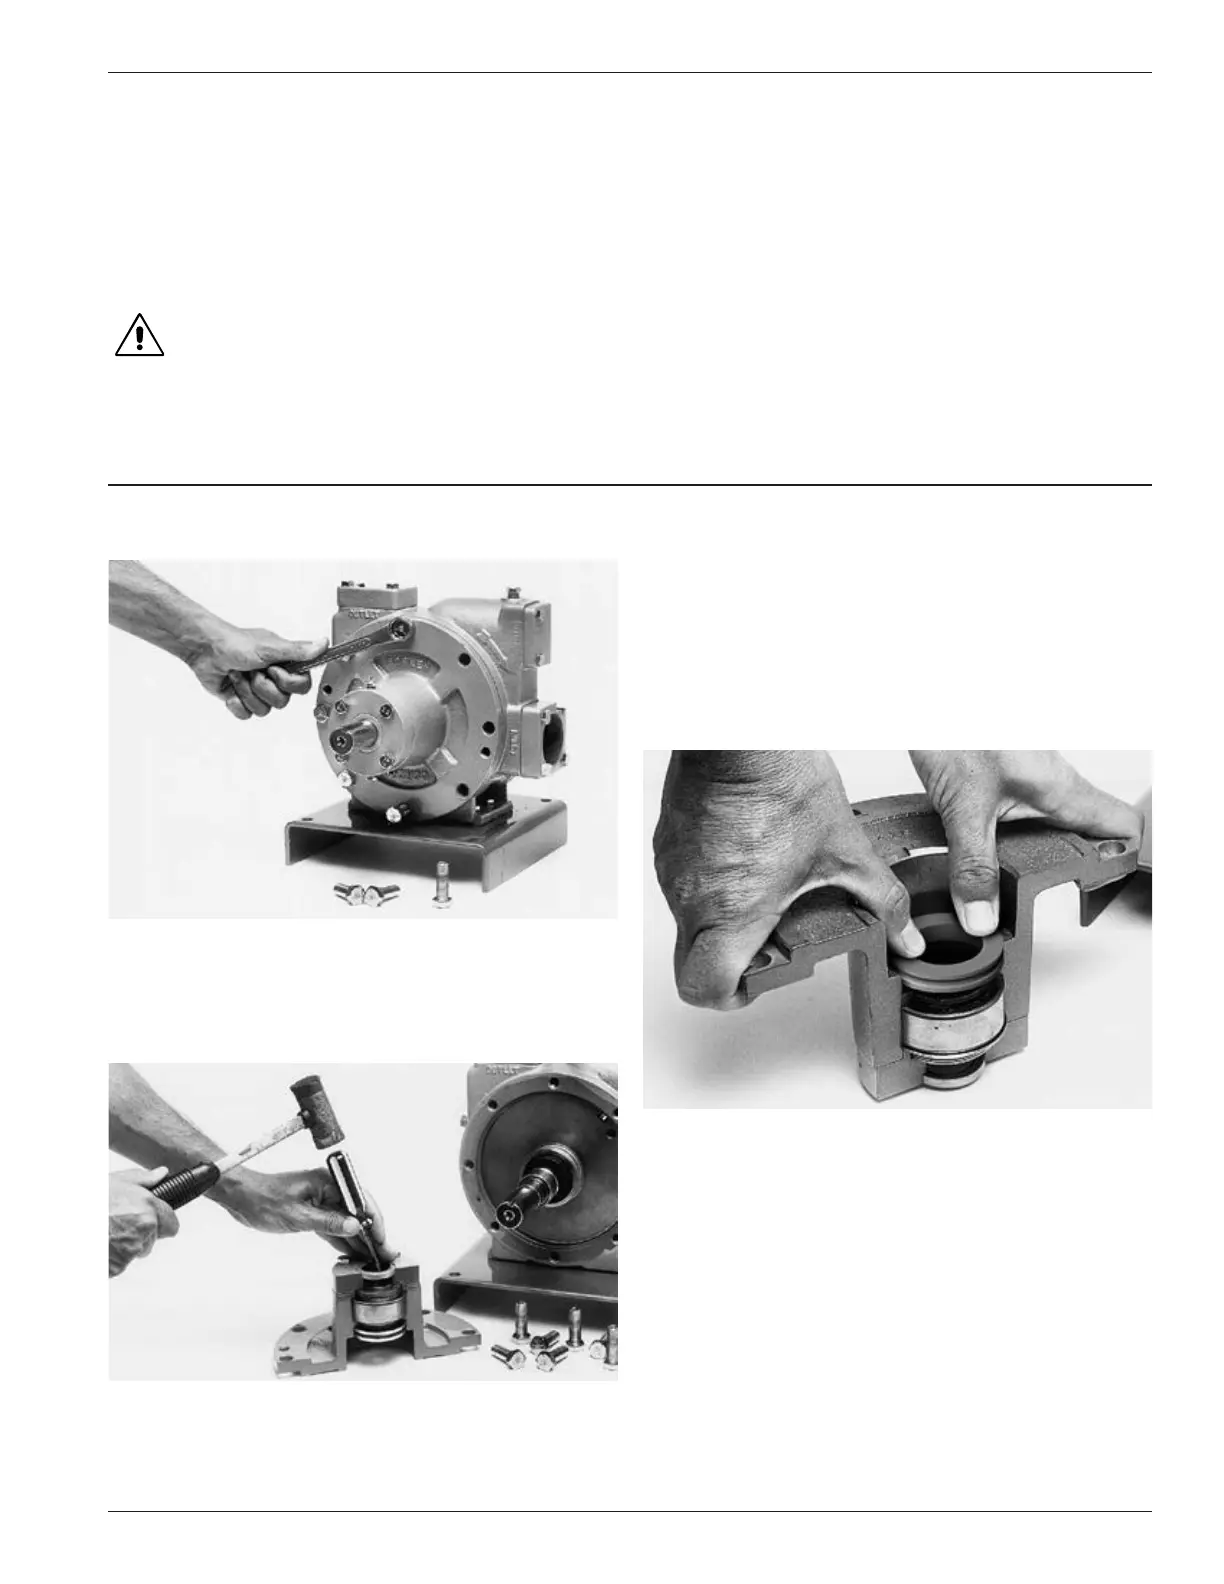
Step 1
Depressurize and open the pump
Loosen the head bolts and remove one head with the
bearing cap attached, while holding in on the shaft.
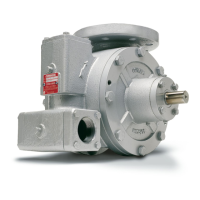
Step 2
Remove the seal seat and grease seal
NOTE: The photo above is using a cutaway view for
better details.
After the head has been removed from the pump, remove
the head O-ring and place to the side. Place the head on
the workbench as shown in the photo. When replacing the
seal assembly, there is no need to remove the bearings.
With a long screwdriver, reach through the opening of the
bearing cap and lightly tap the seal seat until it falls out
of the head. The seal seat is located at the bottom of the
head. Next, remove the grease seal using same process.
The old seal seat and grease seal will not be reused.
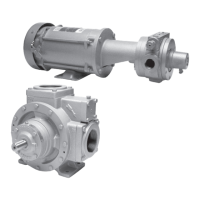
Step 3
Install the new grease seal
NOTE: The photo above is using a cutaway view for
better details.
Turn the head over as shown in the photo and install the new
grease seal smooth side up by pressing into the bore next to
the main bearing. To assist with the installation of the grease
seal, place the old seal seat without the O-ring over the top of
the grease seal and press into place as show in the photo. The
grease seal should t ush with the shoulder of the bore (see
Figure 6.1 for details).
13