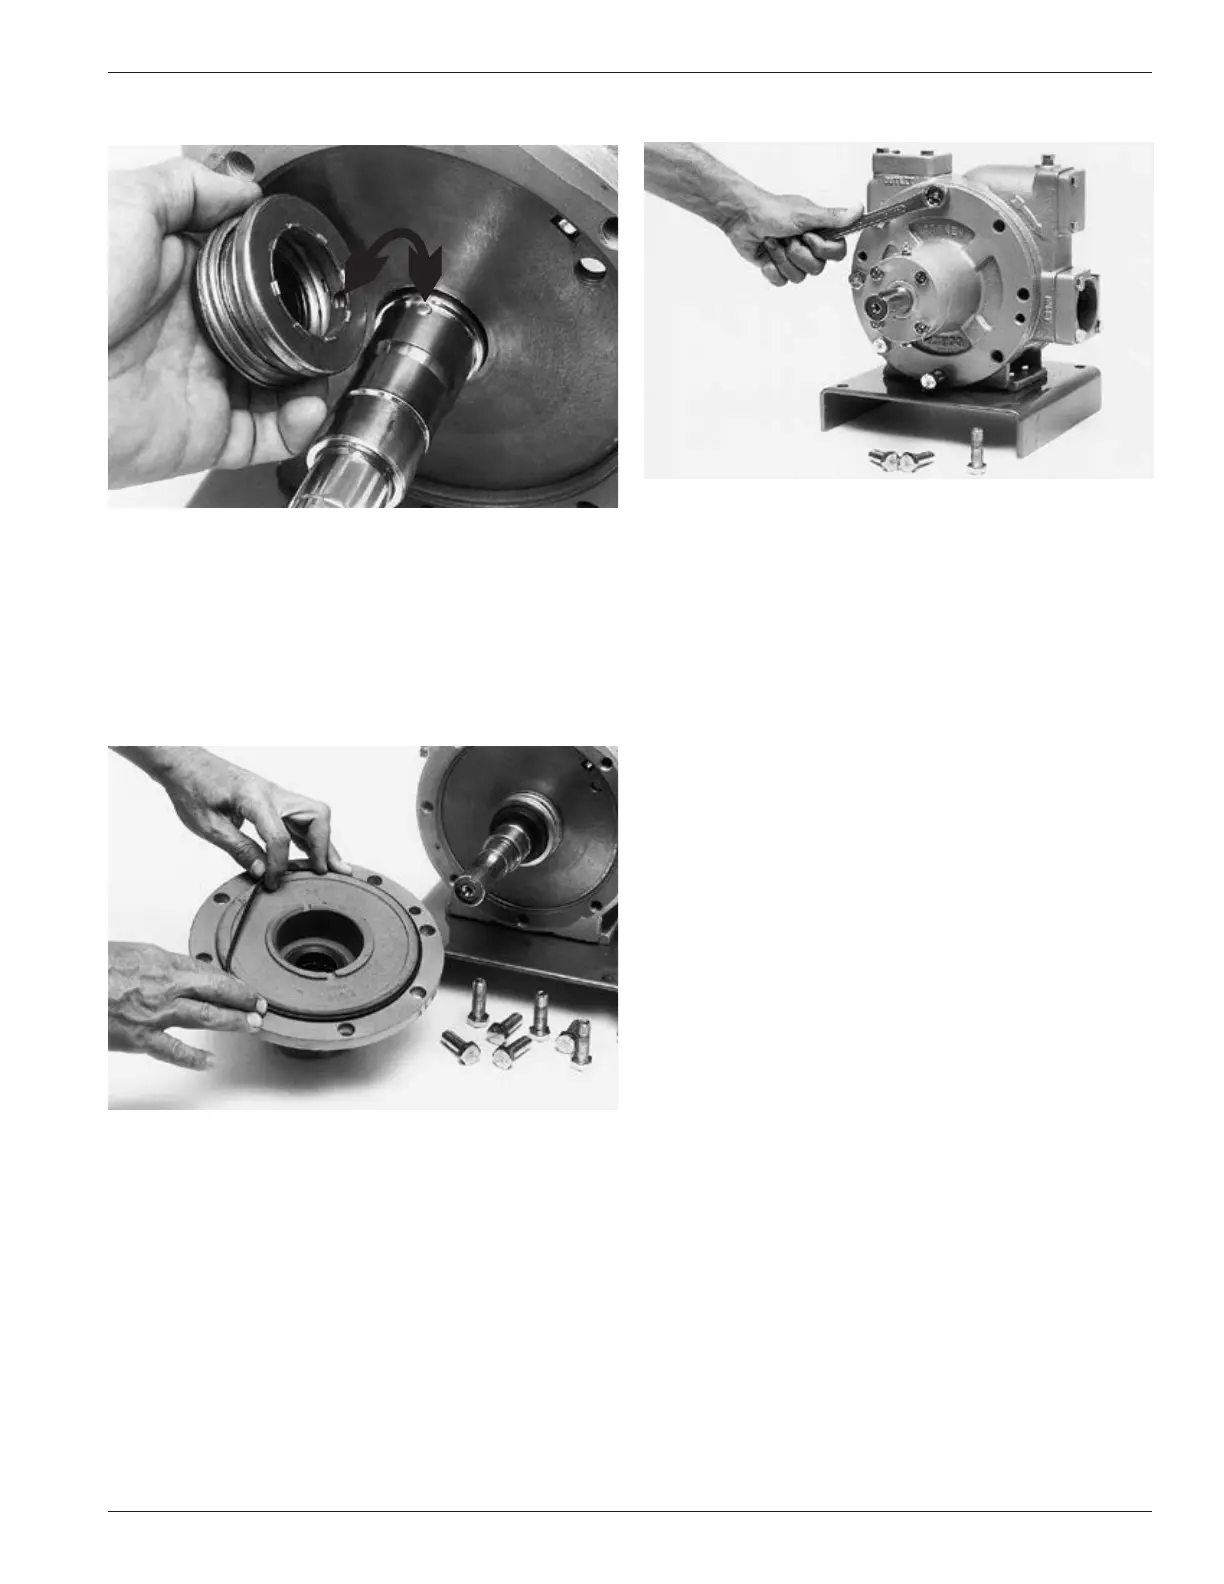
Step 6
Install the new seal assembly (retainer and carbon)
Clean the pump shaft and apply a generous amount of light
oil to the shaft and seal assembly.
Install the new seal assembly by aligning the seal retainer
slot with the seal drive pin on the shaft.
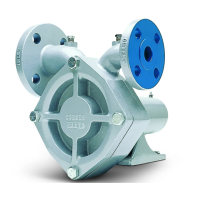
Step 7
Mechanical seal installation
Install the new case O-ring onto the head.
Apply a generous amount of light oil to each seal face and
carefully install the head assembly over the pump shaft.
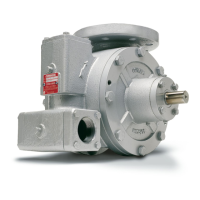
Step 8
Completing installation
Torque the head bolts in a crossing pattern. There is no
need to disassemble or re-shim the bearing caps. Repeat
all of the above steps when replacing the seal assembly
on the opposite side.
Step 9
Lubrication and re-pressurizing
Note: Both sides of the pump are identical; duplicate
procedure to change the seal on the opposite side.
Lubrication
There are two lubrication points on the Z-Series pumps.
A grease zerk is located on each bearing cap. To prevent
over greasing the bearings, a grease relief tting is
located on the opposite side of each bearing cap. Always
clean each grease zerk and relief tting before lubricating
the bearings. This practice helps prevent foreign material
from reaching the bearings through the grease zerk and
ensures the grease relief tting is not blocked. If the
grease relief tting is blocked, the excessive grease that
cannot be relieved may cause premature seal failure.
If you use a hand grease gun, put the grease in slowly
and stop as soon as the relief tting opens. Grease the
U-joints and the spline of the drive shaft when greasing
the pump.
NOTE: Always use ball bearing grease (MIL-G-10924C)
with a temperature rating of -65°F.
Re-pressurize
For best results, slowly pressurize with vapor pressure.
Please Note: If you pressurize with liquid, it will sometimes
refrigerate even though it enters the pump slowly. As a
result, the seal elastomers will not seal properly thereby
causing them to leak.
15