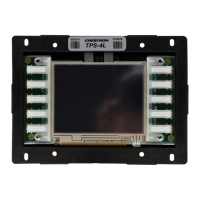
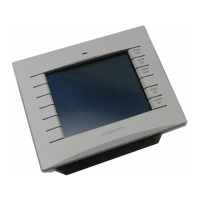
Crestron Isys
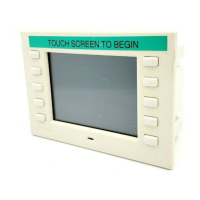
TPS-2000L 5 Inch Lectern/Wall Mount Touchpanel
NOTE: For larger networks (i.e., greater than 28 network devices), it may become
necessary to add a Cresnet Hub/Repeater (CNXHUB) to maintain signal quality
throughout the network. Also, for networks with lengthy cable runs, it may be
necessary to add a Hub/Repeater after only 20 devices.
Identity Code
Every equipment and user interface within the network requires a unique Cresnet
identity code (Cresnet ID). These codes are recognized by a two-digit hexadecimal
number from 03 to FE. Refer to “Interface Menu” on page 8 for instructions on
setting the unit's Cresnet ID. The Cresnet ID of the unit must match the NET ID
specified in the SIMPL Windows program. Refer to “Setting the Net ID in Device
Settings” on page 18 for information about changing the ID in a SIMPL Windows
program.
Configuring the Touchpanel
NOTE: The only connection required to configure the touchpanel is power. Refer to
“Hardware Hookup” on page 12 for details.
MAIN MENU
This menu can also be obtained via
digital reserved join number, 17242.
To configure the unit, it may be necessary to access a series of setup screens prior to
viewing run-time screens that are loaded into the touchpanel for normal operation.
The MAIN MENU for configuring the touchpanel appears when a finger is held to
the touchscreen as power is applied. Remove your finger when the message "SETUP
MODE" appears on the touchscreen.
Upon entering SETUP MODE, the MAIN MENU, shown to the left, displays four
buttons: Touch Screen Calibration, Exit and Run Program, Setup, and
Diagnostics.
The Exit and Run Program button verifies that all of the setup information has
been saved to EEPROM and displays the main page that has been programmed into
your system. The remaining buttons on the MAIN MENU open other menus, which
are discussed in subsequent paragraphs.
Calibration Menu
CALIBRATION MENU
Calibration of the touchscreen is required if the active touch area of a button does
not coincide with the button's image. Select the Touch Screen Calibration
utton to
display the CALIBRATION MENU, shown to the left. The CALIBRATION MENU
offers the choice to initiate calibration with the Perform Calibration button or
return to the previous screen with the Return button. Choose an option by touching
the correct button.
If you proceed to calibrate the touchpanel, the screen displays the message "Touch
Lower Right" centered on the panel with a cross hair in the lower right corner. Touch
the cross hair in the corner of the screen to initiate calibration. Another message,
"Touch Lower Left", appears with a cross hair in the correct corner. Touch the
corner of the screen. A final message, “Touch Upper Left”, appears with a cross hair
in the correct corner. Touch the corner of the screen to conclude calibration and
return to the MAIN MENU.
NOTE: When touching the screen during calibration, be as accurate as possible.
Use the tip of a capped pen or the eraser end of a pencil. To cancel calibration and
return to the CALIBRATION MENU without saving calibration data, create a
Operations Guide – DOC. 5972A 5 Inch Lectern/Wall Mount Touchpanel: TPS-2000L • 7