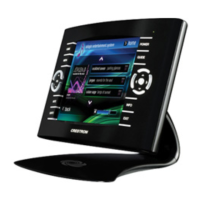
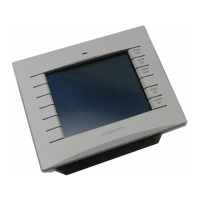
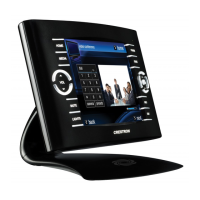
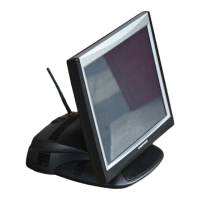
5 Inch Lectern/Wall Mount Touchpanel Crestron Isys
TPS-2000L
Timeout Menu
TIMEOUT SETTINGS
The touchpanel display can be turned off (standby mode) when not in active use.
Select the Timeout button on the SETUP MENU to reveal the TIMEOUT
SETTINGS display, shown to the left. This setting turns the display off when the
touchpanel is inactive for a specified time. Touch the screen to awaken the
touchpanel and the last screen to be displayed reappears. The time value, re
resented
by xxx in the illustration, can range from 0 (disables the timeout) to 120 (minutes).
Two buttons, UP and DOWN, increase and decrease the timeout, respectively.
Select the Return button to save the timeout setting and return to the SETUP
MENU.
Diagnostics Menu
DIAGNOSTICS MENU
The Diagnostics button from the MAIN MENU should only be used under
supervision from a Crestron customer service representative during telephone
support. The options available from the DIAGNOSTICS MENU, shown to the left,
are numeric in nature and their interpretation is beyond the scope of this manual.
NOTE: The “About…” button will display a screen indicating the current version
of firmware residing on the touchpanel.
Hardware Hookup
CAUTION: Do not remove the tape that covers the photosensor. Doing so can short
the board and damage the touchpanel.
CAUTION: Do not apply excessive pressure to the touchscreen display during
handling (mounting/installation). Doing so can crack the screen and damage the
touchpanel.
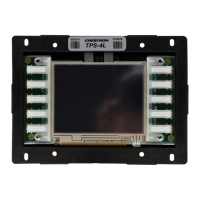
Make the necessary connections as called out in the illustration that follows this
paragraph. Refer to “Network Wiring” on page 6 before attaching the 4-pin
connector. Apply power last.
Hardware Connections for the TPS-2000L (Back of the Unit is Shown)
CONNECTS
TO
CONTROL
SYSTEM
CONNECTS TO
AUDIO SOURCE,
MICROPHONE,
VIDEO SOURCE
12 • 5 Inch Lectern/Wall Mount Touchpanel: TPS-2000L Operations Guide – DOC. 5972A