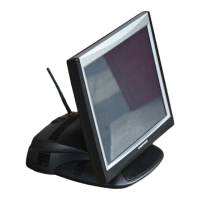
Crestron Isys
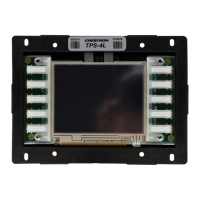
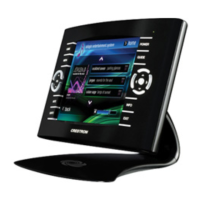
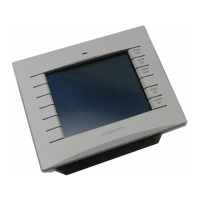
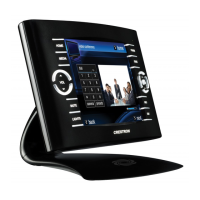
TPS-2000L 5 Inch Lectern/Wall Mount Touchpanel
If the CURRENT VALUE has exceeded the THRESHOLD VALUE, the screen
switches to high brightness. When the CURRENT VALUE is less than the
THRESHOLD VALUE, the screen switches to low brightness.
ORIENTATION
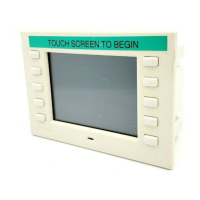
SCREEN SETTINGS -
ORIENTATION
There is no ‘top’ or ‘bottom’ when installing the TPS-2000L. Press the Orientation
button to open the SCREEN SETTINGS – ORIENTATION display, shown to the
left. This setup feature allows the orientation of the display to be rotated 180° with
the press of a button. Therefore, if the touchpanel was inadvertently installed upside
down, the display can be rotated without removing the unit from the mounting
surface. However, keep in mind that the best viewing angle is seen from the top
when the orientation of the screen is set to Upright.
Two buttons, Right Side Up and Up Side Down, are used to set the orientation of
the screen. The selected button appears in red text. By definition, the Right Side Up
button displays the screen with connectors at the bottom of the touchpanel and as a
result, the term Orientation Upright appears on the SCREEN SETTINGS display’s
center button. The Up Side Down button displays the screen with connectors at the
top of the touchpanel and the term Orientation Inverted appears on the SCREEN
SETTINGS display’s center button. Use the Return button to get back to the
SCREEN SETTINGS display.
NOTE: Whether the touchpanel screen orientation is set to Upright or Inverted the
sequence of digital join numbers (1 through 5 on the left side and 6 through 10 on the
right side) is consistent.
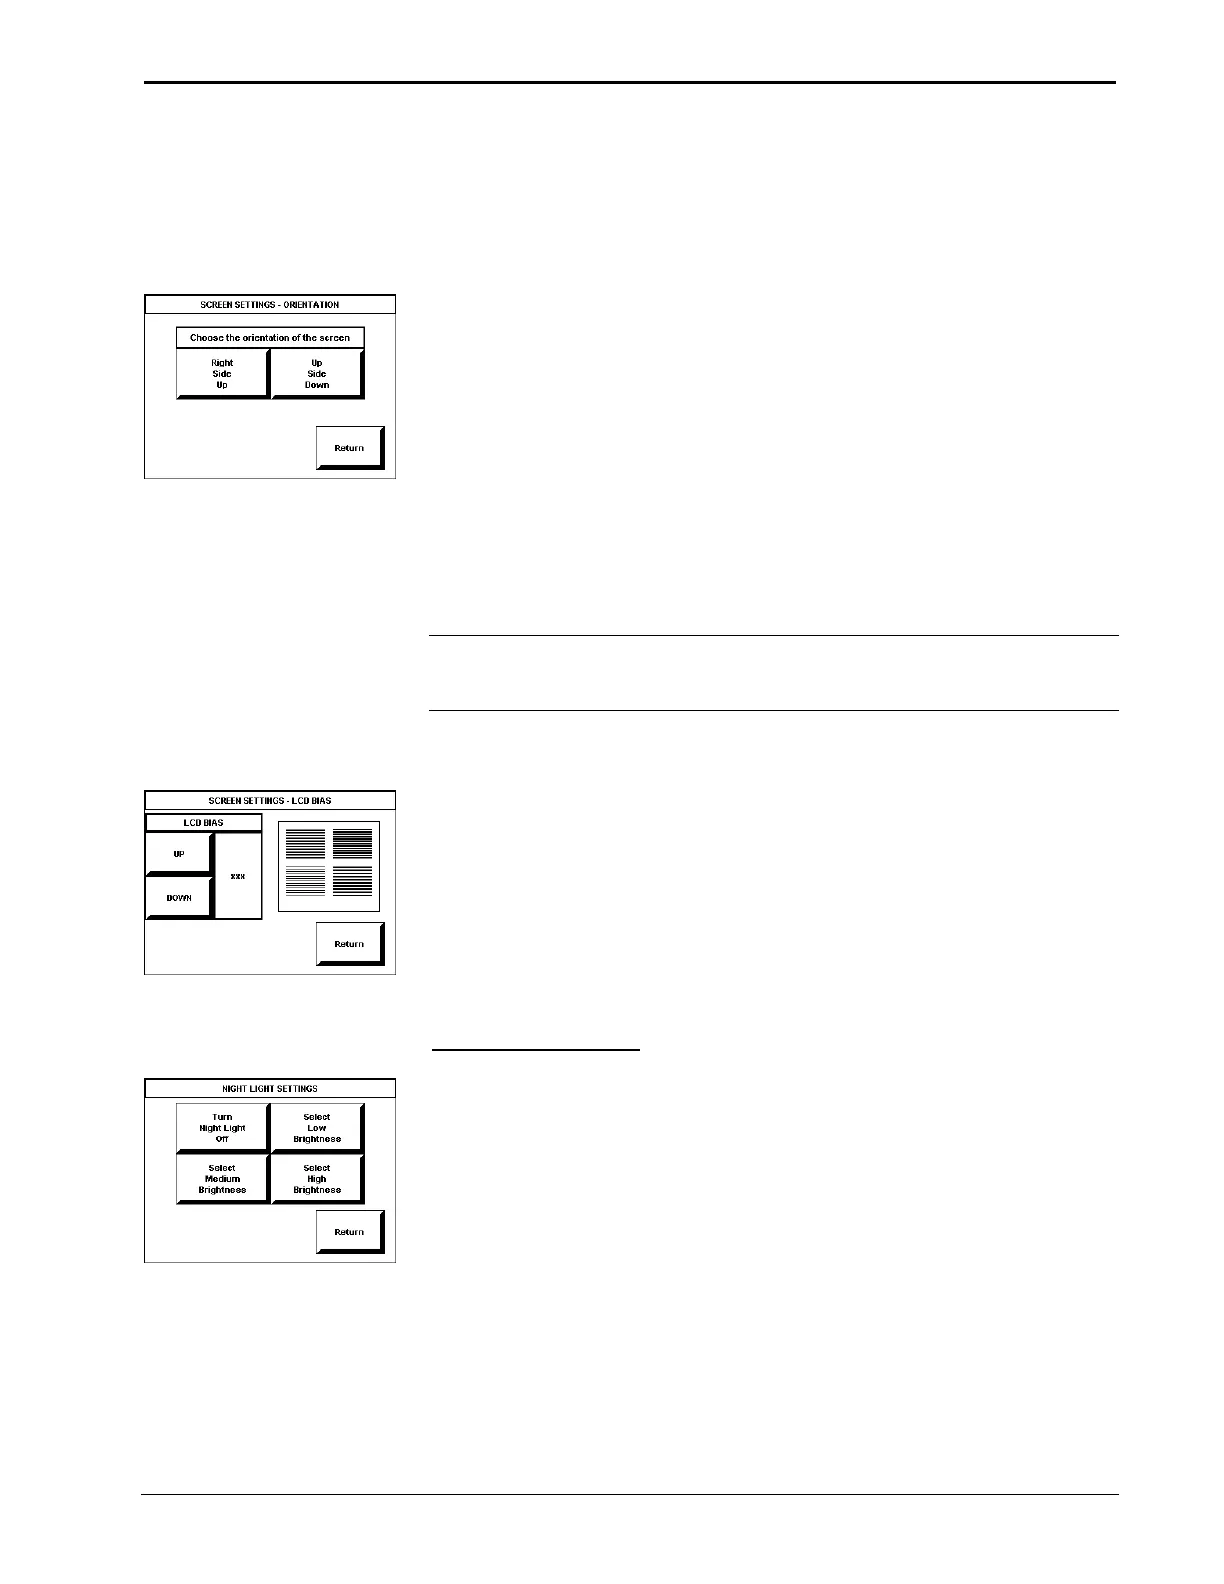
LCD BIAS
SCREEN SETTINGS – LCD BIAS
The quality of the image displayed on the touchpanel can be adjusted from the
SCREEN SETTINGS - LCD BIAS display, which appears after selecting the LCD
Bias button from the SCREEN SETTINGS display. To adjust the quality, examine
the box containing horizontal lines on the SCREEN SETTINGS - LCD BIAS
display. If the lines in the box flicker, use the UP and DOWN buttons to eliminate
the flicker. If the lines appear without flicker, no adjustments are necessary.
Adjustments can range between 1 and 255. Typically, the quality of the image is best
when the LCD bias is set between 90 and 110 (default is 105). Use the Return
button to get back to the SCREEN SETTINGS display.
Night Light Settings
NIGHT LIGHT SETTINGS
An LED on the front panel (same end as the two connectors) serves as a beacon for
the touchpanel. When activated, it allows a user to find the touchpanel in standby
mode in a completely dark room. Press the Night Light button on the SETUP
MENU to open the NIGHT LIGHT SETTINGS display, shown to the left. Four
buttons, Turn Night Light Off, Select Low Brightness, Select Medium
Brightness, and Select High Brightness, are used to determine whether the night
light is off or on with some preset brightness. The selected button appears in red text
with slightly altered wording. To return to the SETUP MENU and save the night
light setting, select the Return button. Notice that the state of the night light setting
is shown on the Night Light button on the SETUP MENU.
Operations Guide – DOC. 5972A 5 Inch Lectern/Wall Mount Touchpanel: TPS-2000L • 11