BRAKES
11
11. Slide the brake pins into the caliper.
12. Place the backing plate in the caliper.
13. Place a new puck into the caliper.
See Figure 3.12.
NOTE: A piece of scotch tape may be used to
hold the new brake pucks in place for assembly.
The tape will grind away when the brakes are
applied.
14. Place a new brake puck into the recess in the
transmission. Use a piece of scotch tape to hold
it in place.
15. Slide the brake rotor in place, shoulder out.
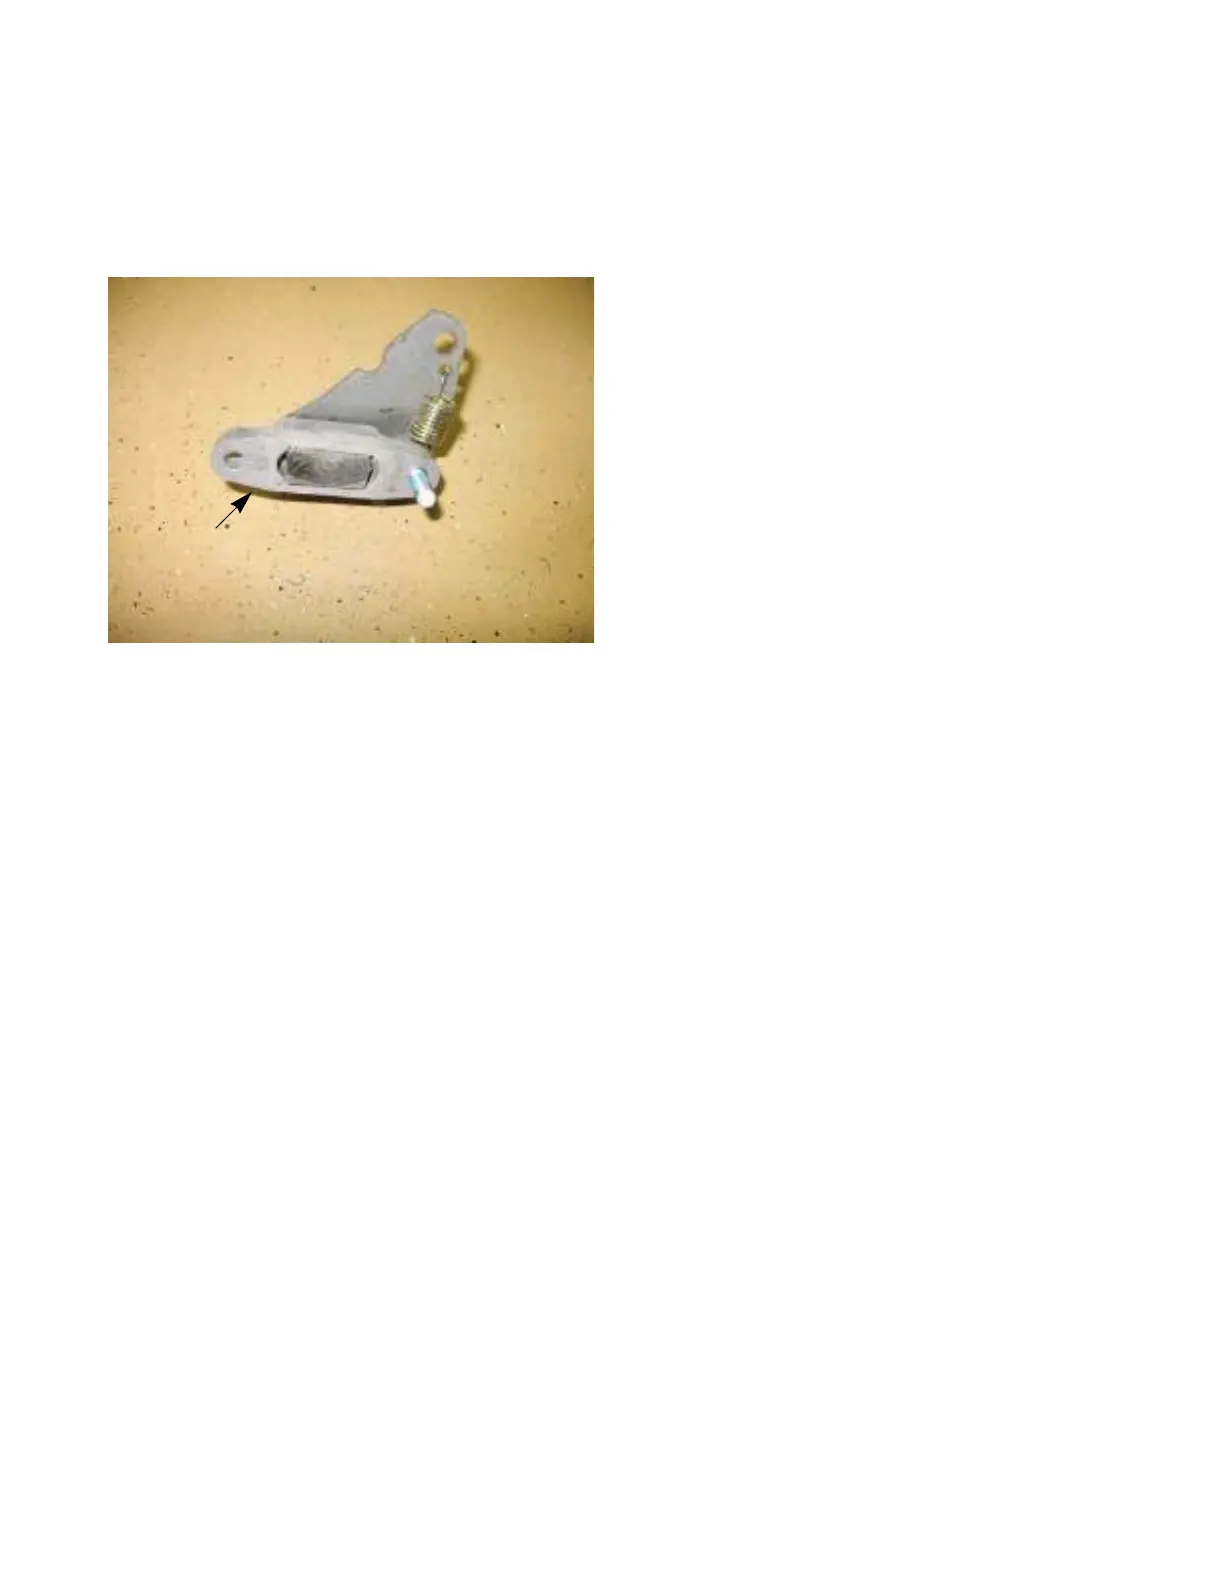
Figure 3.12
Brake caliper re-assembled
16. Mount the brake caliper to the transmission.
Apply a small amount of releasable thread lock-
ing compound such as Loctite® 242 (blue) to the
mounting bolts and tighten to a torque of 80 -
120 in-lbs (9 - 13.5Nm).
17. Reconnect the brake rod spring.
18. Adjust the brakes as described in the previous
section.
19. Put the wheel on.
20. Repeat steps 4-19 on the other side.
21. When both sides are completed and both wheels
are back on, take the tractor off of the jack
stands.
22. Open the by-pass valves and check the parking
brake before returning the tractor to service.
• With the brakes released, the tractor should
have only hydraulic drag when it is pushed.
• With the brakes engaged, the wheels should
slide before they rotate when the tractor is
pushed.

 Loading...