Steering
59
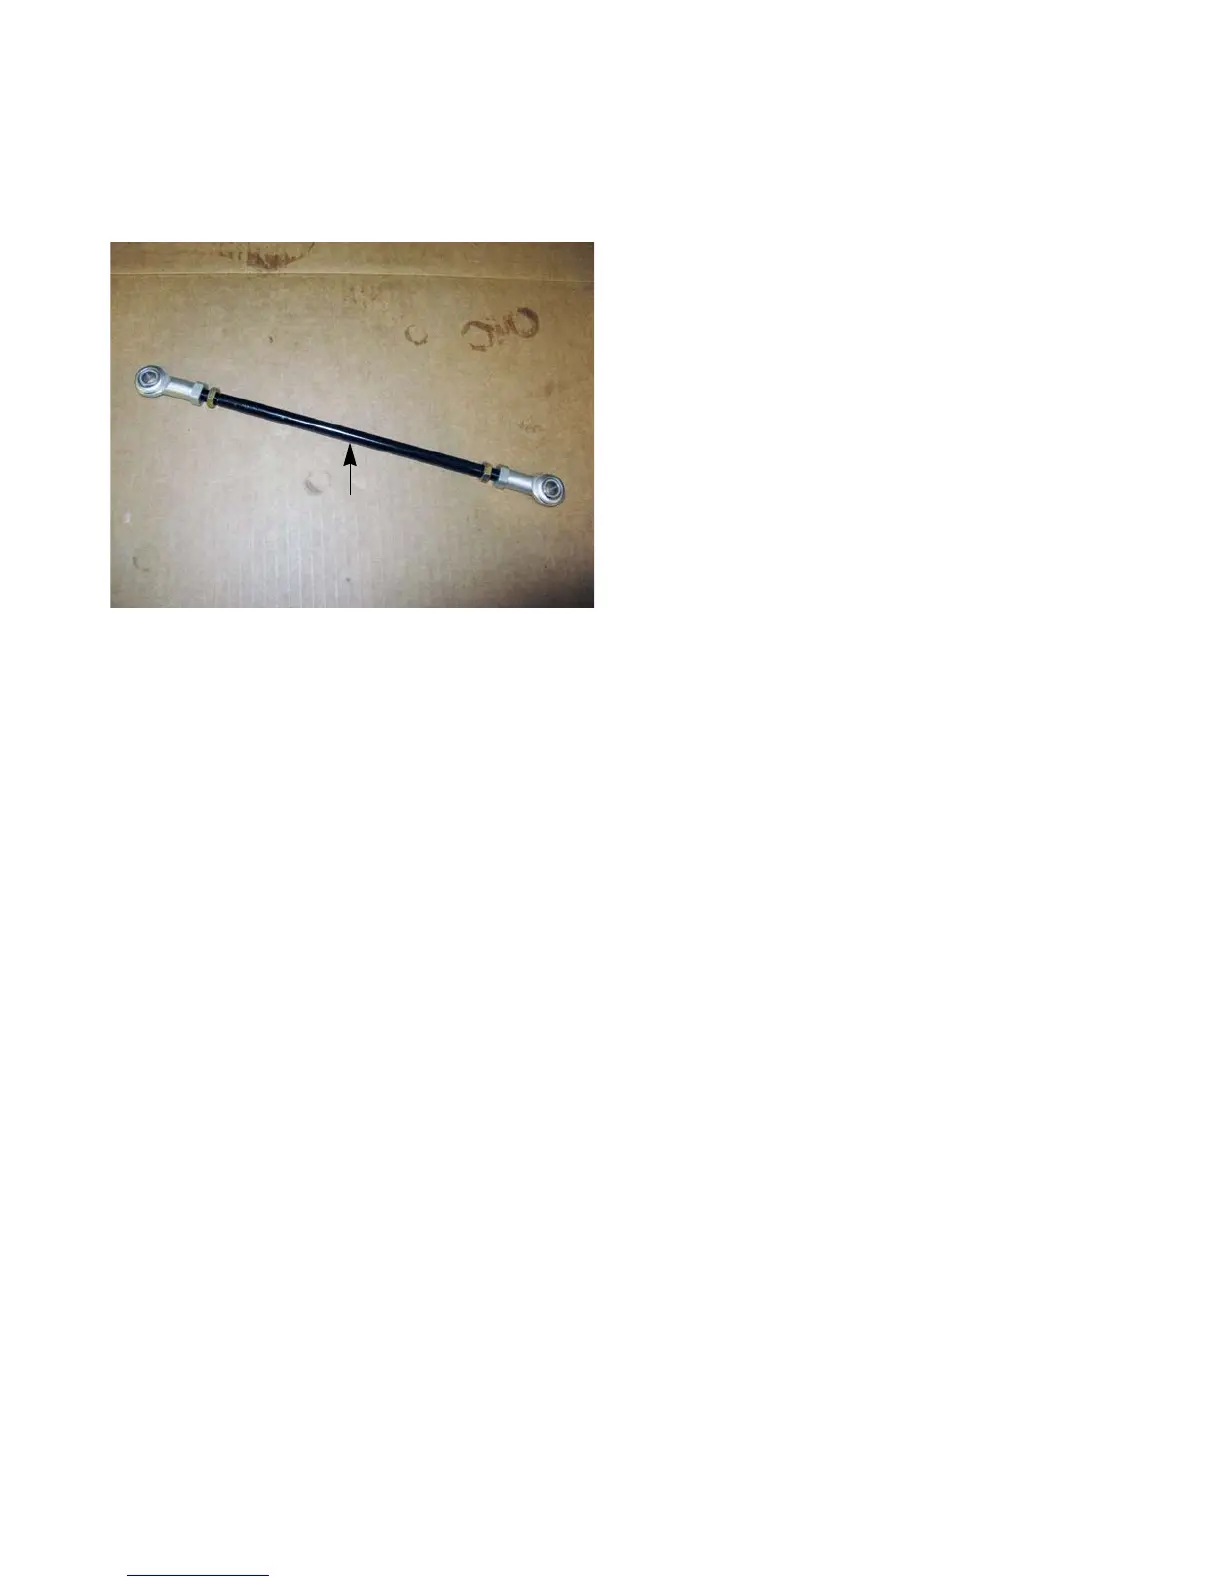
7. Remove the ball joint ends, counting the number of
turns required to remove each ball joint.
See Figure 5.27.
8. Remove the jam nuts.
9. Install the jam nuts on the new drag link.
NOTE: Thread the jam nuts all the way to the unthreaded
section of the drag link.
10. Install the ball joint ends.
NOTE: The ball joints should be threaded on to the drag
link the same number of turns as was required to
remove them from the old drag link.
11. Install the drag links by following steps 1-6 in reverse
order.
12. Align the front end by following the procedures
described in the.wheel alignment and drive control
link adjustments section of this chapter.
13. Install the floor pan by following the procedures
described in Chapter 3: Body.
14. Test drive the mower in a safe area before returning
it to service.
NOTE: Do not put a mower back into service if it does not
react properly to control inputs.
Figure 5.27
Drag link
www.mymowerparts.com
For Discount Cub Cadet Parts Call 606-678-9623 or 606-561-4983

 Loading...