8.930-369.0 • 2848 • Rev. 4/13a
11
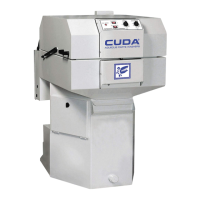
PARTS WASHER
OPERATOR’S MANUAL
SECTION 2: INSTALLATION
BEFORE YOU BEGIN
To prepare to install the machine, choose an
unobstructed, level site that allows convenient access
for operators and maintenance personnel. Sources for
water and electrical power should be located near the
installation site. If your machine is equipped with the
optional power brush and hand detail brush you must
also run a compressed air line to the installation site.
If you have any questions regarding the installation,
please contact your distributor or call a customer service
representative.
When contacting customer service please refer to the
machine identification tag inside the front cover of this
manual for detailed machine specifications.
STEP 1: MAKE ELECTRICAL
CONNECTIONS
NOTE: All electrical installation tasks must be per-
formed by a licensed, professional electrician to ensure
safe and proper operation. The installation must com-
ply with the National Electric Code and all applicable
state and local codes.
The machine can only operate on the type of electrical
power indicated on the electrical specifications tag.
Read and understand the electrical specifications tag
to determine the electrical power requirements before
installing the machine.
STEP 2: CONFIGURE THE
24-HOUR, 7-DAY TIMERS
(Optional)
NOTE: This step is required for machines equipped with
an optional 24-hour, 7-day heater timer or a 24-hour,
7-day heater and oil skimmer timer. If your machine
does not have a 24-hour, 7-day timer, skip this step.
The optional 24-hour, 7-day heater timer controls the
heating system. The optional 24-hour, 7-day heater
and oil skimmer timer controls the heating system and
the oil skimmer.
The parts washer requires approximately 1 to 2 hours
to heat the wash solution to operating temperature, and
the oil skimmer requires up to 15 minutes to effectively
remove oil from the wash solution. Using either timer,
you can schedule the heating system to turn on several
hours before you begin to use the machine each day.
In addition, the optional 24- hour, 7-day heater and oil
skimmer timer allows you to schedule the oil skimmer
to operate while the machine sits idle.
The timer is located below the electrical panel inside the
main electrical enclosure. To configure the timer, refer
to the instruction label inside the timer door.
STEP 3: CONNECT A
COMPRESSED-AIR LINE AND
ACCESSORIES
NOTE: This step is required for machines equipped with
the Deluxe Edition option package. If your machine is
not equipped with the Deluxe Edition option package,
skip the following procedure.
Step 1:
Remove the power brush from the box, install the wire
brush in the chuck, and connect the air hose.
Step 2:
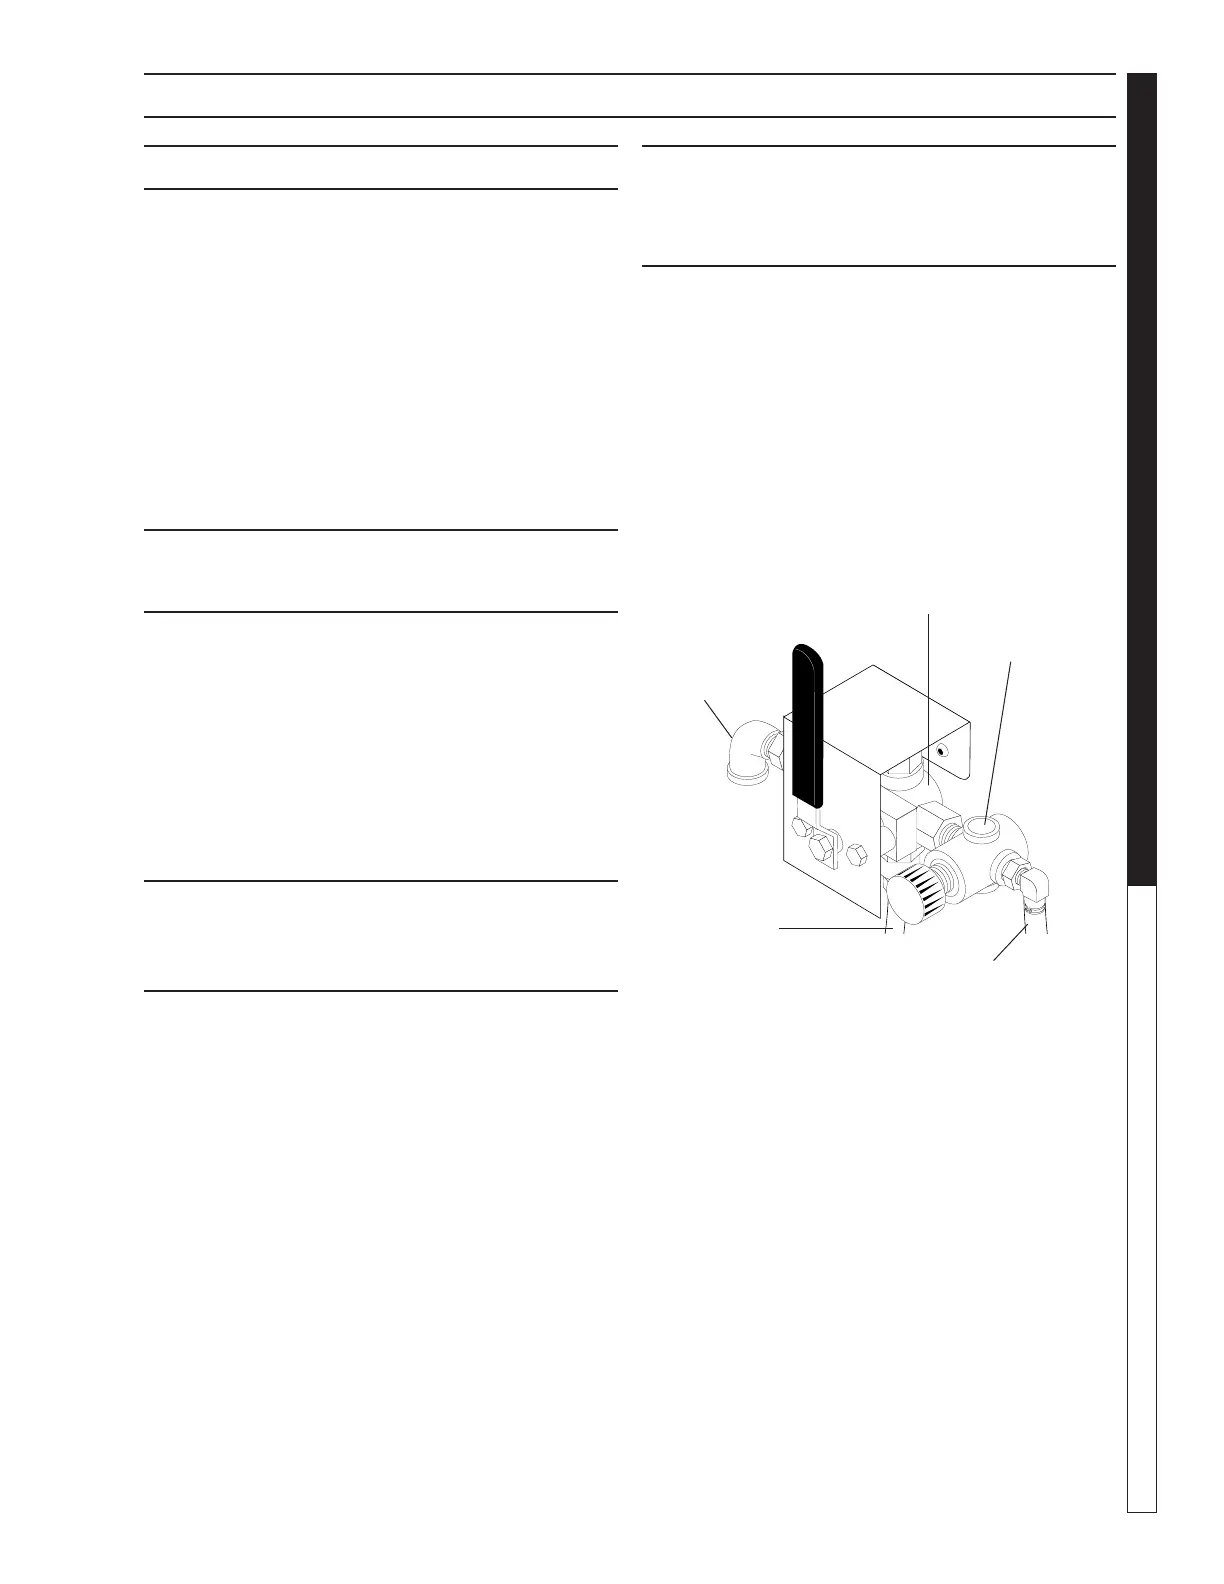
Familiarize yourself with the three-way air flow valve
(See Figure Below), then install a fitting to accommo-
date a connection to your compressed-air supply.
Step 3:
Connect the shop compressed-air line to the machine.
NOTE: To ensure proper operation and to minimize the
possibility of premature component failure, make sure
the compressed air is supplied at 75 to 90 psi. Manu-
facturer also recommends an in-line moisture trap and
an in-line lubricator on the main air supply line. Refer
to the documentation provided with the power brush
for more information.
Step 4:
Connect the hose from the power brush to the air flow
valve.
Step 5:
Hang the power brush on the bracket mounted along
the right side of the machine.
Outlet to
Power Brush
Air Regulator
3 Way Air
Valve
To
Compressed
Air Supply
Outlet to
Detail Brush